Table of Contents
Ever dreamed of having an awesome playground right in your backyard? You know, the kind that makes the neighborhood kids jealous? Well, guess what? You don't need a lottery win to make it happen. Forget those pricey, store-bought sets. We're diving into the world of affordable DIY playground equipment. This isn't just about saving money; it's about creating something special, something your kids will love, and something you can be proud of. We're talking tire swings, climbing walls, sandboxes – the works! In this article, I will show you how to build a backyard wonderland without emptying your wallet. I will guide you through the basics, share 20+ creative ideas, and give you the lowdown on safe and durable materials. Get ready to unleash your inner builder and create a play space that’s fun, safe, and totally unique. Let's get building!
Dream Big, Build Small: Affordable DIY Playground Basics

Dream Big, Build Small: Affordable DIY Playground Basics
The Magic of DIY Playgrounds
Okay, let’s be real. Who hasn't walked past a fancy playground and thought, "Man, I wish I had that at home?" But then you see the price tag and your dreams deflate faster than a punctured bouncy castle. That's where the magic of DIY comes in. Building your own playground isn't about settling for less; it's about creating something awesome that's tailored to your kids and your space, all while keeping your wallet happy. It's about turning ordinary materials into extraordinary play experiences, and that’s pretty cool, if you ask me.
Think about it: you're not just building a swing set; you're building memories. You're creating a space where laughter echoes, where imaginations run wild, and where kids can be kids. Plus, there’s a serious sense of accomplishment that comes with building something with your own two hands. It's like saying, "Yeah, I made that!" And trust me, when your kids are flying through the air on a swing you built, or scaling a climbing wall you designed, that feeling is pretty unbeatable.
Planning Your Play Space
Before you grab a hammer and start nailing everything in sight, let's talk planning. It’s the not-so-glamorous but super important part. Start by looking at your backyard. What kind of space do you have? Is it a wide-open field or a cozy little nook? Consider the age and interests of your kids. Are they toddlers who love to explore, or older kids who crave a challenge? This will help you figure out what kind of equipment to build. A simple sandbox might be perfect for little ones, while a more elaborate climbing structure might be a hit with older children.
Also, think about safety. You'll want to choose a level spot, away from trees, fences, and other obstacles. Make sure you have enough space around each piece of equipment for safe play. It's also a good idea to sketch out your plan. Even a simple drawing can help you visualize the final product and avoid headaches later. It doesn’t need to be a masterpiece, just something to guide you. Remember, this is about creating a fun and safe space, so a little planning goes a long way.
Step | Action |
|---|---|
1 | Assess your backyard space. |
2 | Consider your kids' ages and interests. |
3 | Sketch out a basic plan. |
4 | Prioritize safety and space. |
Top 20 DIY Playground Ideas: Fun, Safe, and Cheap

Top 20 DIY Playground Ideas: Fun, Safe, and Cheap
Alright, let's get to the fun part – the actual ideas! You've got your backyard assessed, your plan sketched, and now it’s time to get inspired. I’ve rounded up 20 awesome DIY playground ideas that are not only fun and safe but also won’t break the bank. Think beyond the typical swingset – we're talking about turning old tires into climbing structures, transforming fallen logs into balance beams, and even creating a mud kitchen that will make your kids the envy of the neighborhood. These aren't just random ideas; they're tried and tested ways to get your kids active, creative, and outdoors. So, buckle up, because we’re about to unleash a whole lot of backyard fun.
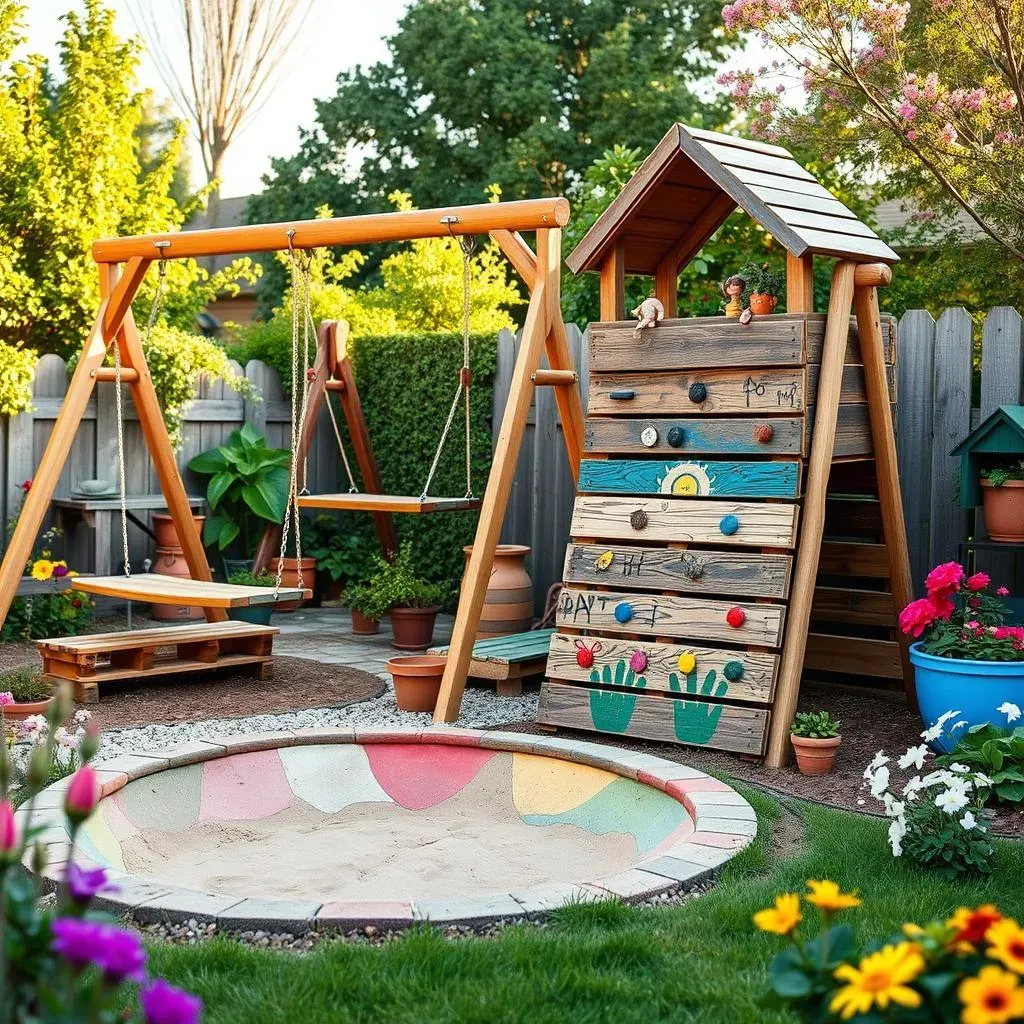
First up, let's talk about some classics with a twist. A tire swing is always a hit, but why not make it a tire climbing tower? Stack and secure a few tires, and you've got a challenging and fun climbing structure that kids can conquer. And, you do not need to buy anything new! How about a simple rope ladder attached to a sturdy tree branch? It’s cheap, easy to install, and perfect for building upper body strength. Then, there's the good old sandbox. Instead of a basic box, why not create a themed digging area? You could add some plastic dinosaurs, toy trucks, or even bury some "treasure" for the kids to uncover. These little touches make all the difference.
- Tire Climbing Tower
- Rope Ladder
- Themed Sandbox
Now, let’s move on to some more creative ideas. Have you ever thought about building a mud kitchen? It's basically a play area where kids can get messy with mud, water, and anything else they can find. It's a fantastic way to encourage imaginative play. Or how about a simple balance beam? A fallen log or even a sturdy piece of wood can be transformed into a fun challenge for kids to test their balance. Then, there’s the classic climbing wall. You can build a simple one using plywood and some climbing holds. It's a great way to get your kids moving and developing their gross motor skills. Remember, the goal here is to have fun and get creative, so don't be afraid to think outside the box.
But, we can't forget about the importance of safety while we're having all this fun. Always make sure that any structure you build is sturdy and secure. Use appropriate materials and double-check your work. It is also wise to regularly inspect your playground for wear and tear, and make any necessary repairs. A little preventative maintenance can go a long way in ensuring that your kids have a safe and enjoyable playtime. And, don't forget to add some soft landing materials under swings and climbing structures, like rubber mulch or wood chips. This will help cushion any falls and prevent injuries. Remember, safety first always!
Materials and Safety: Your Guide to DIY Playground Success

Materials and Safety: Your Guide to DIY Playground Success
Choosing the Right Stuff
Okay, so you've got your awesome playground ideas, but before you start building, let's chat about materials. It's tempting to just grab whatever's lying around, but trust me, a little thought here goes a long way. Think about durability and weather resistance. You need materials that can withstand the elements and the endless energy of your kids. Wood is a classic choice, but make sure it's treated to prevent rot and splinters. Metal is strong, but can get hot in the sun, so consider that. Plastic is another good option, especially for things like slides and tunnels, but ensure that the plastic is sturdy and won't crack easily. And of course, always prioritize non-toxic materials, especially if you have little ones who like to explore with their mouths. Remember, the goal is to create a playground that is both fun and safe, and the right materials are key to achieving that.
Safety First, Always
Now, let's get serious about safety. This isn't the time to cut corners. First off, always double-check that all your structures are stable. No wobbly swings or shaky climbing walls allowed! Ensure that all bolts and screws are tightened properly and that there are no sharp edges or protruding parts that could cause injury. It's also wise to think about the ground surface. Hard surfaces like concrete or asphalt are a no-go under playground equipment. Instead, opt for a soft landing surface like rubber mulch, wood chips, or even sand. These materials will cushion falls and reduce the risk of injury. It's also essential to regularly inspect your playground for wear and tear, and to make any necessary repairs promptly. A little bit of preventative maintenance can go a long way in keeping your kids safe.
Material | Pros | Cons |
|---|---|---|
Treated Wood | Durable, classic look | Can splinter, requires treatment |
Metal | Strong, weather-resistant | Can get hot, may rust |
Plastic | Lightweight, versatile | Can crack, may fade in sun |
Rubber Mulch | Soft landing, durable | Can be expensive |
DIY Tips and Tricks
Alright, let's talk about some practical tips to make your DIY playground project a success. First, don't be afraid to get creative with repurposed materials. Old tires, wooden pallets, and even plastic containers can be transformed into amazing play structures. Just make sure they are clean, safe, and free of any hazardous materials. When it comes to building, always follow instructions carefully and use the right tools for the job. If you're not comfortable with power tools, don't hesitate to ask for help from a friend or family member. And remember, patience is key. Building a playground takes time and effort, so don't rush the process. It's also wise to keep your kids involved in the project, not only will it get them excited about their new play space, but it will also give them a sense of ownership and pride in what they've helped to create. Remember, this is about creating something special, so have fun with it!