Table of Contents
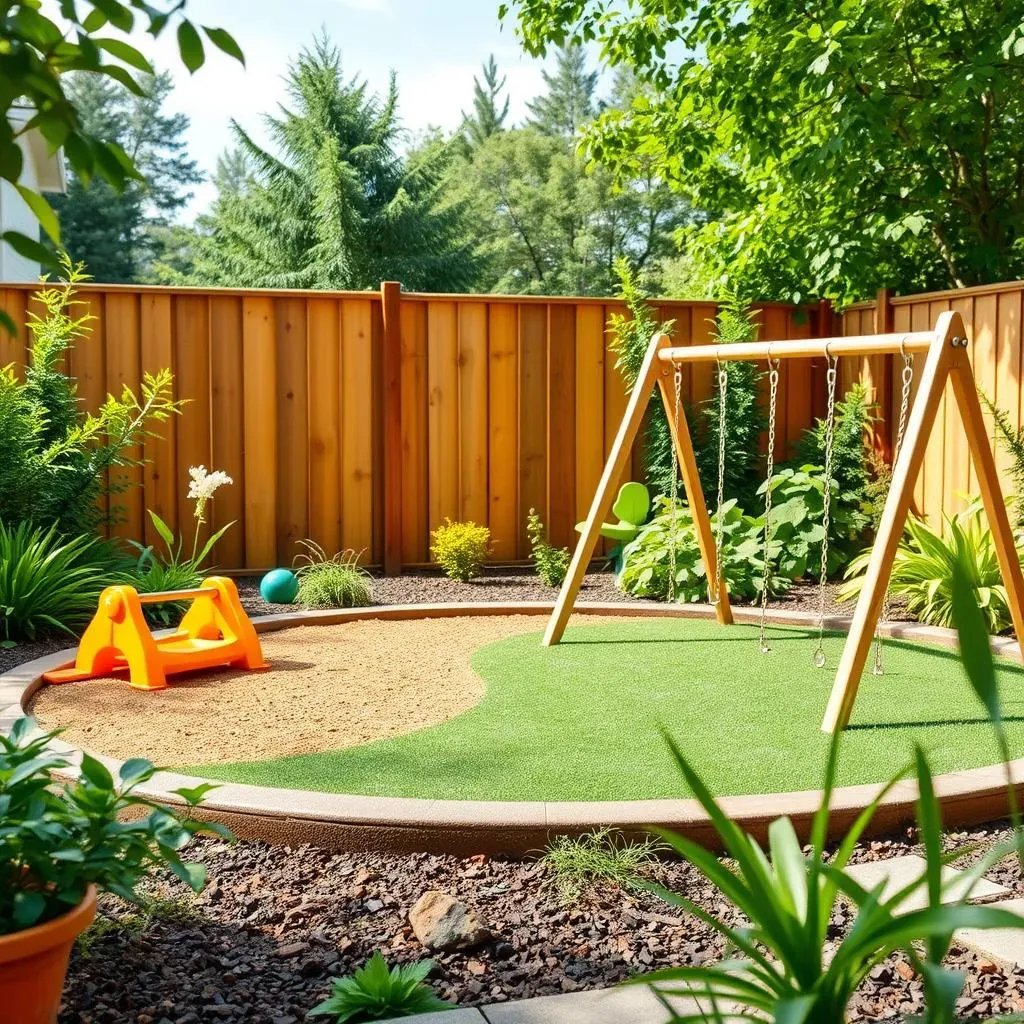
Ever look at your backyard and imagine a kid-friendly paradise? I know I have! It's not just about tossing up a swing set. The real magic starts with a solid "backyard playground base". Think of it like the foundation of a house—it's gotta be right. This article is your no-nonsense guide to getting that base perfect. We'll skip the fluffy stuff and get straight to the point. First, we'll figure out the best spot in your yard and what kind of surface you need. Then, we'll roll up our sleeves and get into the nitty-gritty of building it. Finally, we'll talk about keeping that playground base in tip-top shape for years of fun. So, ditch the daydreaming and let’s get building! This isn’t rocket science, but a few smart steps now mean fewer headaches later. Ready to transform your backyard into a safe, fun zone? Let’s dive in!
Planning Your Backyard Playground Base

Planning Your Backyard Playground Base
Spot On:
Finding the Right Location
Alright, so you're itching to build a backyard haven, that's great! But hold your horses, the first step is all about location, location, location. Don't just plop it down wherever. We need to think like a kid (and a safety inspector). Look for a spot that's relatively flat. You don’t want your little ones playing on a slope. Trust me, that’s a recipe for scraped knees. Also, think about shade. A full-sun playground in the middle of summer? Not ideal. Try to pick a spot that gets some natural shade or where you can add some. And finally, keep it away from fences, walls, and other obstacles. Kids need room to run, jump, and generally be chaotic. Give them that space.
I remember when I was a kid, we built a fort in the worst spot in our yard. It was right next to the rose bushes and under a tree that dropped little spiky balls. It was terrible. So, learn from my mistakes and choose wisely. You’ll want to measure the area too. Make sure the space is big enough for the playground equipment *and* for the kids to have a little running room. A good rule of thumb is to add at least six feet of clear space around the perimeter of the structure. Don't be stingy with the space. It’s better to have too much room than not enough.
Location Factor | Why It Matters |
|---|---|
Flat Surface | Prevents trips and falls. |
Shade | Keeps the area cool and comfortable. |
Clear Space | Provides safe play and prevents injuries. |
Surface Savvy:
Choosing the Right Material
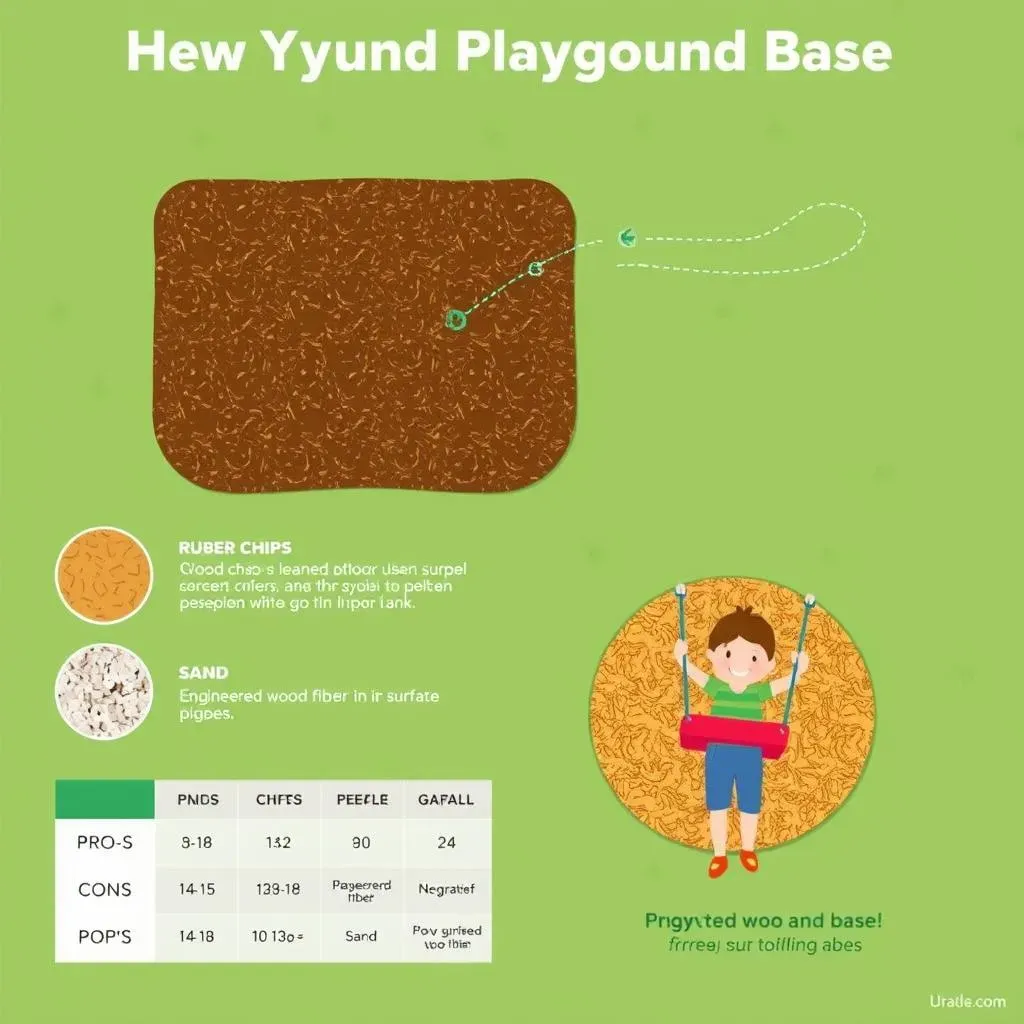
Okay, now that we have our spot, let's talk about what's going *under* the playground. This isn't just about looks; it's about safety. You need a surface that’s going to cushion those inevitable falls. Grass is a no-go, it gets torn up and doesn't offer much protection. I've seen some pretty nasty falls on just grass. We need something better. Now, the common options are wood chips, rubber mulch, sand, pea gravel, or engineered wood fiber. Each has its pros and cons, so let's break it down. Wood chips are affordable but decompose. Rubber mulch is great for safety, but it can get hot. Sand is fun but gets everywhere. Pea gravel is okay, but small kids might try to eat it. Engineered wood fiber is soft and accessible, but can be a bit more expensive.
Personally, I lean towards rubber mulch. It's durable, it cushions falls, and it doesn't attract bugs. Also, it comes in different colors which can be fun. However, it’s not the cheapest option. If you're on a budget, engineered wood fiber is a solid second choice. It's important to consider the long-term maintenance as well. Some surfaces require more upkeep than others. So, think about your budget and how much time you want to spend keeping things nice. The right surface can make a big difference in how safe and enjoyable your backyard playground will be. Don’t skimp on this step.
- Wood Chips: Affordable, but decompose.
- Rubber Mulch: Safe, durable, but can get hot.
- Sand: Fun, but messy.
- Pea Gravel: Okay, but not ideal for small kids.
- Engineered Wood Fiber: Soft, accessible, but can be pricier.
Building Your Backyard Playground Base

Building Your Backyard Playground Base
Dig In:
Preparing the Ground
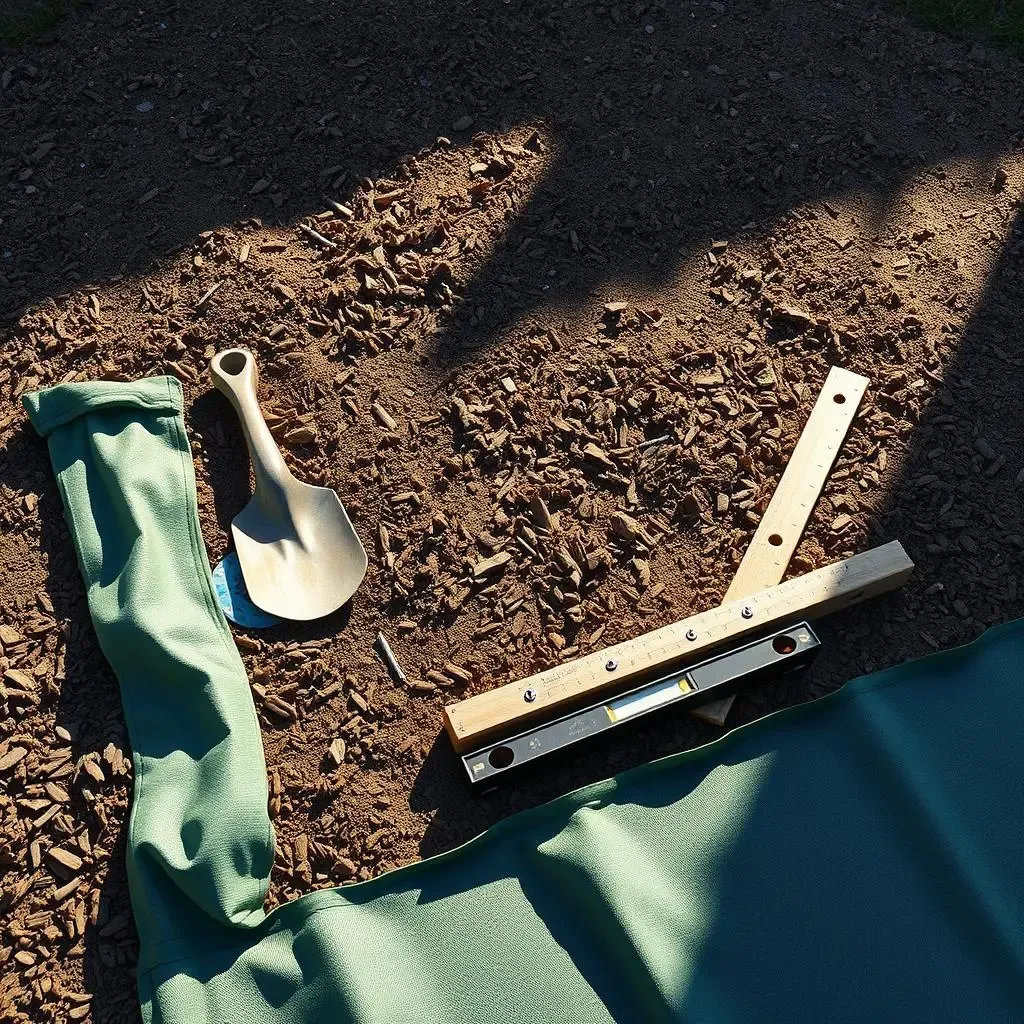
Okay, you've got your spot and your surface material picked out. Now, it's time to get our hands dirty. First things first, you need to remove any grass or vegetation from the area. A flat shovel or a sod cutter can make this job easier. You're aiming for bare earth. Once that's done, level the ground. You can use a rake and a level to make sure the surface is as flat as possible. This step is really important, because an uneven base can lead to uneven wear and tear on your equipment and, worse, injuries. Don't skip the leveling! If you have a really uneven area, you might want to consider renting a plate compactor to make the ground more solid.
Next up, think about drainage. You don’t want water pooling up under your playground. If you have a low spot, you might need to add some gravel to help with drainage. A good trick is to create a slight slope away from the play area. This will help water run off. I once skipped this step, and after a big rain, my entire playground was a swamp. It was not fun. Also, consider adding a border around the perimeter of your playground area. This will help keep the base material contained and prevent grass from creeping in. You can use wood edging, plastic borders, or even large rocks. This will make your playground look neat and tidy and will also keep the base material in place.
Layer Up:
Installing the Base Material
Alright, now for the fun part—putting down the base material. Start with a layer of landscape fabric. This is a game-changer for weed control. It prevents those pesky weeds from poking through your base material. Lay the fabric down, overlapping the edges a bit, and secure it with landscaping staples. Now, it's time to spread your chosen material. If you’re using wood chips, rubber mulch, or engineered wood fiber, spread it evenly with a rake. Aim for a depth of at least six inches. This is really important for shock absorption. If you are using sand or pea gravel, you might need a slightly shallower layer. Check the manufacturer’s recommendations for the depth of your chosen material. This is not the time to be stingy. More is better when it comes to safety.
Once you've spread the material, give it a good once-over. Make sure it’s evenly distributed and there are no thin spots. You might want to compact the material down a bit using a hand tamper. This will help it settle and prevent it from shifting around too much. If you are using rubber mulch, it might take a few days to settle properly. So, don’t panic if it looks a bit fluffy at first. And that's it! You've built your backyard playground base. Now it’s time to bring in the playground equipment and let the fun begin. Remember, a good base is the foundation for a safe and fun play area. Take your time, do it right, and your kids will thank you for years to come.
Step | Description | Why It's Important |
|---|---|---|
Remove Grass | Clear the area of all vegetation. | Ensures a level surface. |
Level Ground | Use a rake and level to flatten the area. | Prevents uneven wear and injuries. |
Add Landscape Fabric | Lay down fabric to prevent weeds. | Keeps the playground clean. |
Spread Material | Distribute base material evenly. | Provides shock absorption. |
Maintaining Your Backyard Playground Base

Maintaining Your Backyard Playground Base
Keep it Clean:
Regular Inspections and Upkeep
Okay, so you’ve built this amazing backyard playground base, congrats! But, the job's not over, not by a long shot. Like a car or anything else that gets used a lot, it needs regular check-ups. We're talking about safety here, not just keeping things tidy. You should be doing a quick scan of your playground base at least once a month. Look for things like displaced material, weeds poking through the landscape fabric, or any sharp objects that might have found their way in. I once found a rusty nail in my kid's play area, that was a close one! A few minutes of looking around can prevent some nasty surprises.
If you’ve got wood chips, keep an eye on their depth. They tend to decompose and compact over time, so you might need to top them off every year or so. Rubber mulch is a bit more resilient, but still needs a once-over to make sure it’s evenly spread. Sand can get compacted and might need a little raking to keep it soft and loose. And if you are using pea gravel, make sure it’s not getting too thin. The key is to catch small issues early before they become big problems. Don't just assume everything is fine. A little bit of maintenance goes a long way to keep your playground safe and fun.
- Monthly Checks: Look for displaced material, weeds, and sharp objects.
- Wood Chips: Top off as needed, usually yearly.
- Rubber Mulch: Ensure even distribution.
- Sand: Rake to keep it loose.
- Pea Gravel: Maintain a sufficient layer.
Weathering the Storm:
Dealing with the Elements
Now, let's talk about Mother Nature. She's not always kind to our backyard playgrounds. Rain can wash away the base material, especially if you skipped the drainage step. I've seen it happen, and it's not pretty. After a heavy rain, check to make sure the material hasn't shifted and that there aren't any puddles forming. If you do have low spots, you might need to add more material or adjust the drainage. Sun can also be a factor. Rubber mulch can get really hot in direct sunlight. If it's really bad, you might want to consider adding some extra shade or even hosing down the area to cool it off. And finally, snow and ice can also wreak havoc on your playground base. Try to clear snow as soon as possible and avoid using salt or chemicals that could damage the material. A little bit of vigilance will keep your playground safe, no matter what the weather throws at it.
Also, think about the seasonal changes. In the fall, you might need to rake leaves off the playground area. This will prevent them from decomposing and creating a mess. In the winter, you might want to cover the playground base with a tarp to protect it from the elements. And in the spring, you will probably need to do a thorough clean-up to get it ready for the playing season. It's all about being proactive and taking care of your playground. A little bit of effort will ensure that your backyard playground is a safe and fun place for your kids to play year after year. And let’s be honest, a well-maintained playground looks way better than a neglected one. So keep it clean, keep it safe, and keep the fun going!
Weather Condition | Maintenance Tip |
|---|---|
Heavy Rain | Check for displaced material and puddles. |
Direct Sun | Consider shade and cool down the area. |
Snow and Ice | Clear snow and avoid using salt. |
Seasonal Changes | Rake leaves, cover in winter, clean in spring. |
Wrapping Up Your Backyard Playground Base
Building a backyard playground base might seem like a chore, but it's really about creating a safe and fun space for kids. We've covered planning, building, and maintaining your base, so now you've got the tools to make it happen. Remember, a good base means fewer bumps and bruises, and more playtime. It's not about perfection, but about creating a solid foundation for memories. So, get out there, get your hands dirty, and watch your backyard transform into the ultimate kid hangout. You've got this!