Table of Contents
Let's be honest, getting kids outdoors these days can feel like negotiating a peace treaty. Screens beckon, the couch calls, and suddenly, the vast expanse of your yard looks less like a play space and more like... well, just grass. But what if you could build a base of operations, a launchpad for imagination, right there? That's where a backyard playground fort comes in. It's not just a structure; it's a declaration that outdoor play still matters. Forget the flimsy plastic or the overly complicated kits that look great in pictures but require an engineering degree to assemble. Choosing and installing the right backyard playground fort requires some thought, tackling everything from material choices to ensuring it doesn't become a safety hazard. This article cuts through the noise, guiding you on how to pick a fort that fits your yard and your sanity, get it standing without losing a limb, and keep it a place of fun, not frequent trips to the emergency room. We'll cover the essentials, so you can stop scrolling and start building.
Why a Backyard Playground Fort? More Than Just Swings
Why a Backyard Playground Fort? More Than Just Swings
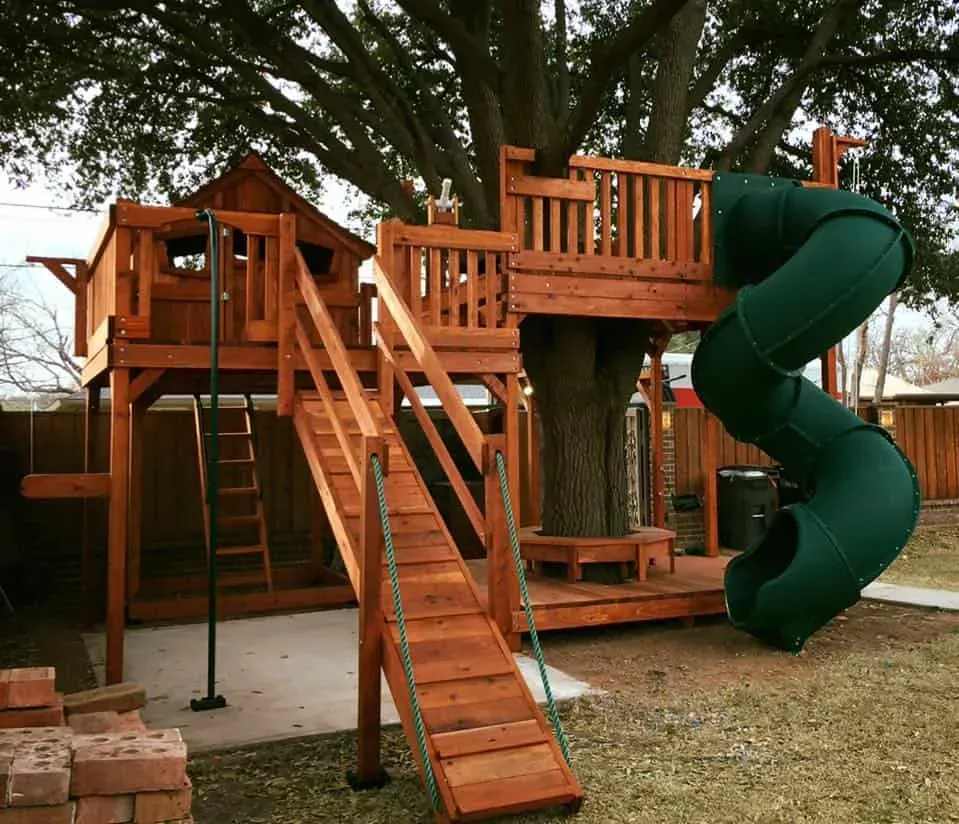
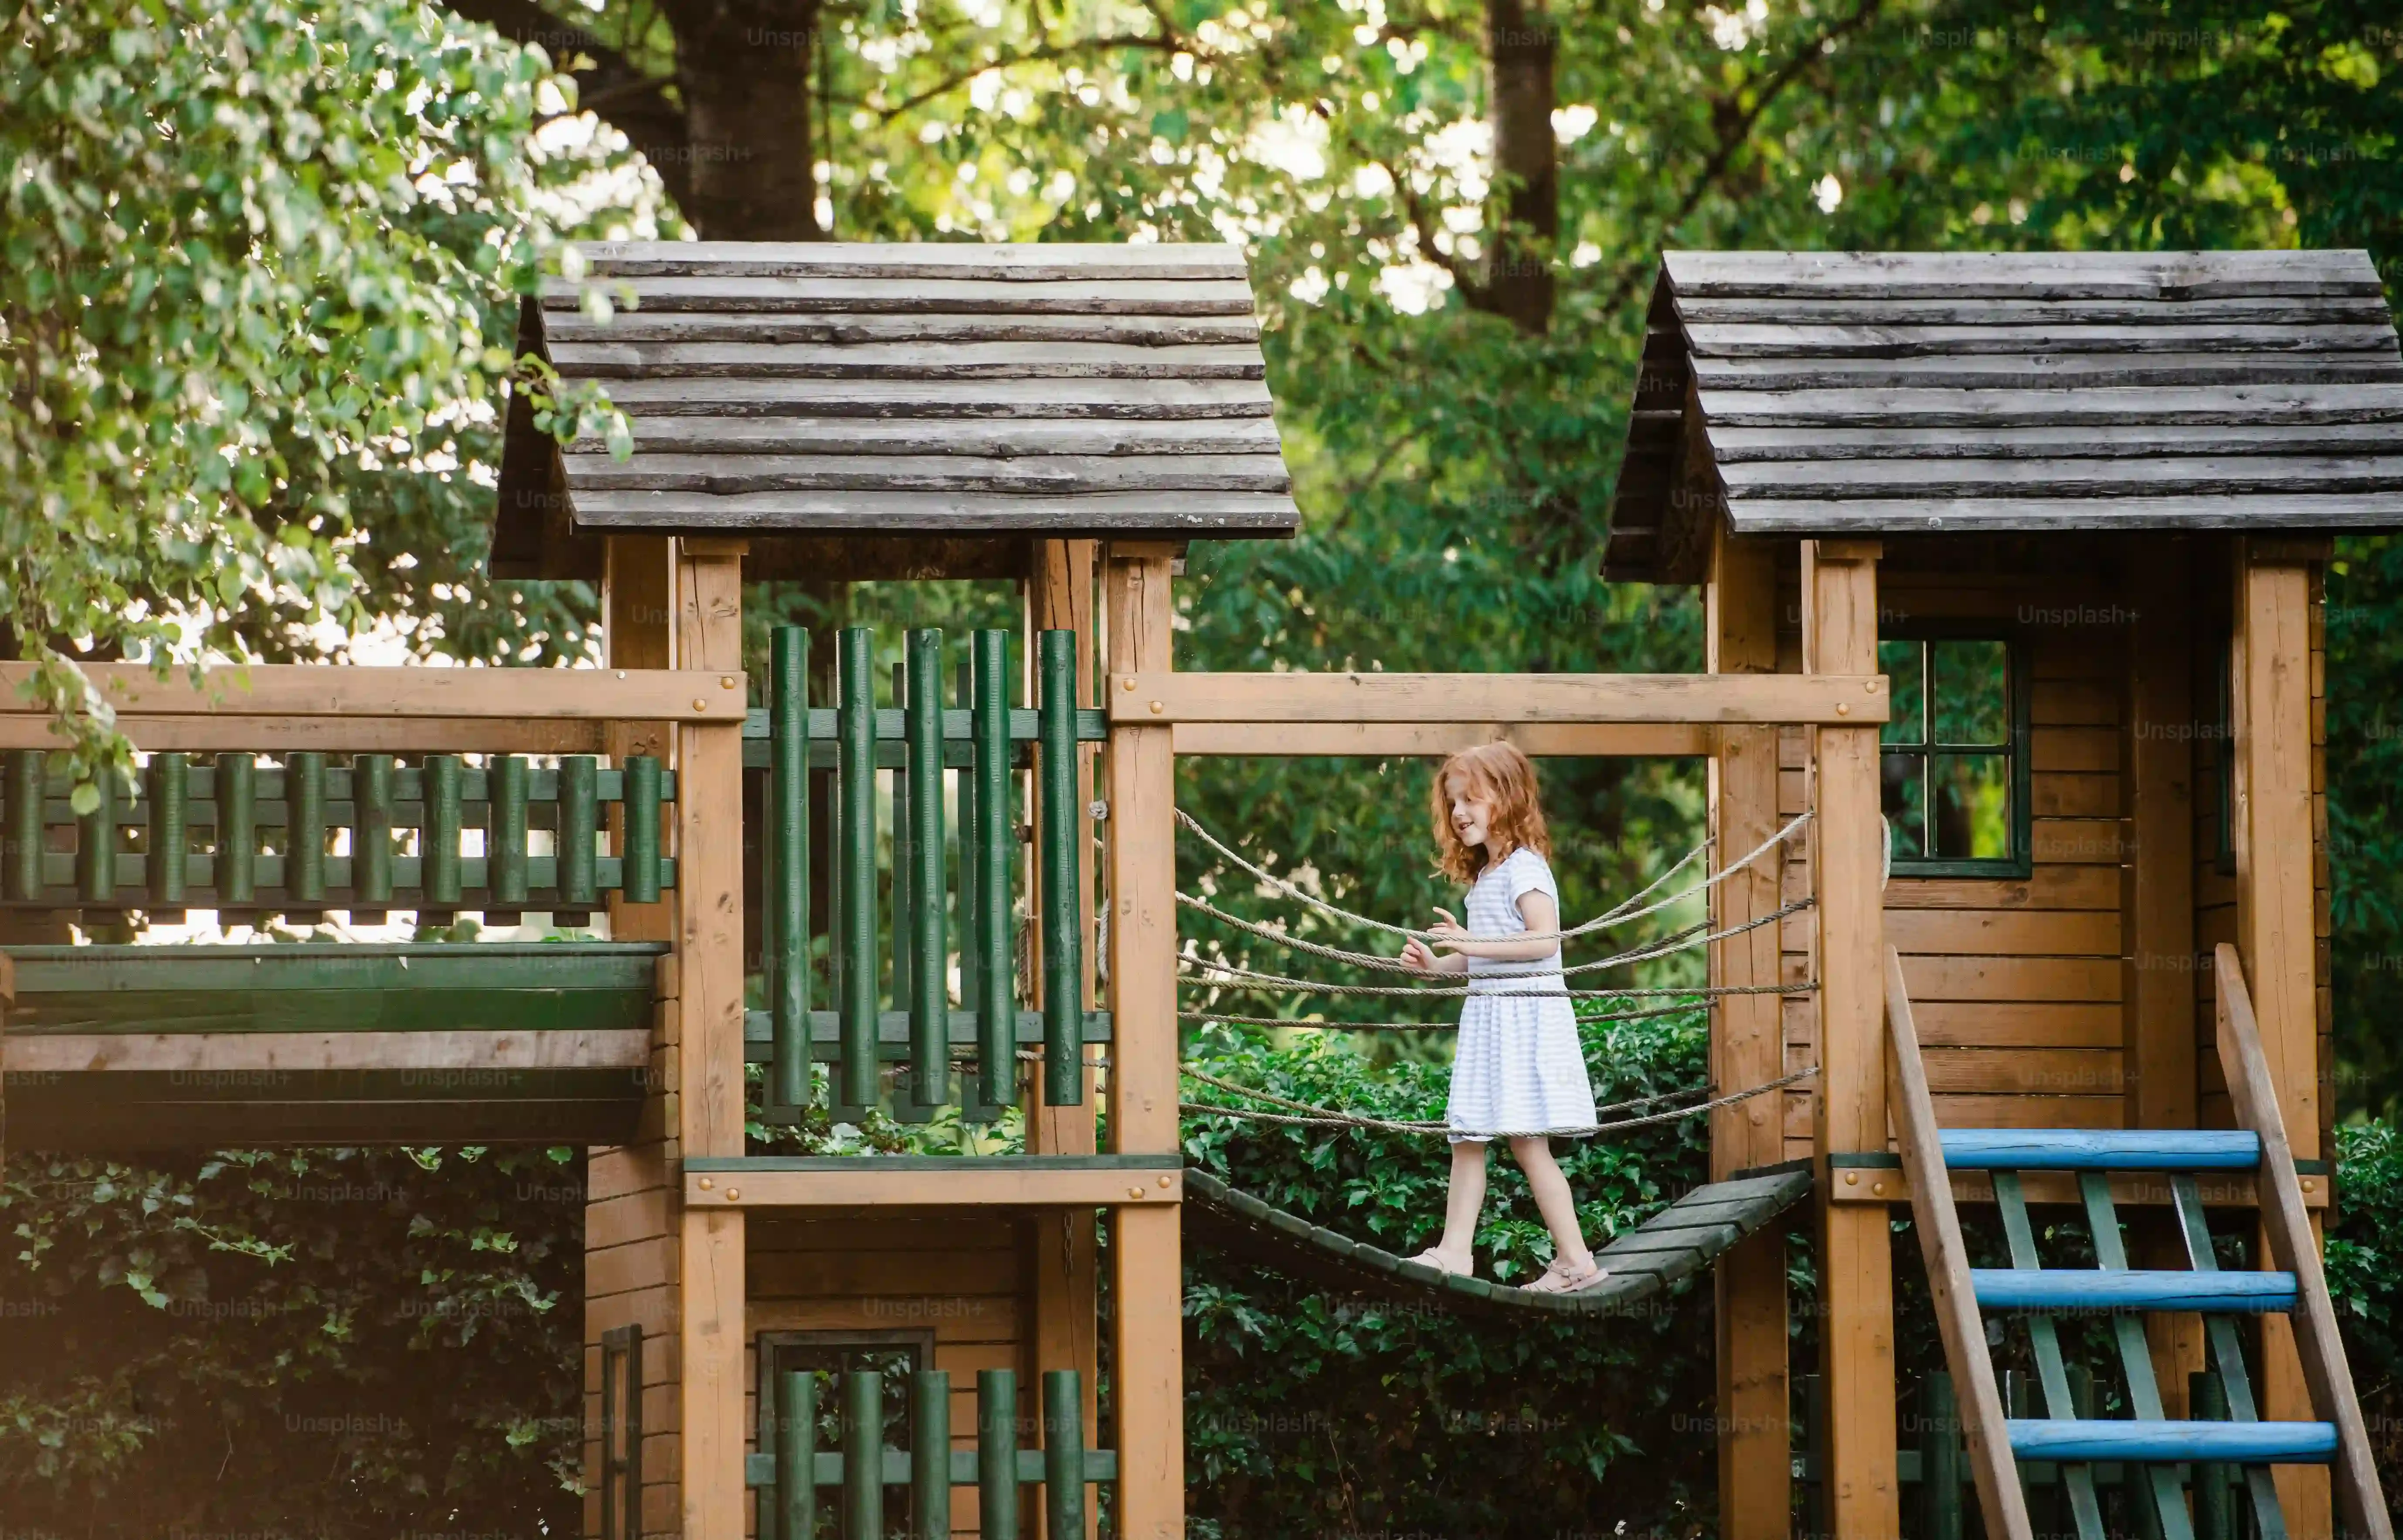
Look, I get it. You see a swing set, you see swings. Maybe a slide if you're lucky. But a backyard playground fort? That's a whole different animal. It’s the difference between providing a single activity and building an entire world. A proper backyard playground fort becomes the command center, the secret hideout, the pirate ship, the castle under siege. Kids aren't just passively swinging back and forth; they're climbing, strategizing, negotiating who gets to be the captain, and figuring out how to defend their turf from imaginary dragons or, let's be real, the neighbor's cat. It fosters imaginative play in a way a simple swing set just can't touch, providing vertical challenges, enclosed spaces for whispered secrets, and a sense of ownership over their own little piece of the yard.
Choosing the Right Backyard Playground Fort for Your Space
Choosing the Right Backyard Playground Fort for Your Space
Measure Twice, Buy Once: Sizing Up Your Yard and Wallet
Alright, before you get lost in visions of towering castles and zip lines, pull out a tape measure.
Seriously.
The first step in picking a backyard playground fort isn't browsing shiny pictures online; it's knowing exactly how much real estate you're working with.
Factor in the footprint of the fort itself, plus the crucial "safety zone" around it – that's the space needed for swings to arc fully, slides to land safely, and kids to bail out without hitting a fence or a prize-winning rose bush.
Manufacturers usually specify this required clearance.
Ignore it at your peril.
Next, let's talk cold, hard cash.
Backyard playground forts range from a few hundred bucks for a basic kit to well into the thousands for custom-built behemoths.
Set a realistic budget, and remember to factor in potential costs for site preparation (leveling ground, laying mulch or rubber), installation if you're not DIYing, and future maintenance.
Nobody wants a half-built dream rusting in the corner because the funds ran dry.
Wood, Plastic, or Metal? Decoding Materials and Must-Have Features
Now for the fun part: what's this backyard playground fort actually going to be made of?
Wood is the classic choice, offering a natural look and often more customization options.
Cedar is popular for its rot resistance, but it requires sealing and occasional staining to stay looking good and prevent splintering.
Pine is cheaper upfront but needs more diligent maintenance.
Plastic forts are generally lower maintenance and come in bright colors, often better suited for younger kids, but they can feel less substantial and might fade over time.
Metal is sturdy but can get hot in the sun and might rust if not properly coated.
Think about the climate you live in and how much work you're willing to put into upkeep.
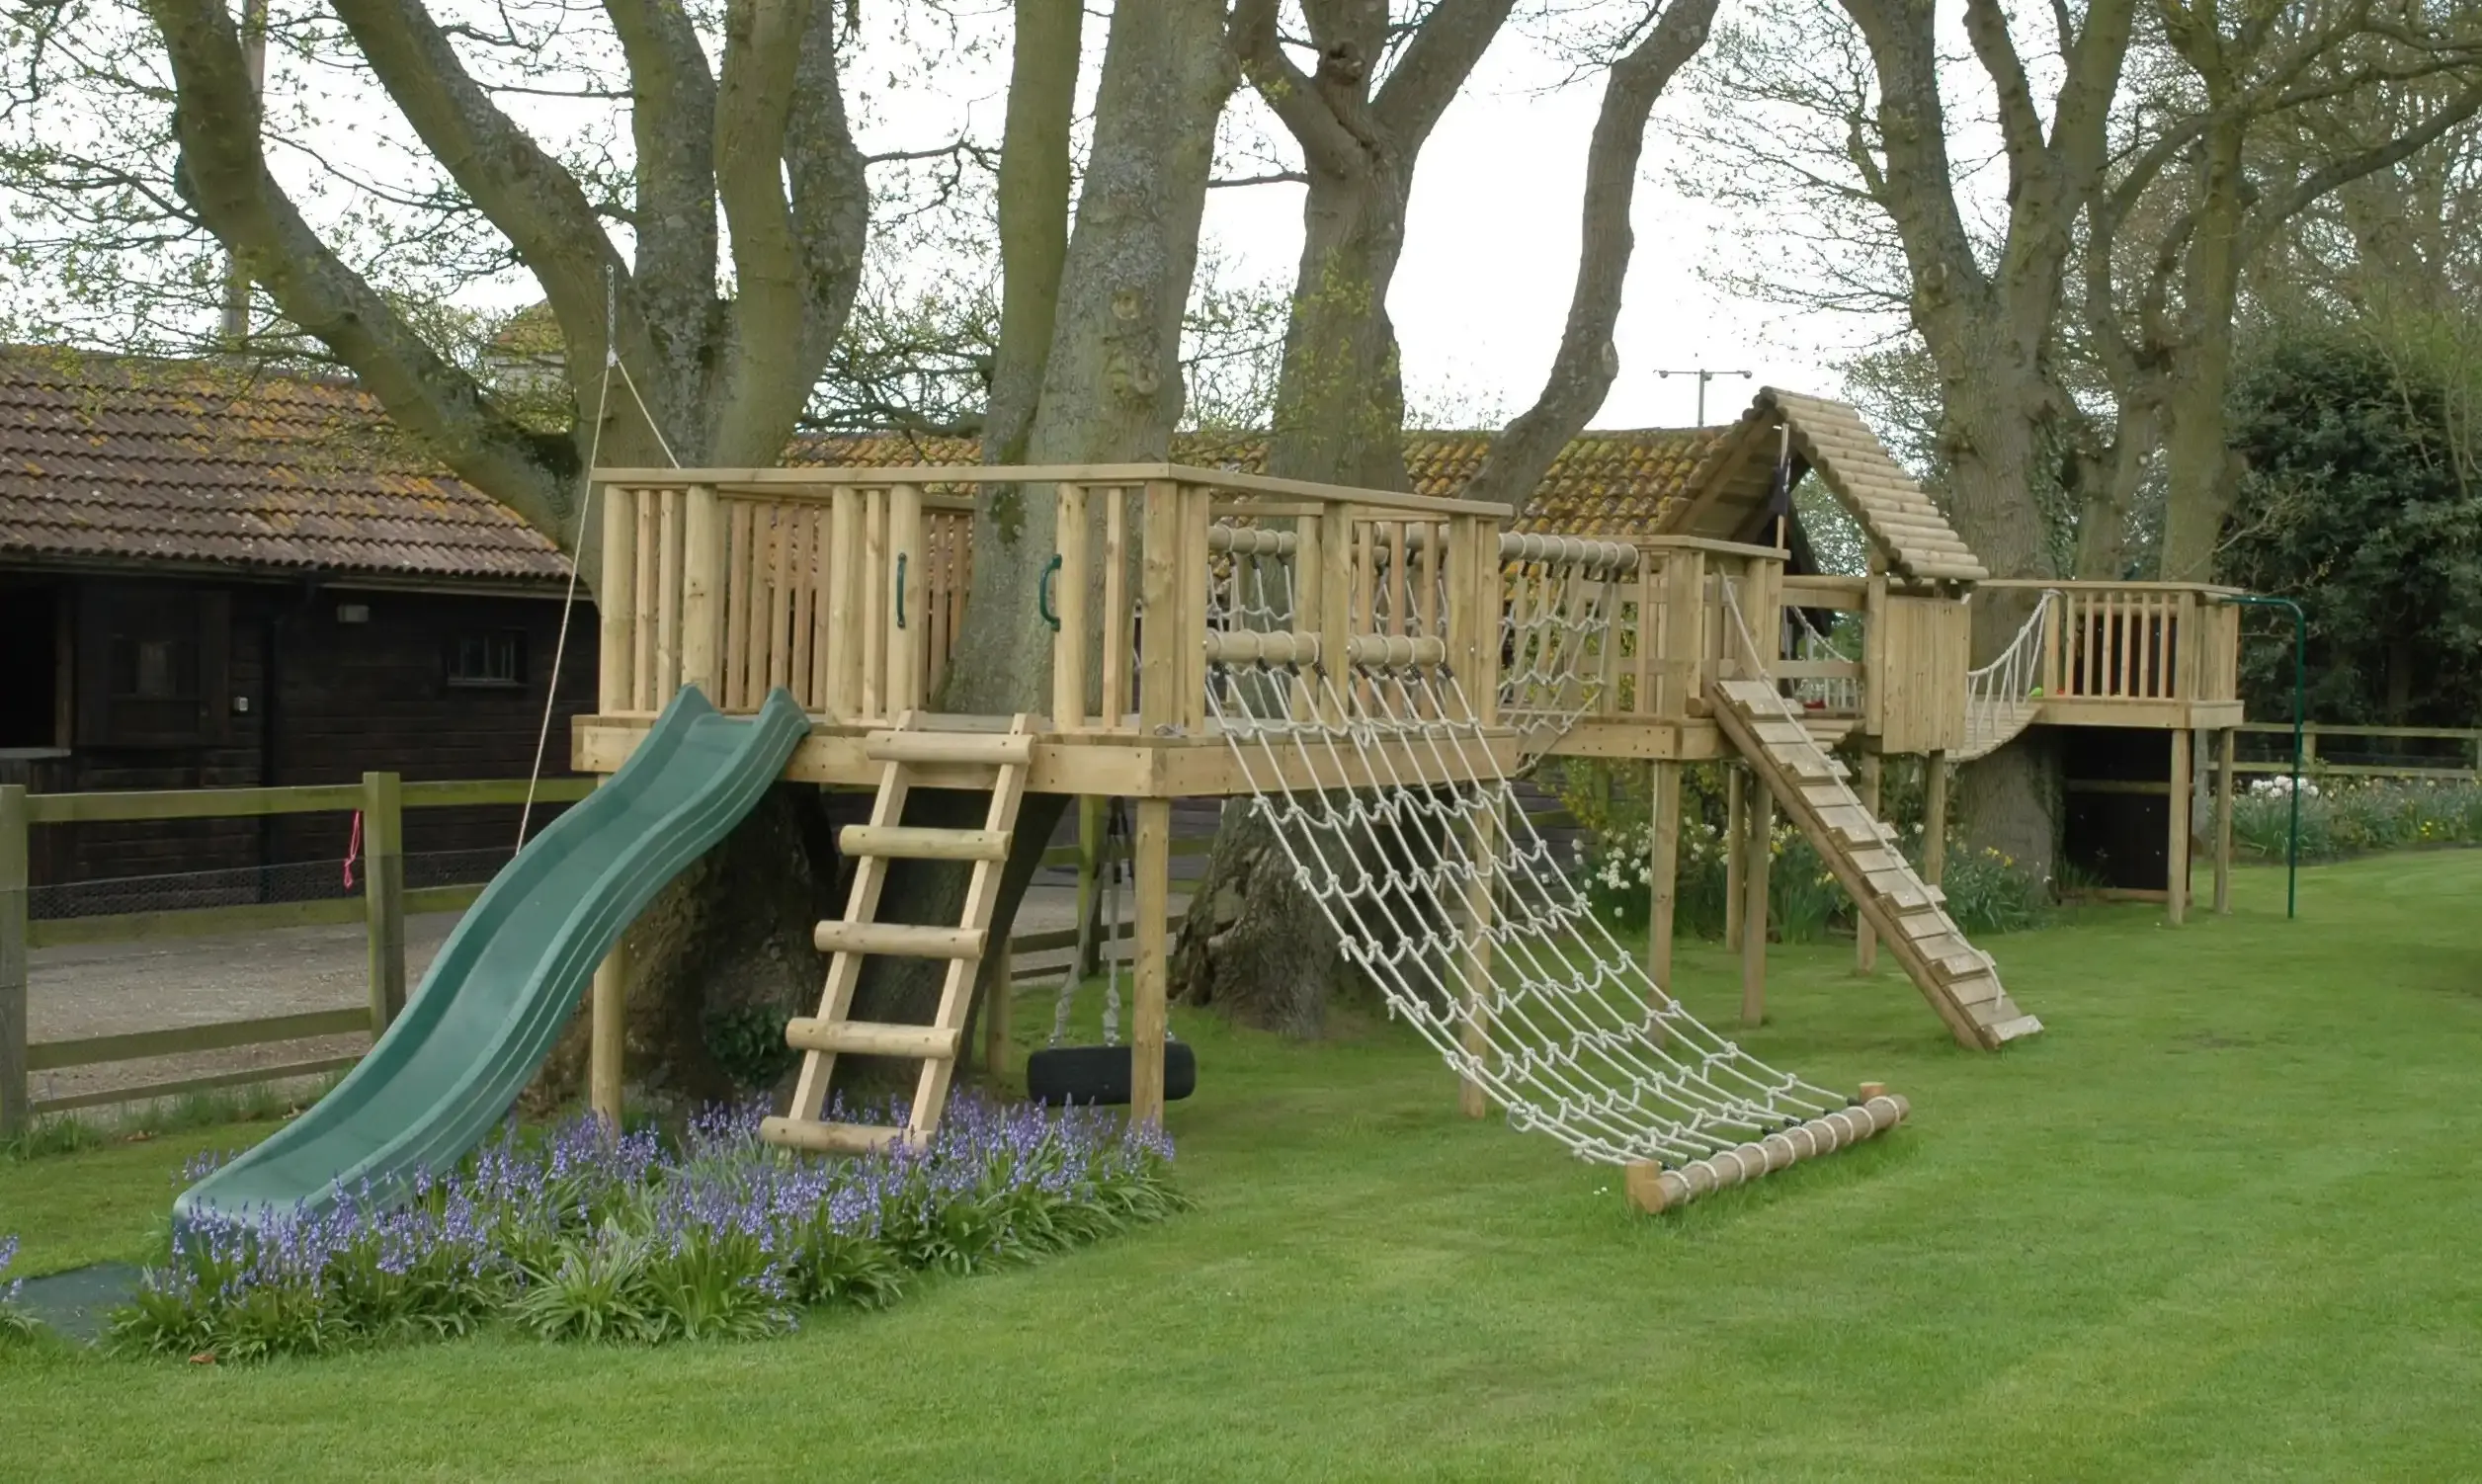
Beyond materials, consider the features: slides (wave, tube, or straight?), swings (belt, bucket, or tire?), climbing options (rock wall, rope ladder, staircase?), and enclosed spaces (clubhouse, sandbox below?).
What activities do your kids gravitate towards?
Don't just buy the one with the most bells and whistles; buy the one that matches their play style.
- Wood (Cedar): Natural look, durable, requires sealing/staining, prone to splinters if not maintained.
- Wood (Pine): More affordable, requires more maintenance, less rot-resistant than cedar.
- Plastic: Low maintenance, weather-resistant, can fade, potentially less durable for older/heavier kids.
- Metal: Very sturdy, can get hot, risk of rust if coating is compromised.
What features are non-negotiable for your crew?
Growing Pains: Choosing for Today and Tomorrow
Kids grow. Fast.
That adorable toddler who needs a bucket swing today will be a pre-teen scaling rock walls tomorrow.
When selecting a backyard playground fort, consider its longevity.
Look at the weight limits for swings and decks.
Does the design offer versatility or the possibility of adding components later, like a taller slide or a monkey bar attachment?
A fort designed for 3-year-olds might be outgrown in a couple of years, leaving you with a large structure that sees little use.
Conversely, a fort that's too complex or high might be intimidating for younger children.
Aim for something that offers different levels of challenge and interest.
A fort with both a small climbing wall and a set of monkey bars, for instance, can entertain a wider age range.
Investing a bit more upfront in a quality, adaptable backyard playground fort often pays off by extending its usable life and keeping kids engaged longer.
Setting Up Your Fort: Installation Tips and Tricks
Setting Up Your Fort: Installation Tips and Tricks
Site Prep: Level Ground is Your Friend
you've picked your killer backyard playground fort. Now comes the slightly less glamorous part: getting it out of the boxes and into the ground. First things first, ignore the urge to just plop it down wherever there's a patch of grass. Site preparation is non-negotiable. You need a level surface. Seriously. Trying to build a multi-story structure on a slope is a recipe for frustration, instability, and potentially, a fort that leans like the Tower of Pisa after a few years. Grab a long level or a line level and some stakes. Mark out the footprint, and then get to work. This might involve digging out high spots or filling in low ones. Think of it as laying the foundation for years of epic play. Skipping this step is like trying to build a house on sand – it's just not going to end well.
Assembly Shenanigans: Read the Instructions (Seriously)
Manufacturer instructions. I know, I know. They can sometimes feel like they were translated from ancient Sumerian by a particularly unhelpful robot. But for a backyard playground fort, they are your bible. Lay out all the pieces. Check the inventory against the parts list. There's nothing quite like being halfway through and realizing you're missing a crucial bolt or, worse, a main support beam. Sort pieces by type or step. This saves you hours of rummaging through piles of wood or plastic. Enlist a helper – trying to hold up a wall panel while simultaneously fumbling with a wrench is a clown act you don't need. Power tools are your friend, but don't overtighten bolts, especially on wood, as you can split the lumber. Take your time. Building a fort isn't a race. It's a project worth doing right.
- Read the manual cover-to-cover before starting.
- Inventory all parts immediately.
- Sort hardware into labeled containers.
- Work on a flat, clean surface.
- Use appropriate tools (power tools save time, hand tools offer precision).
- Never force pieces together; check the instructions.
- Have at least one helper for lifting and holding.
Anchoring and Final Checks: Don't Skip the Secure Part
Once your backyard playground fort is standing tall, the job isn't quite done. Anchoring is critical, especially in areas prone to wind or for forts with swings that exert lateral force. Many kits include ground anchors, typically long stakes or augers. Use them. Every single one. For added security, or if your kit's anchors look a bit flimsy, consider purchasing heavier-duty options or even setting posts in concrete, though this is a bigger project. After everything is assembled and anchored, do a full walk-around. Check every bolt, every screw, every connection point. Ensure they are snug (but not overtightened). Look for any sharp edges or potential pinch points. Run your hand along railings and slide edges. A little time spent on final checks can prevent skinned knees and worse down the line. Your backyard playground fort should stand strong against enthusiastic play and whatever weather gets thrown its way.
Keeping Your Backyard Playground Fort Safe and Sound

Keeping Your Backyard Playground Fort Safe and Sound
Regular Check-Ups: Your Fort's Annual Physical
So, you've built this magnificent backyard playground fort. High fives all around. But think of it like owning a car; you don't just fill the tank and forget about it. A backyard playground fort needs regular check-ups. At least once a year, preferably in the spring before peak play season, give it a thorough inspection. Get up close and personal. Are there any loose bolts or screws? Tighten them. Are any wooden beams showing signs of rot or significant cracking? Those might need replacing. Check ropes for fraying and swings for wear on the hangers. Slides can develop cracks, especially near the edges. If you see rust on metal parts, address it before it compromises the structure. It sounds tedious, but catching a small issue early is way easier and cheaper than dealing with a major failure down the line. It's about preventing a scraped knee from becoming something much worse.
Ground Rules and Ground Cover: Soft Landings Matter
the structure itself is solid, but what's underneath it? Grass offers zero impact absorption when a kid inevitably bails off a swing or the slide. You need a soft landing zone. Wood mulch, rubber mulch, or sand are standard options. They need to be deep enough – typically 9-12 inches, depending on the fall height of your backyard playground fort. And they need to be maintained; mulch compacts, sand blows away, and debris collects. Rake and replenish as needed. Beyond the physical space, establish some ground rules. No pushing on the stairs, no climbing on wet surfaces, only one person on the slide at a time. Simple stuff, really, but it makes a difference. Kids, bless their hearts, aren't always great at self-preservation when adrenaline is pumping. It's your job to set the boundaries.
- Inspect all bolts, screws, and fasteners for tightness.
- Check wood for rot, cracks, or splinters.
- Examine ropes and swings for wear and tear.
- Look for cracks or damage on plastic slides and components.
- Ensure metal parts are free of significant rust.
- Verify ground anchors are secure.
- Maintain recommended depth of safety surfacing (mulch, sand, rubber).
- Regularly check the safety zone around the fort for obstacles.
The Fort Stands: Now What?
So, the lumber is cut, the bolts are tightened, and your backyard playground fort officially occupies a chunk of real estate. You've navigated the maze of options, wrestled with assembly instructions that seemed written in ancient runes, and hopefully, avoided any major mishaps. What you've built isn't just wood and hardware; it's a deliberate shift towards getting kids off the sofa and into the sunlight. Expect dirt, scraped knees, and the occasional dramatic pronouncement from the highest deck. That's the point. It's a tangible investment in something other than passive entertainment. Now, step back, grab a cold drink, and watch the chaos unfold. You earned it.