Table of Contents
Dreaming of a backyard playground where your kids can burn off energy, spark their imagination, and make lasting memories? You're not alone. The idea of a swing set, slide, and climbing frame right outside your door is appealing, but thinking about putting it all together can feel like tackling a giant puzzle with missing pieces. That's where figuring out the best approach for a backyard playground with installation comes in.
Choosing the Right Backyard Playground with Installation Options
Choosing the Right Backyard Playground with Installation Options
Figuring Out What Fits (Beyond Just the Box)
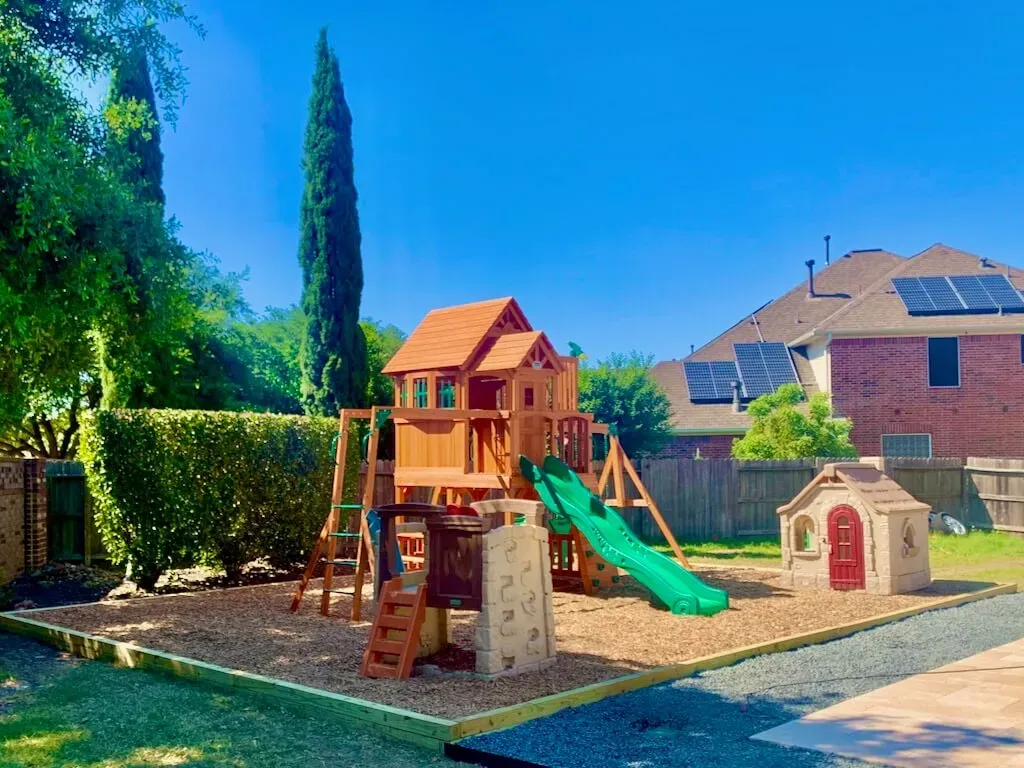
Alright, so you've decided the backyard needs an upgrade from just grass and maybe a sad-looking soccer ball. A proper play structure is the goal. Before you even start looking at shiny catalogs or endless websites filled with slides and swings, you need to get real about your space. How much room do you actually have? Measure it out, and remember you need clearance around the structure for safety zones – kids don't just stop at the edge of the woodchips. Think about the ages of your kids now, and maybe a couple of years down the road. A tiny toddler swing set won't cut it for a ten-year-old, and complex climbing features might be overwhelming for a three-year-old. Don't forget your budget either; these things range from "weekend project" cheap to "might need a second mortgage" expensive, especially when you factor in backyard playground with installation costs.
Wood, Metal, or Plastic: Picking Your Poison
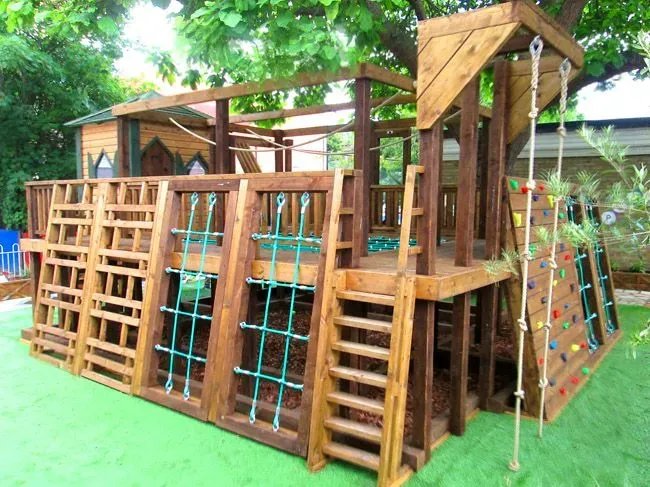
Once you know your space and who's playing, it's time to think materials and features. Wood sets look great and can last a long time with maintenance, but they'll require sealing and staining eventually. Metal sets are often lower maintenance but can get hot in the sun and sometimes feel less sturdy. Plastic sets are usually for younger kids and are the easiest to maintain but might not hold up as long to tough weather or older kids. Beyond the basic swings and slide, what else do you want? Monkey bars, rock walls, clubhouses, sandboxes, picnic tables? Each feature adds complexity, cost, and potentially, more pieces to assemble during the backyard playground with installation process.
- Available space (including safety zones)
- Children's ages and anticipated growth
- Budget for the set and installation
- Preferred material (wood, metal, plastic)
- Desired features (slides, swings, climbers, clubhouse)
- Local climate considerations
- Maintenance commitment
Installation: The Elephant in the Backyard
This is where the rubber meets the road, or rather, where the bolts meet the wood. When you're picking a set, seriously consider the complexity of the backyard playground with installation. Some sets are designed for easier assembly with pre-drilled holes and clearer instructions. Others look like they require an engineering degree and a team of experienced builders. Look at the listed assembly time and the number of boxes. If the manual is hundreds of pages long, you might be signing up for a serious time sink or a higher professional installation fee. Factor this crucial element into your choice from the very beginning; ignoring it is like buying a car without checking if it has an engine.
DIY vs. Professional Backyard Playground with Installation: What to Expect
DIY vs. Professional Backyard Playground with Installation: What to Expect
Taking the Plunge: DIY Backyard Playground Installation
Alright, let's talk about rolling up your sleeves and tackling this beast yourself. The biggest draw here is usually the cash you save. Professional backyard playground with installation isn't cheap; those folks charge for their time, tools, and expertise. Doing it yourself means you only pay for the set and maybe some extra hardware or a tool rental. It can also feel pretty satisfying to build something big and cool for your kids with your own two hands. You control the schedule (mostly) and can work at your own pace. However, be realistic. This isn't assembling an IKEA shelf. We're talking heavy boxes, potentially hundreds of pieces, confusing instructions, and the need for precise measurements and level ground. It will take time, likely more than you think, involve sweat, possibly some colorful language, and might require enlisting a friend or two.
Calling in the Cavalry: Professional Installation Services
Now, if the thought of deciphering cryptic diagrams while wrestling with a ten-foot beam makes you want to hide under the bed, hiring professionals for your backyard playground with installation is a perfectly valid option. This is the convenience play. They show up, ideally on time, with their own crew, tools, and know-how. They've done this before, probably hundreds of times. They can handle uneven ground (within reason), figure out the weird steps, and usually have the whole thing done in a day or two, depending on the complexity. The downside? The cost. It can add a significant chunk to the overall expense of your backyard playground. You also lose some control over the process and are relying on their schedule and quality of work. But if your time is limited, your patience is thin, or the set is massive, paying someone else to deal with the headache might be worth every penny.
So, how do you weigh the two?
- **DIY:** Cheaper upfront cost, sense of accomplishment, flexible schedule (yours). Requires significant time, physical effort, tools, patience, and possibly help.
- **Professional:** Saves time and effort, faster completion, handles complexity. Costs significantly more, less control over schedule, relies on installer quality.
Preparing Your Space for Backyard Playground Installation
Preparing Your Space for Backyard Playground Installation
Getting the Ground Right Before Anything Else
So, you've got the perfect set picked out and know whether you're DIYing or hiring the pros for your backyard playground with installation. Excellent. Now, let's talk dirt. You can't just plop this thing down anywhere. The ground needs to be as flat and level as you can possibly make it. Imagine trying to build a Lego castle on a lumpy bed – it's not going to stand straight, and neither will your playset. Remove any rocks, roots, or random debris that could cause instability or become a tripping hazard later. Seriously, get them out of there. You also need to think about drainage; puddles around the base aren't just annoying, they can damage materials over time. And this is non-negotiable: before *any* digging happens for footings or anchors, call 811 (if you're in the US) to get underground utility lines marked. Hitting a gas line or buried cable is a surefire way to turn a fun project into a very expensive, very dangerous disaster.
The Backyard Playground Installation Process: StepbyStep

The Backyard Playground Installation Process: StepbyStep
Sorting the Chaos and Laying the Foundation
Alright, the site is prepped, utilities marked, and the mountain of boxes is staring you down. The absolute first step in the backyard playground installation process, whether you're doing it yourself or watching the pros, is sorting every single piece. Seriously. Open every box, lay out all the wood, metal, hardware bags, and plastic bits. Compare them against the parts list in the manual. Nothing derails momentum faster than getting three steps in and realizing you're missing a critical bolt or a specific bracket. Once everything is accounted for (or you know exactly what you're missing), start separating pieces by the first few steps in the instructions. Usually, this involves building the main tower or A-frames first. Get those foundational pieces laid out in the general area where they'll be assembled. This isn't building furniture; these are heavy components that are much easier to move when they aren't fully assembled.
Building Up the Core Structure
With the pieces sorted for the initial phase, it's time to start assembling the core of your backyard playground. This is typically where the main support beams, uprights, and platforms come together. Follow the instructions *exactly*. Don't skip steps, don't assume you know better, and double-check every bolt and connection. Many sets require hardware to be left slightly loose until larger sections are connected, allowing for wiggle room to align holes, before tightening everything down securely. This phase is often the most physically demanding, requiring lifting and holding heavy pieces while someone else bolts them together. Having a partner (or the professional crew) is essential here. Ensure everything is square and plumb as you build; a crooked main structure means everything that attaches to it will also be crooked, and that's a recipe for instability and future headaches.
Common pitfalls during the core structure build:
- Not sorting hardware properly, leading to using the wrong bolts in the wrong places.
- Overtightening bolts too early, preventing alignment of subsequent pieces.
- Failing to build on a level surface, resulting in a leaning structure.
- Skipping safety steps like wearing gloves or eye protection.
- Misreading diagrams – sometimes flipping a piece makes all the difference.
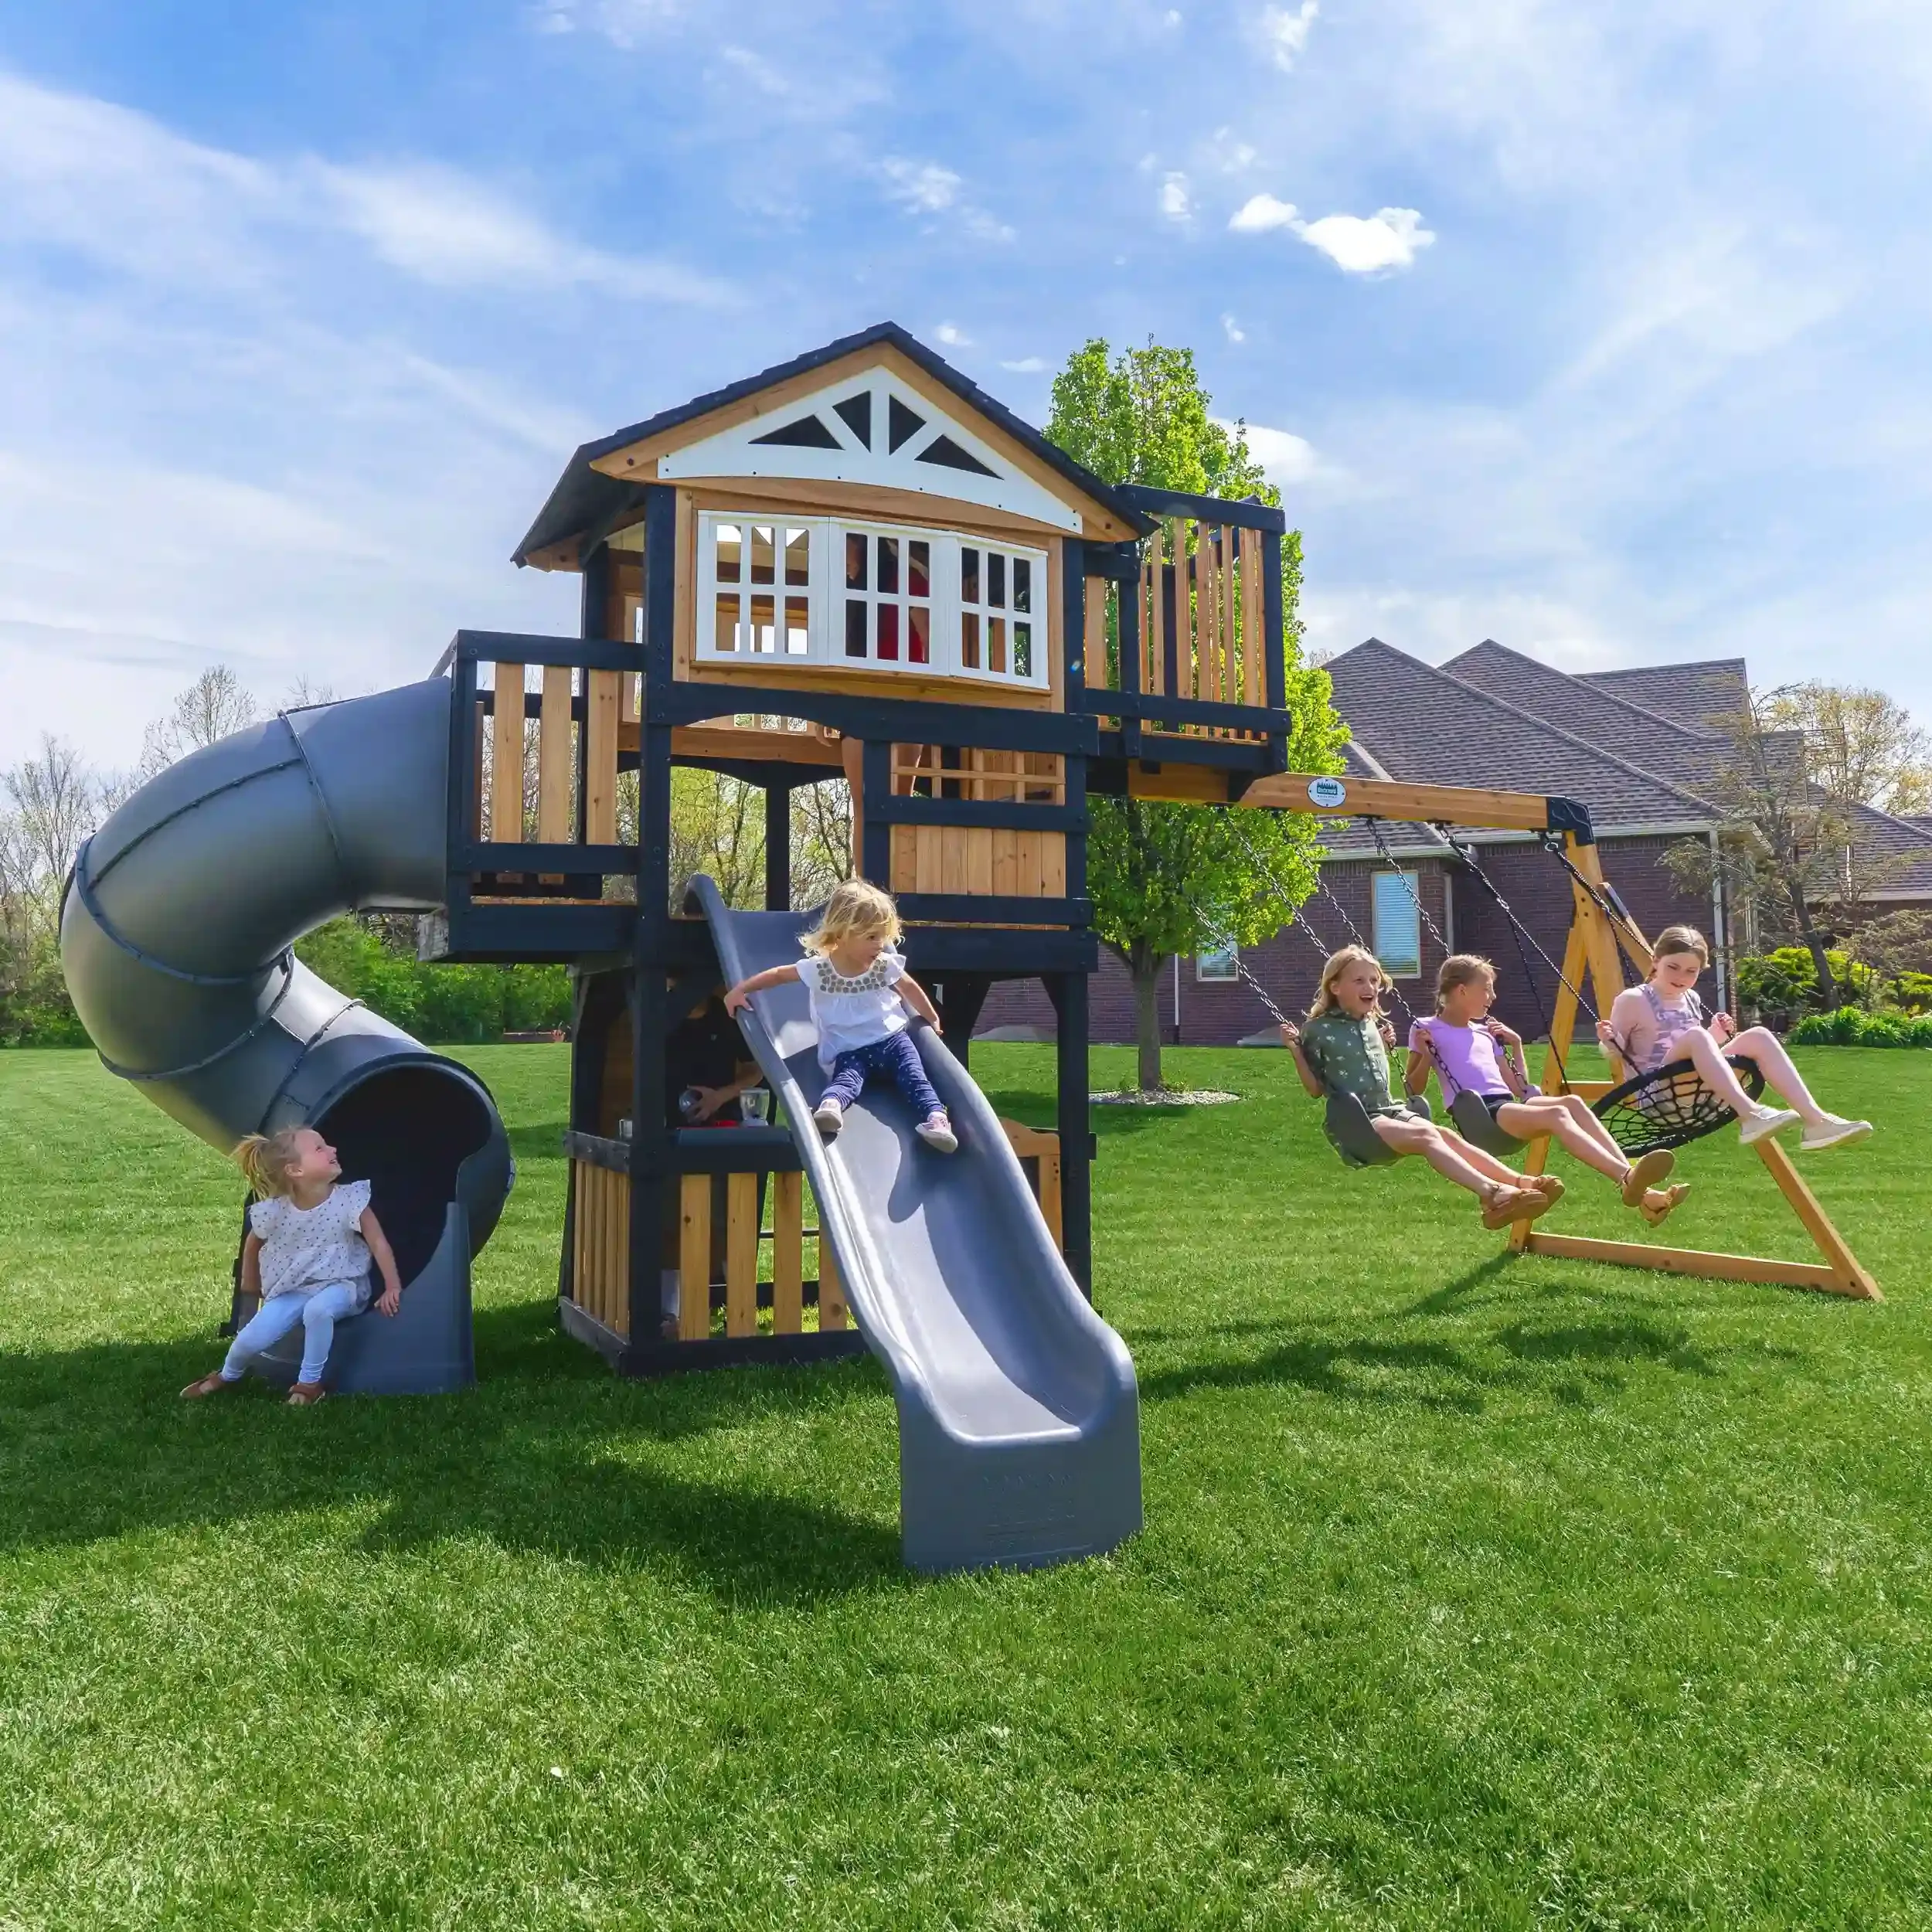
Adding the Fun Bits and Final Checks
Once the main fort or frame is solid and anchored (if required at this stage), you move on to adding the exciting stuff. Slides, swings, monkey bars, rock walls, roofs, and decorative panels all come next. These pieces are usually lighter but still require careful assembly and secure attachment. Pay close attention to how swings attach to the beam; improper hardware or installation here is a major safety risk. Ensure slides are securely fastened at both the top and bottom. As accessories are added, constantly refer back to the manual to ensure you're using the correct hardware and attaching components in the right order. After everything is assembled, do a full walkthrough. Check every bolt, every nut, every connection. Wiggle everything that's supposed to be stable. Look for sharp edges or potential pinch points. This final inspection is critical for ensuring the safety and longevity of your backyard playground with installation complete.
Maximizing Safety and Enjoyment After Backyard Playground with Installation
Maximizing Safety and Enjoyment After Backyard Playground with Installation
Keeping the Fun Safe and Sound
the last bolt is tightened, the safety surfacing is spread, and the kids are already clamoring to get on their brand-new backyard playground. You've conquered the backyard playground with installation challenge, whether you built it yourself or paid someone else to handle the sweat equity. But the job isn't totally done just because it's standing. Now comes the crucial part: making sure it stays safe and maximizes the fun for years to come. This isn't a "set it and forget it" situation. Regular checks and a little bit of ongoing maintenance are key to preventing unexpected wobbles, splinters, or worse.
Bringing the Fun Home: Final Thoughts on Your Backyard Playground
Getting a backyard playground with installation handled correctly means less time wrestling with instructions and more time watching your kids play. We've covered the basics: picking the right set, deciding if you're brave enough for DIY or smart enough to call in help, getting the ground ready, and understanding what happens when the boxes are finally opened. It’s not just about bolting pieces together; it’s about creating a safe zone for adventure right outside your door. While the initial decision and setup require effort, the payoff is years of laughter, fresh air, and worn-out kids ready for bed. Consider the steps outlined, make informed choices, and soon enough, that patch of grass will be the most popular spot in the neighborhood.