Table of Contents
Ever wished you could magically transform your backyard into a kid-approved adventure zone? Forget the pricey store-bought sets, let's talk about the best diy playground equipment ideas that won't break the bank and will bring endless smiles. This isn't just about building structures; it's about crafting memories, fostering creativity, and getting those little bundles of energy moving. I've been there, staring at a bare yard, wondering how to create a space that sparks joy and encourages outdoor play. In this article, we'll explore how to brainstorm the perfect playground, step-by-step instructions for building, the critical safety measures that should never be skipped, and finally, how to add those special touches that make your diy playground the best in the neighborhood. So, grab your tools, get ready to get your hands dirty, and let’s build some fun!
Dreaming Up Your DIY Playground: Best Ideas to Start

Dreaming Up Your DIY Playground: Best Ideas to Start
The Spark of Inspiration
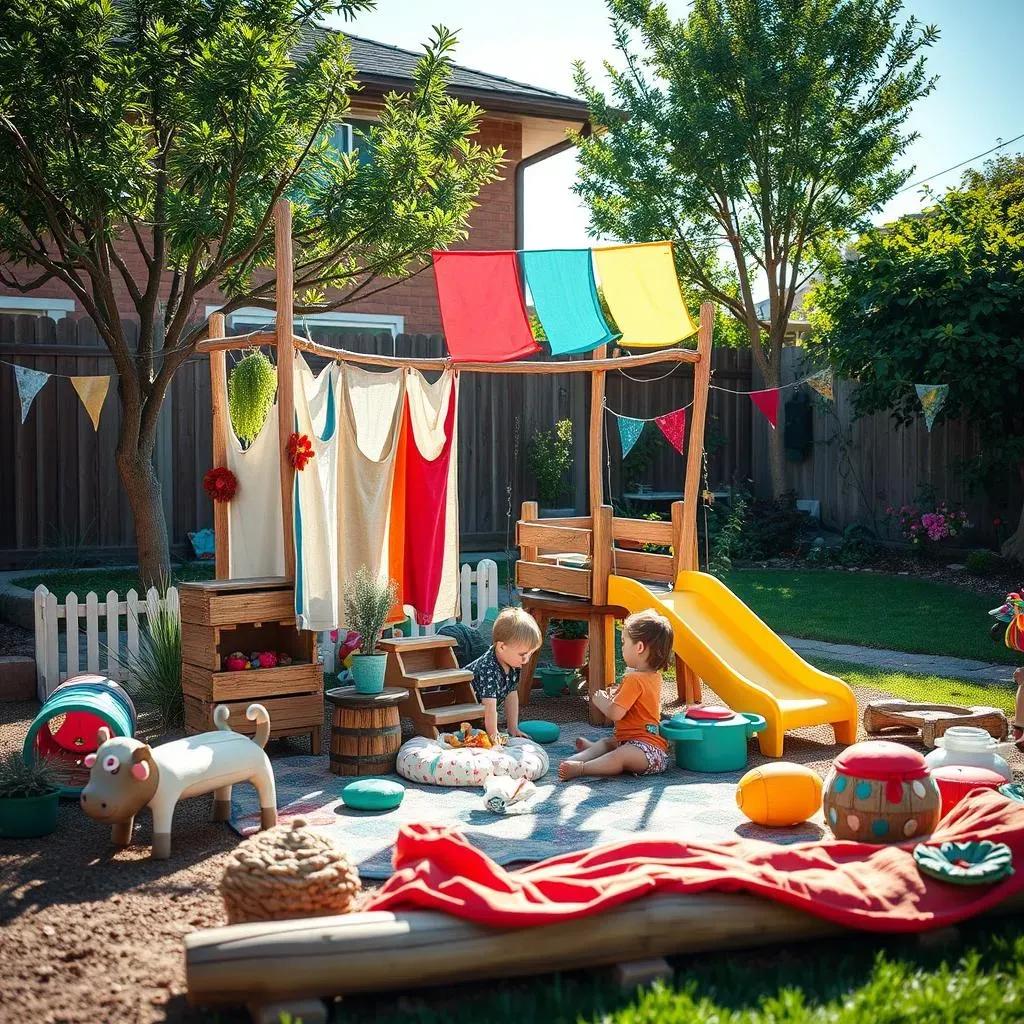
Okay, so you're ready to dive into the world of DIY playgrounds, awesome! Before you grab a hammer and a pile of wood, let's take a minute to dream a little. Think about your kids – what do they love to do? Are they climbers? Do they adore digging in the dirt? Maybe they're little acrobats who need a stage to show off their moves? The best playgrounds aren't just thrown together, they're born from a vision. I remember my niece, she was obsessed with pirates, so we built her a mini ship out of old pallets and rope, it was pure magic. It wasn't fancy, but it was perfect for her and her imaginary crew. That's the kind of personal touch that makes a playground truly special.
Don't just look at what other people have built, look at your space and your children. What are the possibilities? Do you have a big backyard or a cozy corner? Is there a tree that could be the base for a treehouse? Is there a slope that could be transformed into a slide? The best ideas often come from seeing the potential in what you already have. For instance, I once saw someone turn an old tire into a swing, it was a simple idea, but it was incredibly effective and fun. So, before you start sketching out elaborate plans, take a walk around your yard, and let your imagination run wild. What does your dream playground look like?
Brainstorming Basics
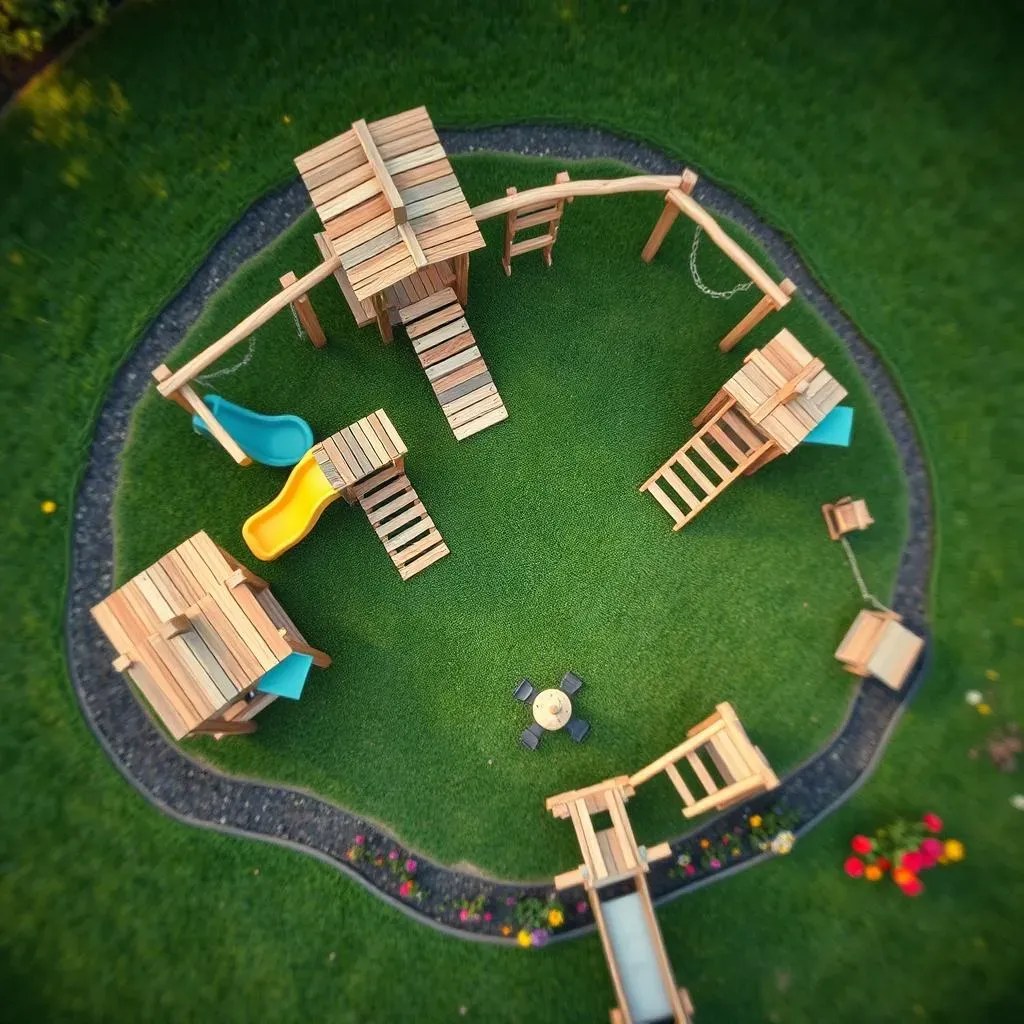
Once you have a general idea, it's time to get down to the nitty-gritty of planning. Think about different zones you could create: a climbing zone, a digging zone, maybe a quiet reading nook. Consider using natural materials like logs, rocks, and sand to create a more organic feel. I'm a huge fan of incorporating nature into play spaces – it's not just good for the environment, but it also encourages imaginative play. Remember the tire swing from before? It was hung from an old oak tree, which provided shade and a feeling of being in a secret hideaway. It's all about connecting with nature and using what's already available.
Also, don't be afraid to sketch out your ideas, even if you’re not an artist. Simple drawings can help you visualize your dream playground and see how all the different elements fit together. It's also a great way to get your kids involved, too! Ask them what they want, and let them contribute to the design process. It will not only make the space more fun for them, but also gets them excited about building it. When I did this with my kids, they came up with some wild ideas, like a "lava pit" made of red fabric and pillows, and it actually turned out to be one of the most popular features of our playground.
Playground Zone | Possible Activities | Materials to Consider |
|---|---|---|
Climbing Zone | Rock climbing, rope ladders, climbing walls | Wood, rope, climbing holds, tires |
Digging Zone | Sand play, digging for "treasure" | Sand, shovels, buckets, small toys |
Quiet Zone | Reading, drawing, relaxing | Soft blankets, cushions, books, art supplies |
Swinging Zone | Swinging, playing | Rope, tire, wood |
Building the Best DIY Playground Equipment: StepbyStep

Building the Best DIY Playground Equipment: StepbyStep
Gathering Your Arsenal
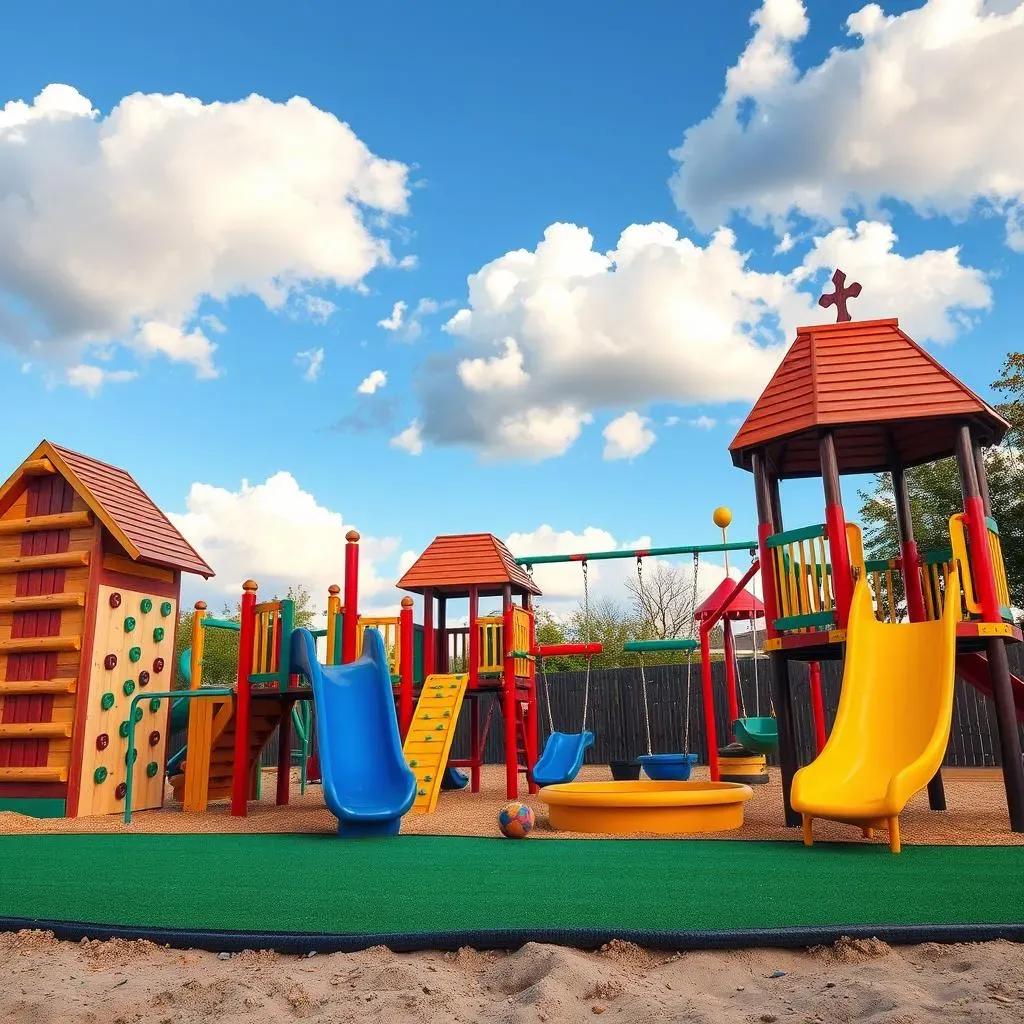
Alright, so you've got your ideas flowing, now it's time to think about what you'll actually need to build. This is where the fun starts, but also where you have to be a bit practical. Think about the materials you'll use. Are you going for wood, metal, or maybe a mix of both? I tend to lean towards wood because it's relatively easy to work with and gives a nice, natural feel. But, if you're planning on building something that needs to be extra sturdy, like a climbing frame, then metal might be a better choice. Don't forget about other things, like ropes, screws, bolts, and paint. And, of course, you’ll need your tools: a saw, a drill, maybe a sander, and a good old hammer. It's like getting ready for a battle, but instead of weapons, you're armed with wood and a can-do attitude!
Before you start, make sure you're using materials that are safe for kids, and that everything is properly treated to withstand the elements. I learned this the hard way after building a gorgeous wooden sandbox, only to have it rot away after a few months in the rain. So, do your research, and don't skimp on quality. You'll also want to check your local building codes to make sure your project is safe and compliant. It's not the most exciting part of the process, but it's crucial. You wouldn't want your amazing creation to be shut down before it even gets used, right? Take a look at what you have at home, maybe you can reuse some old wood or tires, it's not only economical but good for the planet.
The Building Blocks
Now for the hands-on part! Start with the basic structures. If you're building a swing set, start with the frame and make sure it's level and sturdy. If you're building a climbing wall, start by securing the base to the ground or a wall. It's kind of like building with LEGOs, you start with the foundation and then build up from there. Take your time and double-check all of your measurements. I'm not gonna lie, I've definitely had to dismantle and rebuild things a few times because I was too impatient to measure properly. It's all part of the process, and it's how you learn.
One thing I found helpful is to break the project down into smaller, more manageable steps. Don't try to do everything at once, it can be overwhelming. Focus on one element at a time, and make sure you get it right before moving on to the next. For example, if you're building a slide, start with the supports, then add the slide itself. And remember to use the right tools for the job. I once tried to use a screwdriver to hammer a nail, and let's just say it didn't end well. It's important to have the correct tools, not just for safety, but also to make the job easier and more efficient. And, if you're not sure about how to do something, don't be afraid to ask for help or watch a few tutorials online. There are tons of resources out there, so use them.
Equipment | Building Steps | Safety Tips |
|---|---|---|
Swing Set | Build frame, attach swings | Use sturdy wood, ensure secure connections |
Climbing Wall | Secure base, attach climbing holds | Use proper mounting hardware, check for stability |
Slide | Build supports, attach slide | Ensure slide is smooth, secure all connections |
Adding the Fun
Once the basic structures are in place, it's time to add all the fun elements. This is where your creativity can really shine. Think about adding things like ropes, ladders, tunnels, and maybe a sandbox. I’m a big fan of incorporating different textures and challenges. For instance, you could add a section of soft grass, and a section of gravel or sand. It’s all about creating a space that is both fun and stimulating. Also think about the colors, do you want a bright and bold playground or something more natural? This is your chance to personalize the space and make it truly your own.
Don't forget about those little details that can make a big difference. A few well-placed hooks for hanging toys, a chalkboard for drawing, or a small table for snacks can make the playground even more enjoyable. And make sure everything is properly secured and finished. You don't want any rough edges or splinters that could hurt your little ones. And most importantly, have fun with it! Building a DIY playground is a great experience, and it's something you and your kids can enjoy for years to come. I still remember the joy of building my first playground with my dad, it was a very special experience that i will never forget.
- Use smooth, treated wood to avoid splinters.
- Secure all connections with screws or bolts.
- Add a soft landing area under swings and slides.
- Regularly inspect your playground for wear and tear.
Safety First: Ensuring Your DIY Playground is the Best

Safety First: Ensuring Your DIY Playground is the Best
The Foundation of Safety
Okay, so you've got this amazing playground in your head, and you're ready to make it a reality. But before you let the kids loose, let's talk about the not-so-glamorous but absolutely crucial topic of safety. I know, I know, it's not as exciting as a tire swing or a climbing wall, but trust me, it's the most important part. The best DIY playground equipment ideas are useless if they are not safe. Think of safety as the foundation of your playground; without it, the whole structure could come tumbling down. I've seen too many projects where people get so caught up in the fun of building that they forget about the potential risks, and that's a mistake we can't afford to make. Remember, we're building this for our kids, so their well-being is our top priority.
First, let's talk about materials. Make sure you're using wood that's been treated to resist rot and insect infestation. Nobody wants a playground that's falling apart after a few months. And please, no sharp edges or splinters! Sand everything down until it's smooth to the touch. And those screws and bolts? Make sure they're the right size and are properly secured. I always double-check every single connection. It might seem like overkill, but it's better to be safe than sorry. It's like a pilot checking their instruments before takeoff – it's a critical step that can't be skipped. And remember, building a safe playground is not a one-time thing; it's something you need to keep checking regularly.
Ground Rules and Surfaces
Now, let's get down to the ground. The surface beneath your playground is just as important as the structures themselves. You want something soft and forgiving, not hard concrete or packed dirt. Think about using rubber mulch, wood chips, or pea gravel. These materials provide a cushion in case of falls, which, let's face it, are bound to happen. I always imagine how my kids are going to use the playground, and I try to anticipate where they might fall and then make sure those areas are extra safe. I've seen some pretty nasty scrapes and bumps, so I always go the extra mile to ensure that there are soft landings.
Also, think about spacing. Make sure there's enough room between different pieces of equipment, so kids aren't bumping into each other. And remember to leave some open space for running around. It's not just about having a lot of stuff; it's about creating a space that is both fun and safe to move around. And, finally, set some ground rules. Teach your kids how to use the equipment properly, and always supervise them while they're playing. This is not the time to relax and scroll through your phone. It's about being present and engaged, and making sure that everyone is having fun and staying safe.
Safety Aspect | Action Steps |
|---|---|
Material Safety | Use treated wood, sand down rough edges, secure all connections |
Ground Surface | Use soft materials like rubber mulch or wood chips |
Spacing | Ensure enough space between equipment |
Supervision | Always supervise children while they play |
Regular Check-Ups
Building the playground is just the first step, it is important to keep checking your work. Regular maintenance is key to ensuring that your playground remains safe and fun for your kids. I always set a reminder on my phone to do a full inspection at least once a month. I check for loose screws, cracks in the wood, and any signs of wear and tear. It's like a doctor's check-up for your playground. And, if you spot something that needs fixing, don't put it off. It's better to address it right away than to wait until it becomes a bigger problem. I once ignored a small crack in a swing seat, and it ended up breaking completely, it's a lesson that i won't forget.
Also, think about the changing seasons. Make sure your playground is ready for all kinds of weather, from the hot sun to the cold rain. You may need to re-treat the wood or take down some pieces during the winter. It's like preparing your garden for the changing seasons. And, if your kids are growing up, make sure the playground is still appropriate for their age and abilities. What was fun for a toddler might not be challenging enough for a ten-year-old. It's always a good idea to adapt and change things as your kids grow. And, if you're ever in doubt, don't be afraid to ask for help. There are tons of resources out there, from online forums to local experts. It's better to be safe than sorry.
Creative Touches: Making Your DIY Playground the Best on the Block

Creative Touches: Making Your DIY Playground the Best on the Block
Adding the Sparkle
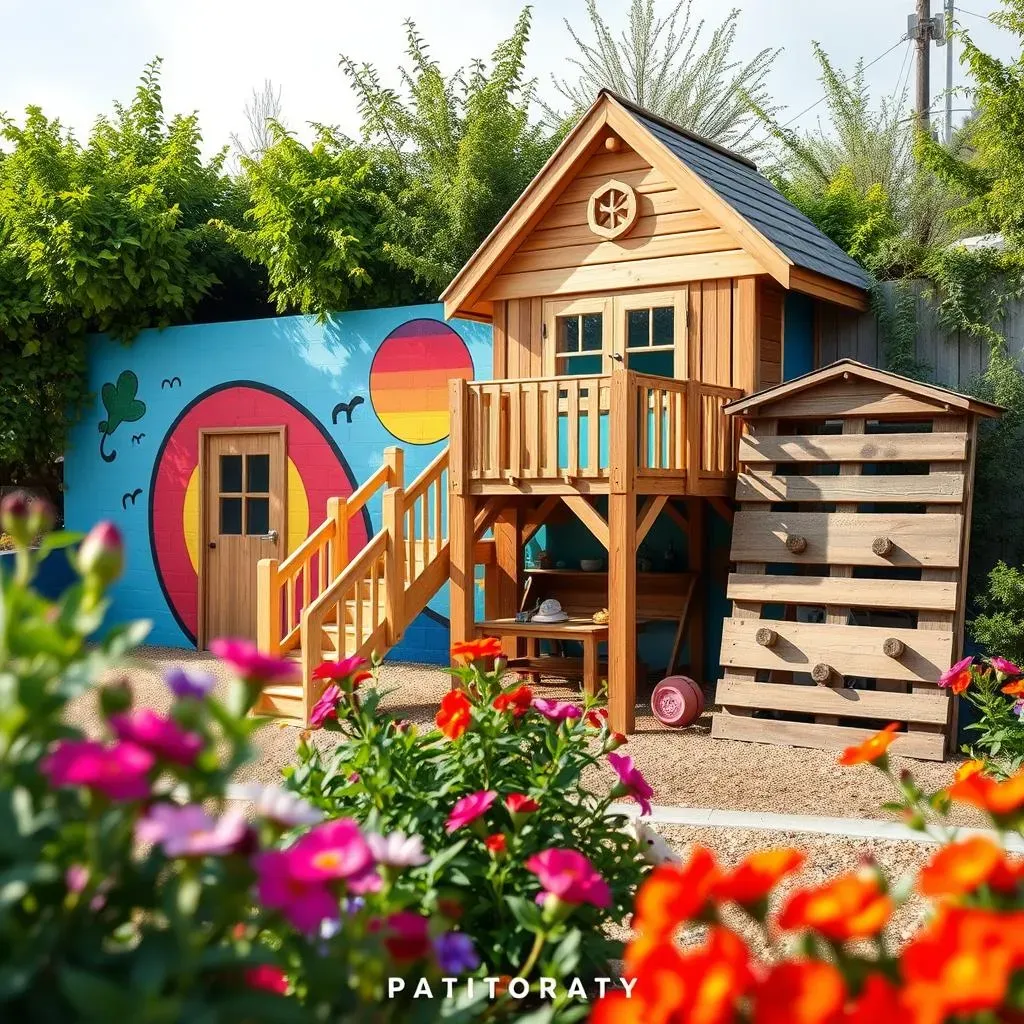
Alright, so you've got the bones of your playground built, it's safe, it's sturdy, but how do we make it truly special? This is where you get to unleash your inner artist and add those creative touches that will make your playground the talk of the neighborhood. It's not just about having the most expensive equipment; it's about creating a space that's unique, engaging, and reflects your family's personality. Think about it like adding frosting to a cake – it's what makes it look and taste amazing. I'm a big believer in the power of small details, and how they can transform a simple structure into a magical wonderland. For instance, a splash of color can make all the difference, turning a plain wooden frame into a vibrant work of art.
One of my favorite ways to add personality is through painting. Let your kids choose the colors, and let them help you paint. It's not just about making it look pretty; it's about getting them involved in the process. You could paint a mural, add some fun patterns, or even create a themed playground, like a jungle or a space station. Also, think about adding some natural elements, like flowers, plants, or even a small herb garden. Not only does it add a touch of beauty, but it also helps to create a more calming and inviting space. And don't be afraid to reuse and recycle items, you can turn old tires into planters, or use old pallets to create a climbing wall. It's not only good for the environment but it also adds a unique touch to your playground.
Personalizing the Play
Now, let's talk about how to personalize the play experience. Think about adding elements that will encourage imaginative play. A small playhouse, a teepee, or a stage can provide endless opportunities for your kids to create their own stories. I always think about how kids use the space, and I try to add things that will inspire them to explore, create and imagine. For example, a simple set of dress-up clothes can turn your playground into a pirate ship or a royal castle. Also, think about adding some sensory elements, like wind chimes, textured surfaces, or a water feature. It's all about creating a space that engages all the senses and encourages kids to be curious and explore.
Don't forget about the little details that can make a big difference. A few well-placed hooks for hanging toys, a chalkboard for drawing, or a small table for snacks can make the playground even more enjoyable. And make sure everything is properly secured and finished. You don't want any rough edges or splinters that could hurt your little ones. And most importantly, have fun with it! Building a DIY playground is a great experience, and it's something you and your kids can enjoy for years to come. I still remember the joy of building my first playground with my dad, it was a very special experience that I will never forget. It’s also about getting your kids involved in the process, and letting them contribute to the design and creation of their own play space. After all, it's their playground, and it should reflect their personalities and interests.
Creative Touch | How to Implement |
|---|---|
Painting | Use bright colors, let kids help, create murals |
Natural Elements | Add plants, flowers, herbs, use natural materials |
Imaginative Play | Add playhouses, stages, dress-up clothes |
Sensory Elements | Add wind chimes, textured surfaces, water features |