Table of Contents
Ever dreamt of creating the ultimate play space? You know, the kind that makes kids' eyes light up and adults secretly wish they were small enough to join in? Well, turning that dream into reality starts with understanding the ins and outs of a custom playground equipment installation guide. It's more than just bolting some swings to the ground. It involves careful planning, a keen eye for safety, and a bit of elbow grease. This article will walk you through everything you need to know, from the initial planning stages to the final, fun-filled reveal. We'll tackle crucial safety considerations, provide a step-by-step installation roadmap, and explore how to create a truly engaging play environment. Think of this not as a chore, but as an adventure—a chance to build a space where joy and laughter can flourish. So, let's get started and make this playground dream a reality!
Planning Your Custom Playground Equipment Installation

Planning Your Custom Playground Equipment Installation
Okay, so you’re diving into the world of custom playground equipment? Awesome! Before you even think about digging a hole, let’s talk planning. This isn't just about picking out the coolest slide or the highest swing set; it's about creating a space that's safe, fun, and fits your specific needs. First, you have to consider your location. Is it a flat, open area or a sloped, quirky space? Knowing this helps determine what type of equipment will work best. Then, think about the age range of the kids who will be using the playground. A toddler-friendly zone will look very different from one designed for older kids.
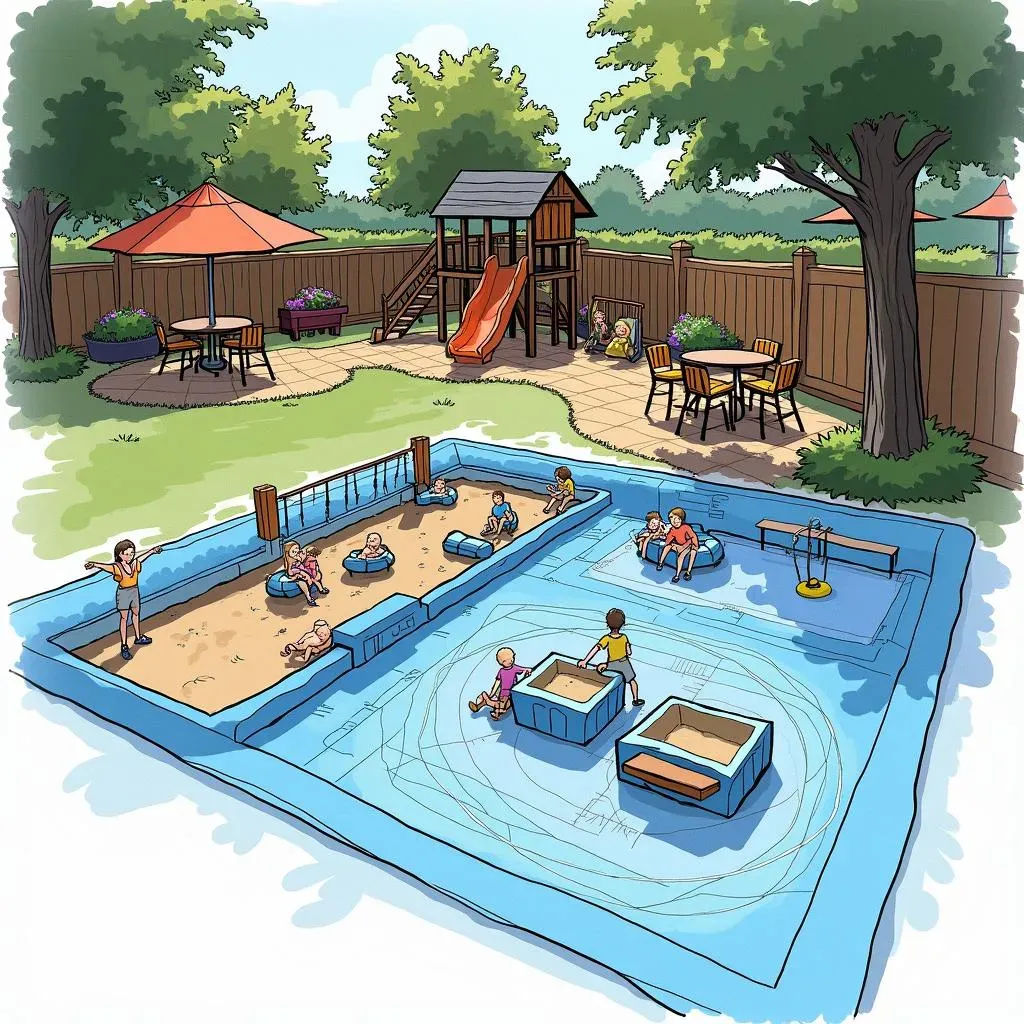
Next, you'll need to figure out your budget. Custom playgrounds can range from a simple swing set to a complex, multi-tiered structure, and the cost varies accordingly. Don’t forget to factor in the cost of installation, ground surfacing, and any necessary permits. It's a good idea to get quotes from multiple suppliers and installers. Once you have a solid idea of the budget and the space, start sketching out your dream playground. Think about the flow of the play area, how kids will move from one activity to another, and what kind of play you want to encourage. Do you want a space for climbing, sliding, swinging, or a mix of everything? It's your chance to design something special.
Planning Phase | Key Considerations |
|---|---|
Location Assessment | Site terrain, size, and existing features. |
User Age Range | Target age group for safety and play appropriateness. |
Budget Allocation | Cost of equipment, installation, and permits. |
Playground Design | Flow, activities, and desired play type. |
Safety First: Key Considerations for Custom Playground Installation

Safety First: Key Considerations for Custom Playground Installation
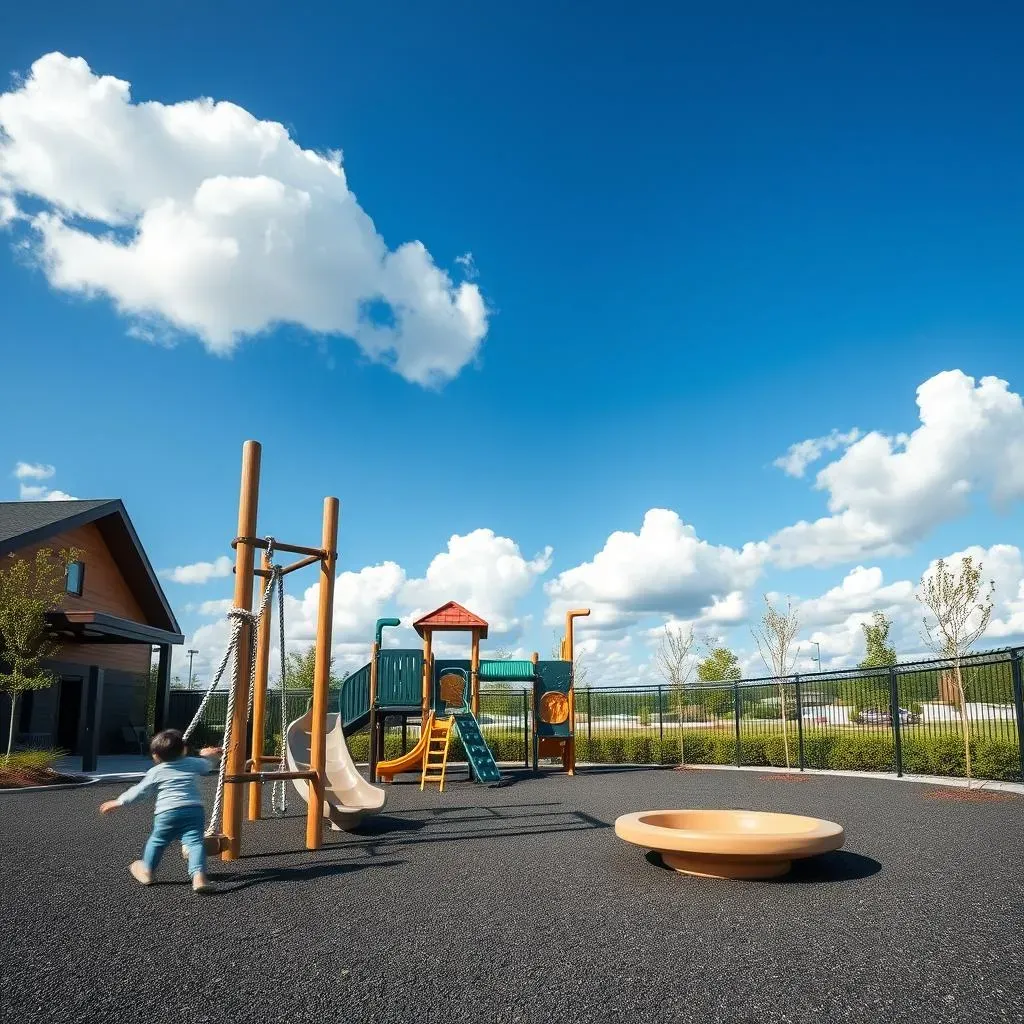
Alright, let's talk safety, because, honestly, what's the point of a super cool playground if it's not safe? This is where you put on your "responsible adult" hat. First up: surfacing. The ground beneath and around your equipment is critical. You’ll want to use materials that cushion falls, like rubber mulch, wood chips, or poured-in-place rubber. Think of it like a giant, soft landing pad. The depth of the surface material matters; the higher the equipment, the deeper the cushioning needs to be. And don't forget about checking for proper drainage; you don't want a swamp forming after a rainstorm.
Next, take a close look at the equipment itself. Are there any sharp edges, exposed bolts, or places where little fingers or clothes could get caught? All equipment should meet safety standards, and it's a good idea to double-check everything. You should also think about spacing. There needs to be enough room around each piece of equipment so kids can play without bumping into each other or the structure itself. Finally, consider the overall layout of the playground. Keep the play area in a visible location, so you can easily supervise the kids. A little planning goes a long way in keeping everyone safe and happy.
“Safety isn't expensive, it's priceless.”
Here's a quick checklist to keep in mind:
- Surfacing: Use proper materials and ensure adequate depth.
- Equipment Check: Look for sharp edges, exposed bolts, and entrapment hazards.
- Spacing: Ensure enough room around equipment for safe play.
- Visibility: Place the playground in a visible location for easy supervision.
StepbyStep Guide to Installing Your Custom Playground Equipment

StepbyStep Guide to Installing Your Custom Playground Equipment
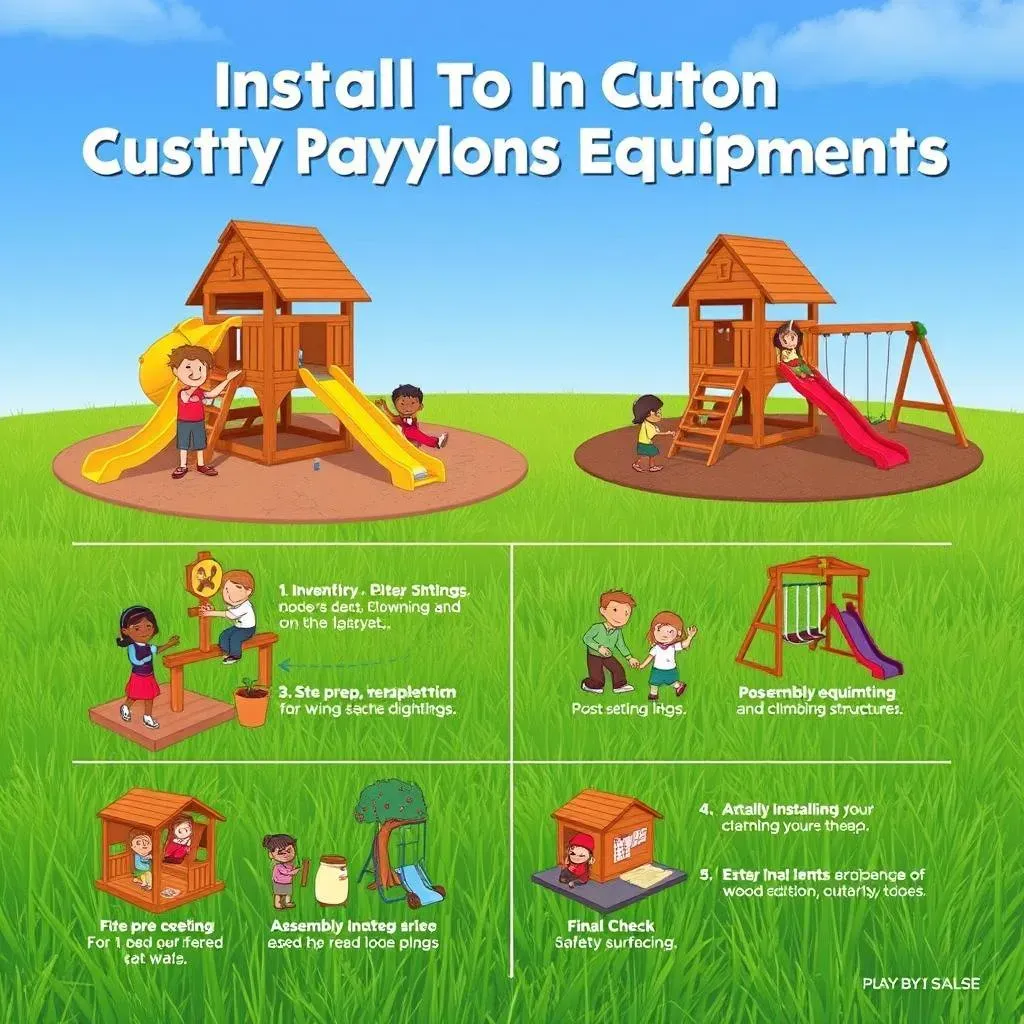
Alright, so you've got your plan and you've made sure everything is safe, now it's time for the fun part: putting it all together! This is where your step-by-step guide to installing your custom playground equipment really comes into play. First, before you even touch a tool, double-check that you have all the parts. Nothing is more frustrating than getting halfway through and realizing you’re missing a vital bolt or a crucial piece of the frame. Lay everything out and compare it to your parts list. It's like prepping for a big LEGO build, but instead of plastic bricks, you've got swings, slides, and climbing frames!
Next, you'll want to prepare your site. This usually involves marking out where the equipment will go, and that usually means digging. You’ll need to dig holes for the support posts, following the manufacturer's instructions for depth and width. This is crucial for stability, so don't skimp on this step. When you're setting the posts in the ground, make sure they are perfectly level, you can use a level tool for that, as this will ensure the equipment is stable and safe. It's also a good idea to use concrete to secure the posts in place. Once the posts are set, it's time to start assembling the main structure, piece by piece. This is where you can see your playground really starting to take shape. Follow the instructions carefully, and don’t rush. Patience is key here, and it's always a good idea to have a second pair of hands to help you out.
Think of the installation process like baking a cake, each ingredient needs to be measured and mixed correctly for the final product to be perfect.
Finally, once the main structure is up, it's time to install the fun stuff like slides, swings, and climbing walls. Make sure everything is securely attached and that there are no loose parts. Once everything is installed, do a thorough check of the entire playground. Check every bolt and every connection. If possible, have a professional inspect the completed playground to make sure it meets all safety standards. This is a key step to ensure that the playground is safe. Now, all that is left to do is add the safety surfacing and you’re good to go. It's a lot of work, but seeing the kids enjoy the playground makes it all worth it.
Here's a quick checklist for the installation process:
- Inventory: Confirm all parts are present before starting.
- Site Prep: Mark and dig holes for support posts.
- Post Setting: Level and secure posts with concrete.
- Assembly: Follow instructions and assemble the main structure.
- Equipment Install: Attach slides, swings, etc.
- Final Check: Ensure all connections are secure.
- Safety Surface: Install proper surfacing material.
Creating Engaging Play Spaces with Proper Custom Equipment Installation

Creating Engaging Play Spaces with Proper Custom Equipment Installation
Thinking Beyond the Basics
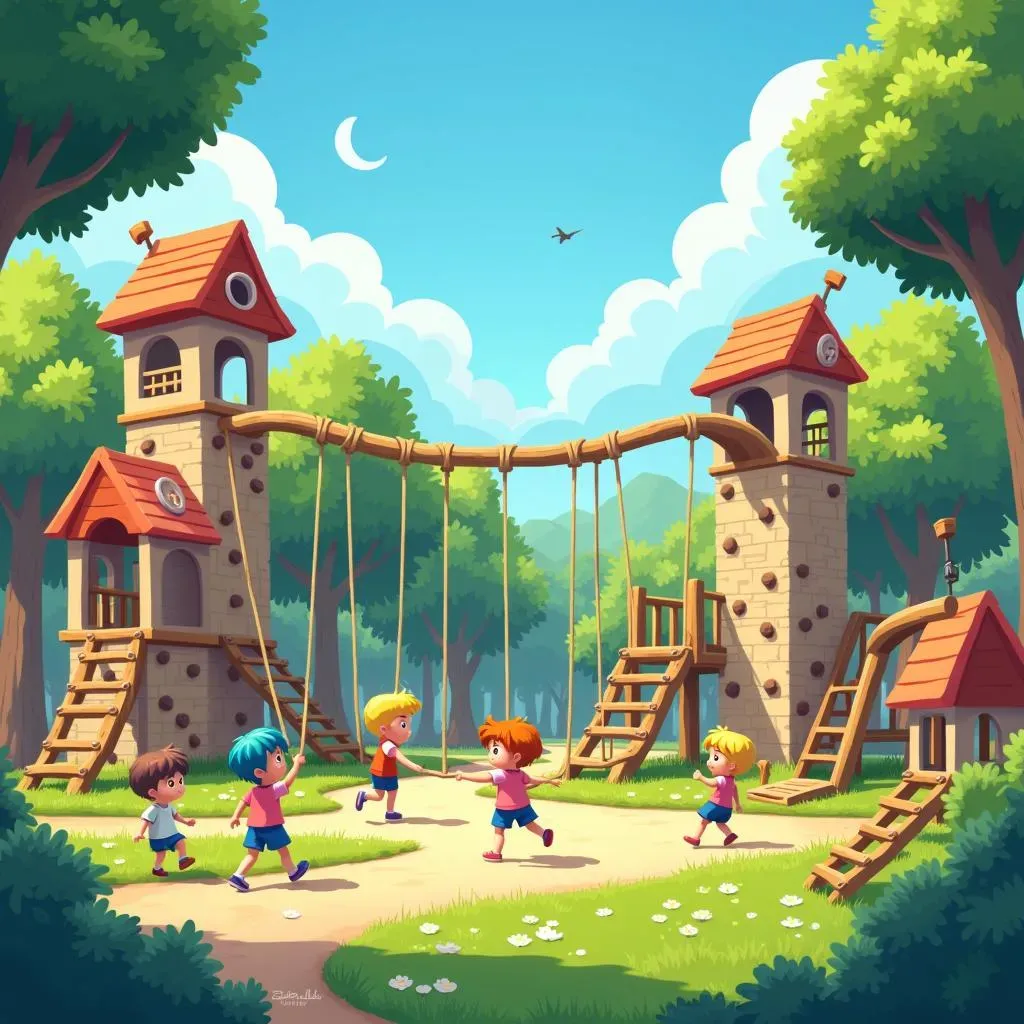
So, you've got the equipment installed, that's great! But now it’s time to really make it shine. A truly engaging play space is more than just a collection of equipment, it’s a place that sparks imagination and encourages movement. Think about creating different zones within the playground. Maybe a quiet corner for imaginative play with a small playhouse, and a more active area with climbing structures and slides. The idea is to offer a variety of experiences that cater to different interests and energy levels.
Use color to your advantage; bright, vibrant colors can make the area more inviting and fun. Consider adding natural elements like logs, rocks, or plants to make it feel more connected to the outdoors. Don't be afraid to get creative and think outside the box. It's about building a space where kids can explore, discover, and let their imaginations run wild. The goal is to make kids want to keep playing and coming back for more!
"Play is often talked about as if it were a relief from serious learning. But for children play is serious learning. Play is really the work of childhood." - Fred Rogers
Encouraging Movement and Interaction
An engaging playground should promote physical activity. Think about how kids move through the space. Do the equipment pieces encourage them to climb, jump, run, and balance? Adding elements that challenge their physical abilities can help kids develop their gross motor skills. Consider adding a climbing wall, a rope bridge, or a balance beam. These features not only provide a fun challenge, but also help kids build strength, coordination, and confidence.
Also, consider how the playground encourages interaction between children. Include elements that promote social play, like a large swing that can fit multiple kids, a sand pit, or a play structure that allows kids to play together. The goal is to create a space that is not only physically stimulating, but also socially engaging. A well-designed playground can be a place where children learn to cooperate, share, and build friendships.
Playground Element | Benefit |
|---|---|
Climbing Wall | Develops strength and coordination |
Rope Bridge | Improves balance and spatial awareness |
Large Swing | Promotes social interaction and cooperation |
Sand Pit | Encourages creativity and sensory play |
Maintaining the Magic
Creating an engaging play space is not a one-time deal, it's an ongoing process. Regularly check the equipment for wear and tear, making sure everything is still safe and in good condition. Don't be afraid to change things up a bit. Adding new equipment or rotating existing pieces can keep the playground fresh and exciting. Consider adding seasonal elements, like a water feature in the summer or a climbing structure themed for the fall.
Also, get input from the kids who use the playground. What do they love? What would they like to see added? Their feedback can help you make the playground even more engaging and enjoyable. The goal is to create a space that is not only fun and safe, but also evolving and adapting to the needs of the children who use it. By paying attention to the details and keeping the playground fresh, you can ensure it remains a magical place for years to come.