Table of Contents
Ever dreamed of having a super cool playground right in your backyard? Forget those expensive, cookie-cutter sets you see in stores. I'm here to tell you, building your own diy backyard playground is totally doable, and it's way more fun! I did it for under $350, and let me tell you, the kids absolutely love it. This project isn't just about saving money; it's about creating something special and unique with your own hands. We'll explore if making your own playground is really cheaper, what wood is best for the job, and how to put it all together step by step. Think of it as an adventure where you're the architect, and the result is a place where your kids can play and make memories. So, grab your tools and let’s get building! I'll show you how to make a safe, awesome, and affordable diy backyard playground that will be the envy of the neighborhood.
Is a DIY Backyard Playground Cheaper Than Buying One?

Is a DIY Backyard Playground Cheaper Than Buying One?
The Price Tag Showdown
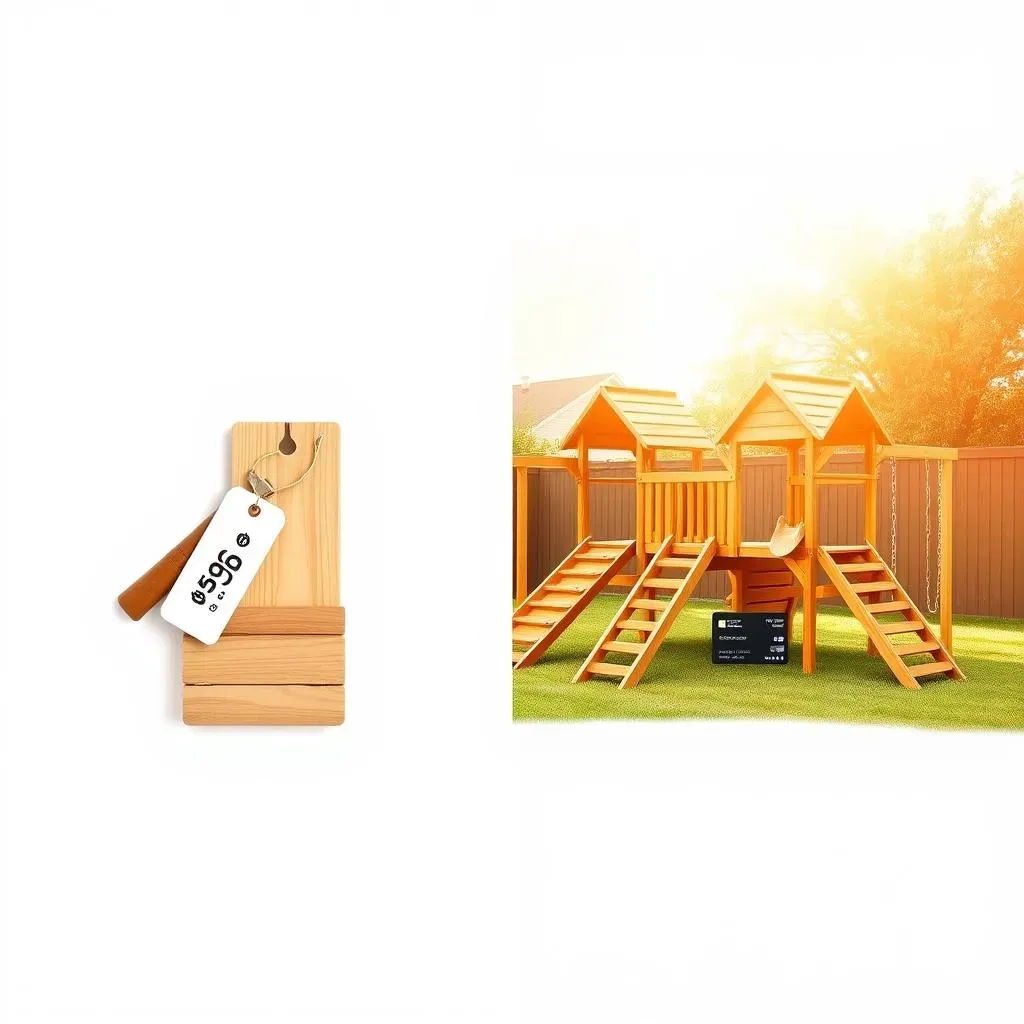
Okay, let's get real. Buying a pre-made playground set can seriously dent your wallet. We're talking hundreds, sometimes thousands, of dollars for something that might not even fit your yard perfectly. I remember looking at some online, and my jaw dropped at the prices! It felt like they were charging extra for the "convenience" of not having to build it yourself. But the truth is, that convenience comes at a very high cost. So, I asked myself, could I do it cheaper? The short answer is, absolutely yes! You can save a bundle by going the DIY route, and it's not as hard as you might think.
My DIY Savings
For my own DIY backyard playground, I spent about $336 in total. That's for everything – the wood, screws, bolts, and even the slide! Now, compare that to the prices of some comparable store-bought sets, which can easily go over $1000. I am not saying you can build a mega playground for under $350 but you can build something good for your kids. The thing is, when you build it yourself, you control the costs. You can choose the materials, customize the design to your space, and avoid paying for all the extra bells and whistles that you might not even want. So, if you are looking to save some cash, DIY is definitely the way to go.
Here's a quick cost breakdown to give you an idea:
Item | Estimated Cost |
|---|---|
Lumber | $200 |
Hardware (screws, bolts) | $50 |
Slide | $70 |
Other Materials | $16 |
Total | $336 |
Choosing the Right Wood for Your DIY Backyard Playground

Choosing the Right Wood for Your DIY Backyard Playground
The Importance of Wood Choice
Alright, so you're saving money by building your own playground, that's awesome! Now, let’s talk about the wood. This isn't like picking out a bookshelf; this is for a structure where kids will be climbing, swinging, and having a blast. You need wood that can handle all the action and the weather. Don't go grabbing just any old lumber from the hardware store. You need to think about safety and durability. The wrong wood choice can lead to splinters, rot, or even worse, a collapse. So, choosing the right wood is crucial for your project's safety and longevity, it's like picking the right shoes for a marathon, they need to be tough and supportive!
Top Wood Choices for Playgrounds
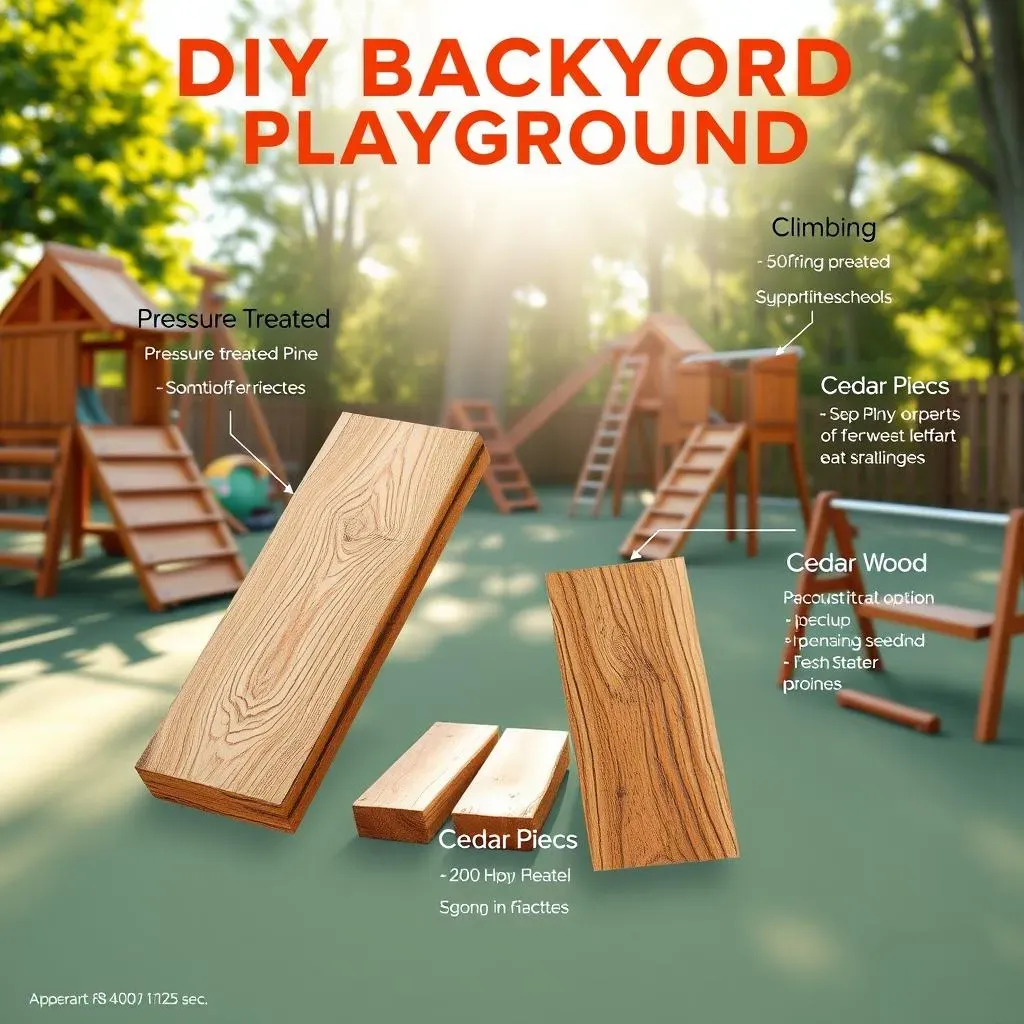
When it comes to playgrounds, two types of wood usually come out on top: pressure-treated pine and cedar. Pressure-treated pine is a popular choice because it's affordable and resists rot and insects. It's like the workhorse of the wood world. However, it does contain chemicals, so you might want to consider that. Cedar, on the other hand, is naturally resistant to rot and bugs, and it looks great. It's a bit more expensive, but if you're looking for a natural, chemical-free option, cedar is the way to go. I personally lean towards cedar for its natural properties and aesthetic appeal, it just feels like a more premium choice to me. But if you're on a tighter budget, pressure-treated pine will do the trick just fine.
Here's a quick comparison:
Wood Type | Pros | Cons |
|---|---|---|
Pressure-Treated Pine | Affordable, rot and insect resistant | Contains chemicals, can look less appealing |
Cedar | Naturally rot and insect resistant, looks great, chemical-free | More expensive |
DIY Backyard Playground: Materials, Tools, and StepbyStep Guide

DIY Backyard Playground: Materials, Tools, and StepbyStep Guide
Gathering Your Gear
Okay, so you've decided to build your own diy backyard playground – awesome! Now, let’s talk about what you’ll need. Before you even think about swinging a hammer, you’ve got to gather all your materials and tools. It's like prepping for a big cookout; you wouldn't start grilling without the charcoal, right? For this project, you’ll need a mix of lumber, hardware, and some essential tools. I know it can seem like a lot, but having everything ready will make the whole process way smoother. Trust me, you don’t want to be halfway through building and realize you’re missing a crucial bolt. It's all about being prepared and making sure you have everything within reach.
First, let's cover the lumber. You’ll need posts, beams, and planks, and the exact amounts will depend on your design. Make sure to measure your space carefully! Then, there is the hardware: screws, bolts, and washers are your best friends here. Get the galvanized ones; they're made to handle the weather. Lastly, you'll need a slide if you are planning to add one, I think it's a must, kids love them. Now, let's talk about the tools. A saw, a drill, a level, a measuring tape, and a hammer are the basics. A post hole digger or an auger will make setting the posts much easier. And don’t forget safety gear: gloves, safety glasses, and maybe even a hard hat if you're feeling extra cautious. Having the right tools is half the battle, it can make your work much more efficient and enjoyable.
Material/Tool | Purpose |
|---|---|
Lumber (Posts, Beams, Planks) | Structural support and building the playground |
Galvanized Screws, Bolts, Washers | Securing the structure and ensuring durability |
Slide | Fun! |
Saw | Cutting the lumber |
Drill | Making pilot holes and driving screws |
Level | Ensuring the structure is straight |
Measuring Tape | Measuring the lumber and the playground area |
Hammer | Driving nails, making adjustments |
Post Hole Digger or Auger | Digging holes for the posts |
Safety Gear (Gloves, Glasses, Hard Hat) | Protection during construction |
Step-by-Step Construction
Okay, now for the fun part – actually building the diy backyard playground! Start by marking out the area where your playground will go. Use your measuring tape and some stakes to make sure you're building in the right spot. Next, you'll need to dig holes for the posts. Make sure they're deep enough and set them in concrete for a solid base. This is crucial for the stability of the whole structure. Once the posts are set, it’s time to start building the frame. Attach the beams to the posts using bolts and screws, making sure everything is level. Then comes the exciting part, building the floors and walls. I found that building the first floor was the easiest, and the second floor required a little more support, but it is not rocket science. Also, building the ladder was the most challenging part of the project for me; it needs to be secure and stable. I used 3" screws from the inside out, 3 on each side, to attach it. And don’t forget to add railings and any other safety features. The goal is to create a safe and fun space for the kids.
After the main structure, attach the slide, it is not that hard. You can also add some cool features like a climbing wall if you have the space and want to make it more challenging. And finally, double-check all the screws and bolts to make sure everything is tight and secure. It is important to make sure that all the structure is stable and safe. I like to test it out myself before letting the kids play on it. Remember, safety first! I think that the most important part is the base, so take your time to make sure the base is solid, and you will have a great structure to play on.
Wrapping Up Your DIY Backyard Playground Adventure
Building your own backyard playground might seem like a big task, but it's totally worth it. Not only can you save a bunch of money, but you also get to create a unique play space that fits your kids' needs and your backyard perfectly. From choosing the right wood to screwing in the last bolt, every step of this project is a chance to learn and build something awesome. Remember that even if it's a little tricky, especially that ladder part, the smiles and laughter from your kids will make all the effort worthwhile. So go ahead, grab those free plans, and start your DIY backyard playground journey. You've got this!