Table of Contents
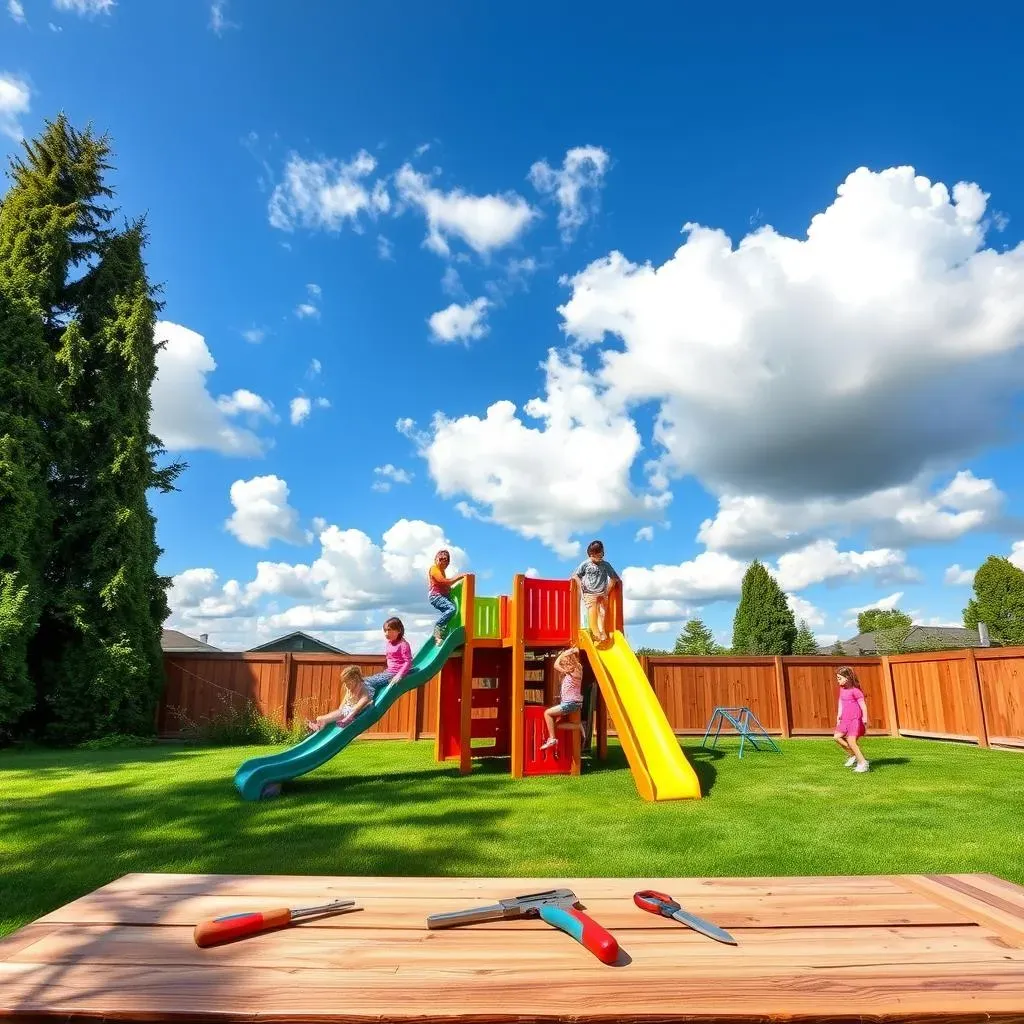
Ever dreamed of having a super cool backyard playground, but cringed at the price tags? I get it! That's why I decided to take matters into my own hands and build one myself. And guess what? It was way cheaper and more fun than I ever imagined. This article is all about sharing my experience and showing you how you can create your own amazing DIY backyard playground. We'll start by figuring out if making your own playset is really cheaper and what kind of wood is the best. Then, I will share the exact tools and materials you'll need, plus a step-by-step guide to building a climbing structure that will make your kids' jaws drop. Finally, we'll look at some cool add-ons you can build, like a sandbox or water table, to make your DIY backyard playground the envy of the neighborhood. So, if you're ready to ditch the expensive store-bought stuff and get your hands dirty, keep reading! This adventure into diy backyard playground ideas is for you!
Is Building Your Own Backyard Playground Cheaper?

Is Building Your Own Backyard Playground Cheaper?
The Price Tag Showdown
Okay, let's get real. Store-bought playsets can cost a small fortune. I'm talking thousands of dollars, which is just insane! You see those fancy ones with all the bells and whistles, and you think, "Wow, that's amazing...but my wallet is crying." I was in the same boat. That's when I started wondering if a DIY approach could save me some serious cash. So, I did some digging, and the answer? A resounding YES! Building your own can be significantly cheaper, especially if you're willing to put in a little elbow grease. It's not always easy, but the savings are worth it.
My DIY Savings
For my project, I managed to build a pretty awesome climbing structure, complete with a slide, for under $350. I know, right? That's a fraction of what a similar playset would cost at a store. Now, don't get me wrong, it wasn't free. I had to buy wood, screws, and a few other bits and bobs, but the total cost was still way lower. The key is to plan carefully, shop around for materials, and be ready to do the work yourself. If you're not afraid of a bit of manual labor, you can definitely save a ton of money with your own DIY backyard playground. Plus, the satisfaction of building it yourself is priceless.
Item | Cost (Store-Bought) | Cost (DIY) |
|---|---|---|
Playset with Slide | $1000 - $5000+ | $336 (My Project) |
Installation | $200 - $1000+ | $0 (DIY) |
Total | $1200 - $6000+ | $336 |
Choosing the Right Wood for Your DIY Playground

Choosing the Right Wood for Your DIY Playground
Why Wood Choice Matters
Okay, so you're saving a ton of money by building your own playground, but don't skimp on the wood! It's the backbone of your structure, and you need something that can withstand the elements and, more importantly, your kids. Think about it – this thing is going to be outside, baking in the sun, getting rained on, and probably being climbed on by a bunch of energetic little monkeys. You need wood that’s tough, safe, and won’t rot or splinter easily. This isn't the time to grab the cheapest stuff you can find at the hardware store. Trust me on this one, a little extra investment here pays off big time.
Picking the right wood is like choosing the right shoes for a marathon. You wouldn’t wear flip-flops, right? You need something durable and supportive. Same deal here. The wrong wood can lead to a playground that's not only unsafe but also won't last very long. And who wants to rebuild a playset every other year? It’s all about finding the balance between cost, durability, and safety. So, let's talk about what types of wood are best for this kind of project.
Top Wood Choices for Playgrounds
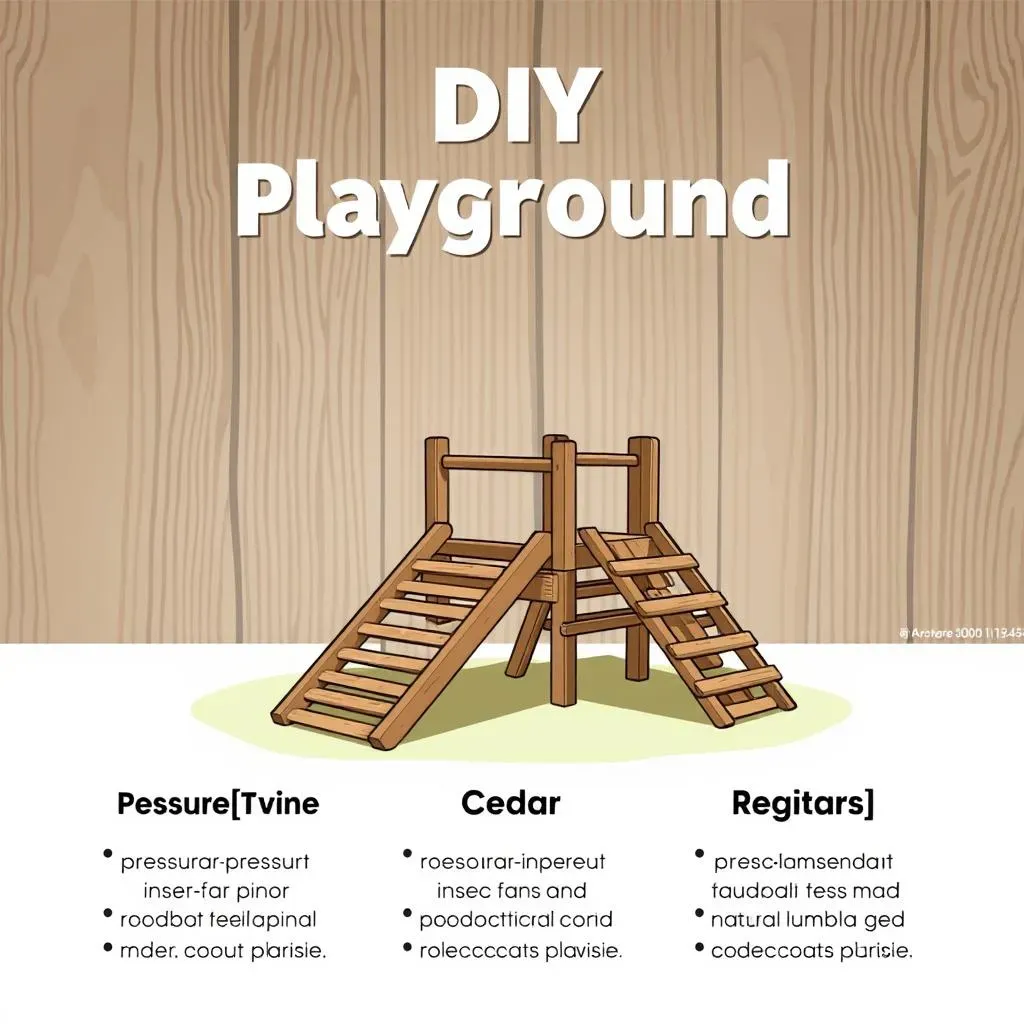
When it comes to playground construction, two types of wood usually come out on top: pressure-treated pine and cedar. Pressure-treated pine is a popular choice because it's affordable and resistant to rot, insects, and decay. The "pressure-treated" part means that chemicals have been forced into the wood to help it last longer. However, it's worth noting that some people have concerns about the chemicals used in this process, so make sure to do your research and choose a brand that uses safe, non-toxic treatments. On the other hand, cedar is naturally resistant to rot and insects, so it doesn't require chemical treatment. It also looks beautiful and has a nice smell. The downside? It’s generally more expensive than pressure-treated pine.
Personally, I went with pressure-treated pine for my DIY backyard playground. I figured it was the best mix of cost and durability, and I made sure to get a type that was treated with non-toxic chemicals. But it’s good to know that cedar is a great option if you’re willing to spend a bit more. Both are much better than regular lumber, which will rot, splinter, and become a safety hazard pretty quickly. So, do your research, weigh the pros and cons, and pick the wood that best fits your budget and your needs. It’s one of the most important decisions you’ll make for this project.
Wood Type | Pros | Cons | Cost |
|---|---|---|---|
Pressure-Treated Pine | Affordable, rot and insect resistant | Chemical treatments (can be a concern for some) | Low-Mid |
Cedar | Naturally rot and insect resistant, looks great | More expensive | Mid-High |
Regular Lumber | Cheap | Not durable, prone to rot and insect damage, unsafe | Low |
DIY Backyard Playground: Tools, Materials, and Instructions

DIY Backyard Playground: Tools, Materials, and Instructions
Gathering Your Arsenal
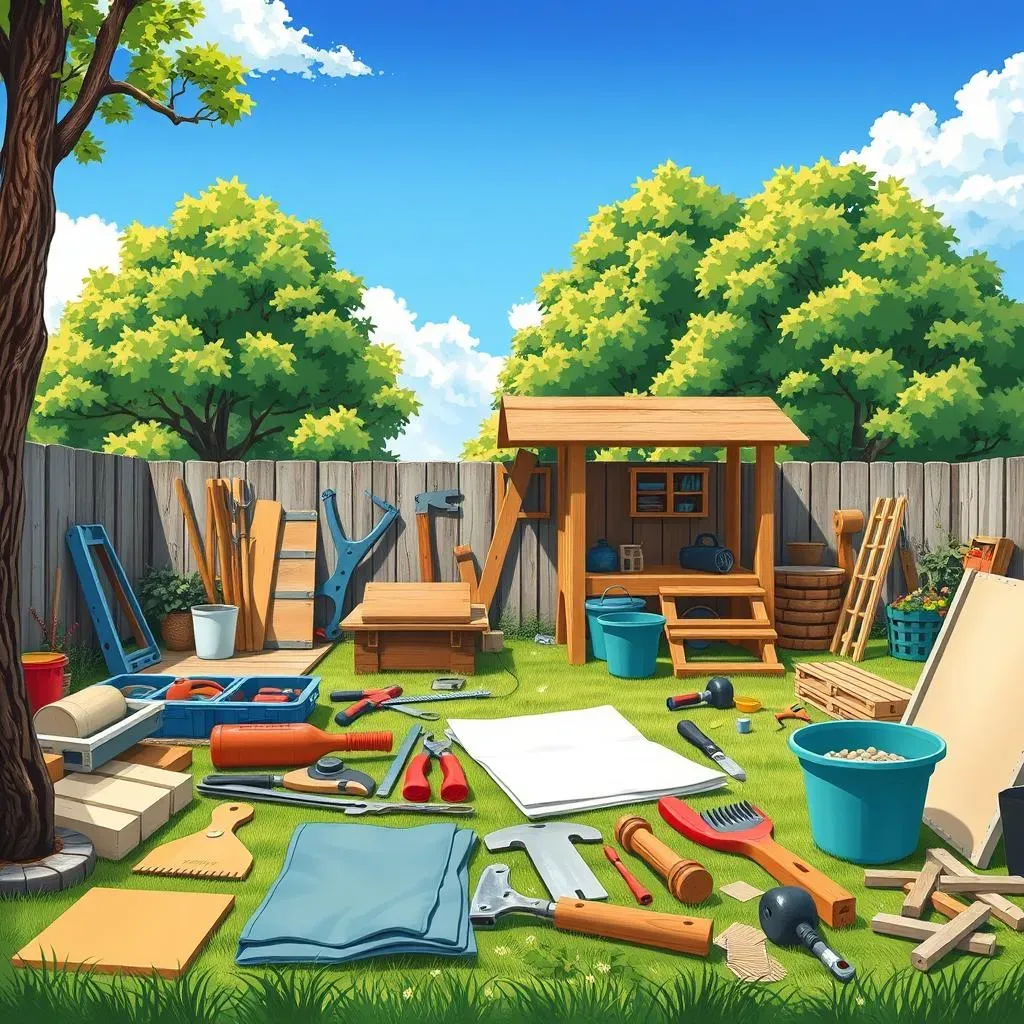
Alright, so you've decided to build your own backyard playground. Awesome! But before you start hammering away, you'll need to gather your tools and materials. Think of it like preparing for a big adventure; you wouldn't head into the woods without your backpack, right? Similarly, you can’t build a sweet playground without the proper gear. You will need to have a good plan, this will save you time and money. I made a list of all the things I used, and I highly recommend you double-check everything before you start. Trust me, there's nothing more annoying than realizing you're missing a vital piece halfway through the project.
First things first, let's talk tools. You'll need some basics like a saw (circular saw is great), a drill, a level, measuring tape, and a pencil. Don't forget safety glasses and gloves – safety first, always! Then there are some specific items that make the job easier, like a post hole digger if you are going to make footings for your playset, or a clamp to hold wood pieces together. You don't need to go out and buy the most expensive stuff, but make sure you have good, reliable tools. They will make your life much easier, and you might even find yourself using them for other DIY projects later on.
Tool | Use |
|---|---|
Circular Saw | Cutting lumber |
Drill | Making holes and driving screws |
Level | Ensuring structure is straight |
Measuring Tape | Accurate measurements |
Pencil | Marking cuts and measurements |
Safety Glasses | Protecting eyes |
Gloves | Protecting hands |
Post Hole Digger | Digging holes for posts (if needed) |
Clamps | Holding wood pieces together |
Materials Checklist
Now, let's get to the nitty-gritty: the materials! Besides the lumber we talked about earlier, you'll need other supplies to hold everything together. Think galvanized bolts, washers, and deck screws. I used a ton of screws, so make sure you have enough. It's also good to have a variety of sizes. You’ll likely need some smaller ones for attaching rails and other details. Also, don't forget about any extras like wood glue, sandpaper, and maybe some paint or stain to make your playground look amazing. And if you plan on adding a slide, like I did, you’ll need to buy one separately.
When you buy your materials, it's always a good idea to get a little extra, just in case. It's better to have too much than too little, especially when you're in the middle of a project. Also, make sure the screws and bolts you buy are galvanized, so they don't rust when they get wet. The last thing you want is a rusty playground after all your hard work! I'd suggest making a thorough list and checking it twice, just like Santa. This way, you'll be prepared and ready to build your dream backyard playground.
- Pressure-treated lumber (or cedar)
- Galvanized bolts
- Washers
- Deck screws (various sizes)
- Wood glue
- Sandpaper
- Paint or stain (optional)
- Slide (optional)
Adding Fun Features to Your DIY Backyard Playground

Adding Fun Features to Your DIY Backyard Playground
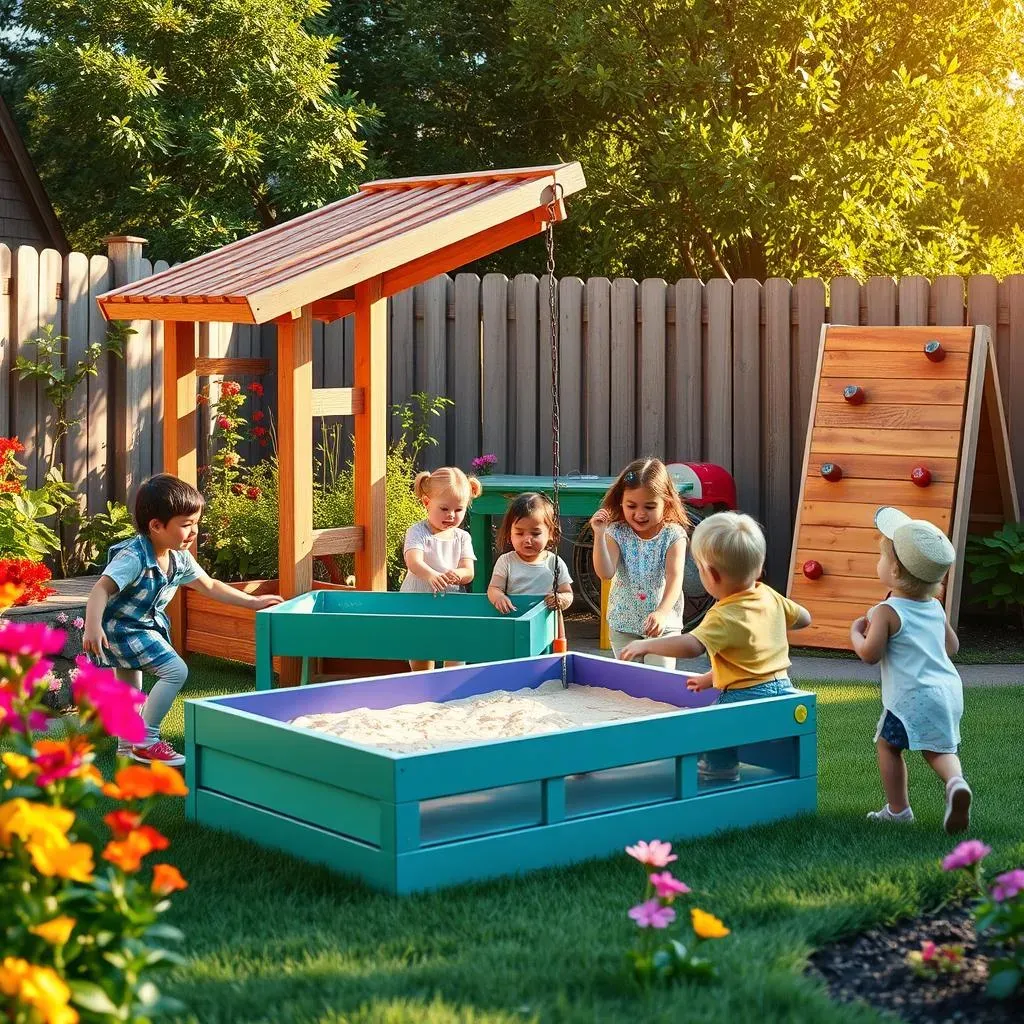
Okay, so you've got the basic structure of your DIY backyard playground, that's awesome! But let's be honest, a climbing frame alone is not going to cut it for long. Now is the time to add some extra flair and fun that will keep your kids entertained for hours. I'm talking about features that will make your backyard the go-to spot for all the neighborhood kids. Think about what your kids love to do and what would make their playtime even more exciting. This is where you can really get creative and customize the playground to fit your family's unique style. I remember when I added a sandbox to my playground, it was a total game-changer! Suddenly, the kids were building castles, digging for treasure, and having a blast. It's these little additions that make a big difference.
One of the easiest and most popular additions is a sandbox. You can build a simple wooden frame and fill it with sand, and there you have it – a mini beach in your backyard! Another great option is a water sensory table. Kids love playing with water, and it's a fantastic way to keep them cool on hot days. You can use a plastic bin or tub, add some water, and let them experiment with different toys and containers. If you're feeling ambitious, you can even add a swing set to the structure. It's a bit more involved, but it's definitely worth it for the extra fun. And let's not forget about the climbing wall. My kids love scrambling up the wall and feeling like little adventurers. You can customize the holds to make it as challenging or as easy as you want. The sky's the limit when it comes to adding fun to your DIY backyard playground.
Feature | Description | Why it's great |
|---|---|---|
Sandbox | Wooden frame filled with sand | Encourages creative play and digging |
Water Sensory Table | Plastic bin or tub with water | Keeps kids cool and allows for exploration |
Swing Set | Swings attached to structure | Classic playground fun |
Climbing Wall | Wall with climbing holds | Develops strength and coordination |
Wrapping Up Your DIY Backyard Playground Adventure
So, there you have it! Building your own backyard playground isn't just a money-saver, it’s a chance to create something unique and special for your kids. From choosing the right lumber to hammering in those final screws, you are building more than just a play structure; you're building memories. Sure, there might be a few head-scratching moments and maybe a splinter or two, but seeing your kids' faces light up as they conquer that climbing wall? Priceless. And let's be honest, who doesn't love a good DIY project that ends with a whole lot of fun? So, grab those tools, get your plan ready, and get building! You've got this, and your backyard is about to become the coolest place on the block.