Table of Contents
Let's face it, keeping kids entertained can be a full-time job! But what if you could create a fun, safe, and exciting play space right in your own home? This article is your ultimate guide to building incredible DIY indoor playground equipment. Forget expensive, pre-fabricated play structures – we'll show you how to design and build custom-made equipment tailored to your child's age and interests, all while keeping your budget in check. We'll explore the design process, guiding you through creating a safe and sturdy structure that meets safety standards. Get ready to unleash your creativity with our amazing DIY indoor playground equipment ideas, suitable for toddlers, preschoolers, and even older kids. We’ll cover everything from basic building blocks to more advanced designs, including climbing walls, slides, and obstacle courses. And don’t worry about maintenance; we'll provide tips to keep your homemade playground in top shape for years to come. So, grab your tools, gather your materials, and prepare to transform a boring corner into a child's paradise with our comprehensive guide to DIY indoor playground equipment. Let's get building!
Designing Your Dream DIY Indoor Playground Equipment

Designing Your Dream DIY Indoor Playground Equipment
Assessing Your Space and Budget
Before you even think about monkey bars and slides, grab a measuring tape and a notepad. Carefully measure the area you've designated for your indoor playground. Consider ceiling height, available floor space, and any existing obstacles (like radiators or furniture). Take photos! This will help you visualize the layout and make sure your ambitious designs are actually feasible. Don't forget about access points – you need easy ways for little ones to get in and out of the play area. Safety first!
Next, create a realistic budget. DIY doesn't always mean dirt cheap, though it *can* be more affordable than buying a pre-made structure. Factor in the cost of materials (wood, rope, screws, paint, etc.), tools (if you don't already own them), and any potential extra expenses. Remember, safety is paramount, so don't cut corners on essential components. A well-planned budget will prevent painful surprises later down the line.
Item | Estimated Cost |
|---|---|
Wood | $100 - $300 |
Hardware | $50 - $100 |
Safety Mats | $50 - $150 |
Choosing the Right Equipment: Safety First!
Now for the fun part: picking the equipment! Think about your child's age and developmental stage. Toddlers might enjoy a soft play area with climbing blocks and a small slide, while older kids might appreciate a more challenging course with monkey bars, a climbing wall, or a rope ladder. But remember, safety is king. Use high-quality, sturdy materials that meet safety standards. Check your local regulations to ensure everything is up to code. Don't skimp on safety mats either; they're crucial for cushioning falls. Consider the overall flow and design to ensure there are no dangerous pinch points or potential hazards.
Remember, the best playground isn't necessarily the biggest or fanciest. It's the one that's safe, engaging, and perfectly suited to your child's needs. Involve your child in the design process! Get their input on colors, shapes, and features. Not only will this make them feel more invested in their new playground, but it’ll also spark creativity and excitement. A playground is a reflection of your child's personality. Let their imagination shine through!
- Climbing Wall
- Slide
- Swing Set (if space allows)
- Soft Play Area (for younger children)
- Monkey Bars (for older children)
Sketching Your Design and Gathering Materials
Once you have a good idea of your space, budget, and desired equipment, it's time to put pencil to paper (or open your favorite design software). Sketch out a basic layout of your playground, paying close attention to the placement of each piece of equipment. Make sure there's enough space between elements, and that the overall flow is logical and safe. Consider adding different levels or platforms to create a more dynamic and engaging space. Remember, this is just a rough sketch; you can always refine it as you go.
With your design in hand, create a detailed list of all the materials you'll need. Be as specific as possible, including dimensions, types of wood, hardware, and any other items you might need. This will help you avoid costly mistakes or frustrating trips to the hardware store. It's always a good idea to buy a little extra of each material to account for errors or unexpected needs. And remember, quality materials are worth the investment – they'll ensure your playground is safe and durable for years to come. Happy building!
Building Safe and Sturdy DIY Indoor Playground Equipment

Building Safe and Sturdy DIY Indoor Playground Equipment
Prioritizing Safety: Material Selection and Construction
Safety should be your number one priority when building DIY indoor playground equipment. Don't compromise on materials! Opt for high-quality, pressure-treated lumber that's specifically designed for outdoor use (it'll hold up better to wear and tear). Avoid using materials with splinters or sharp edges. Sand all surfaces thoroughly and consider using child-safe paint or stain that's free of lead and other toxins. Remember, you're building this for your child's safety and enjoyment; don't cut corners. Invest in strong, durable hardware – heavy-duty screws, bolts, and connectors are essential. Always double-check your work for any loose parts or potential hazards.
When constructing your playground, follow the manufacturer's instructions precisely. If you're using plans from online sources, make sure they're from reputable builders and emphasize safety. Use appropriate tools and techniques to ensure a strong, stable structure. For example, using pocket hole joinery is stronger than just using nails. Use a level to make sure everything is straight and square, and pre-drill holes to prevent the wood from splitting. Regularly inspect the structure for any signs of wear and tear and make repairs promptly. Remember, a little extra care now can prevent accidents later.
Material | Safety Considerations |
|---|---|
Wood | Pressure-treated, sanded smooth, child-safe finish |
Hardware | Heavy-duty screws, bolts, and connectors |
Safety Mats | Thick, impact-absorbing material |
Essential Safety Features: Anchoring, Padding, and Spacing
Proper anchoring is crucial for preventing tipping or collapse. Securely fasten your playground to the floor or wall using appropriate anchors, based on the weight and design of your structure. Consult a professional if you're unsure about the best anchoring methods for your specific situation. Never underestimate the importance of safety padding. Use thick, impact-absorbing mats or padding under and around the equipment to cushion falls. Consider covering any sharp corners or edges with protective padding, too. Remember, a soft landing can make all the difference.
Finally, ensure adequate spacing between elements of your playground. There should be enough room for children to move around safely and without bumping into each other or the structure. Avoid creating any pinch points or areas where children could get their fingers or limbs trapped. Think through the potential pathways and movements your child will use. Make sure there's sufficient clearance from walls, furniture, and other obstacles. Regularly inspect the structure for any signs of wear and tear and make repairs promptly. Remember, a well-planned and carefully constructed playground is a safe playground.
- Secure anchoring to floor or walls
- Thick safety mats under and around equipment
- Protective padding on sharp corners and edges
- Adequate spacing between elements
- No pinch points or potential entrapment areas
Beyond the Basics: Regular Inspections and Ongoing Maintenance
Building a safe and sturdy DIY indoor playground is only half the battle; regular inspections and ongoing maintenance are crucial for ensuring its longevity and safety. Schedule regular inspections – at least once a month – to check for any loose screws, cracks in the wood, or damage to the padding. Tighten any loose hardware and replace any damaged parts immediately. Address any potential hazards promptly to prevent accidents. Don't wait until something breaks; proactive maintenance is key. Remember, safety is an ongoing process, not a one-time event.
Keep your playground clean and free of debris. Regularly wipe down surfaces to remove dust, dirt, and any potential allergens. If you have a soft play area, wash any removable parts according to the manufacturer's instructions. A clean playground is a safer playground. By following these guidelines and conducting regular inspections, you'll ensure your DIY indoor playground remains a safe and enjoyable space for your children for years to come. Remember, your vigilance is their protection.
Creative DIY Indoor Playground Equipment Ideas for All Ages

Creative DIY Indoor Playground Equipment Ideas for All Ages
Climbing Walls and Obstacle Courses
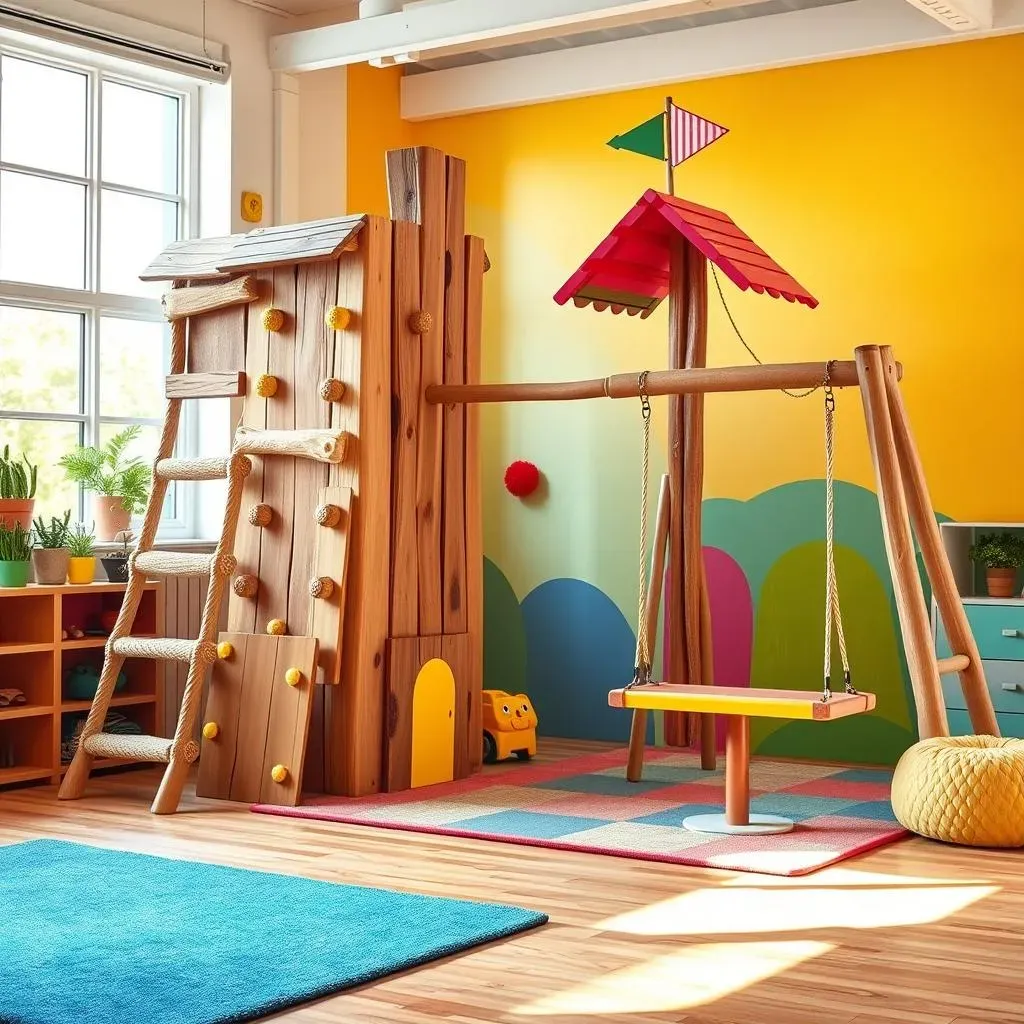
Let's get creative! Forget boring old climbing frames. Think themed climbing walls! A jungle-themed wall with faux vines and leaves? A space-themed wall with planets and stars? The possibilities are endless! Use plywood, rope, and various textures to create a unique climbing experience. For older kids, incorporate an obstacle course. Think balance beams (using sturdy 2x4s), tunnels (cardboard boxes or PVC pipes), and even a mini zip line (with proper safety precautions, of course!). Remember to adjust the difficulty of the course to suit the age and abilities of the children using it. Safety first, but fun should always be a priority too!
Don't forget about the soft play area for younger children. This could be a designated area with soft mats, large foam blocks, and perhaps a small, padded slide. You could even build a small, enclosed playhouse using lightweight materials and colorful fabrics. This area should be designed to be safe and stimulating for little ones, providing opportunities for imaginative play and sensory exploration. Remember to choose materials that are easy to clean and sanitize, as little ones often get messy during playtime. Let's make this playground a place of joy and fun!
Feature | Materials | Age Appropriateness |
|---|---|---|
Climbing Wall | Plywood, rope, paint | Ages 3+ |
Obstacle Course | 2x4s, cardboard boxes, PVC pipes | Ages 5+ |
Soft Play Area | Soft mats, foam blocks, small slide | Ages 0-3 |
Slides, Swings, and Other Fun Features
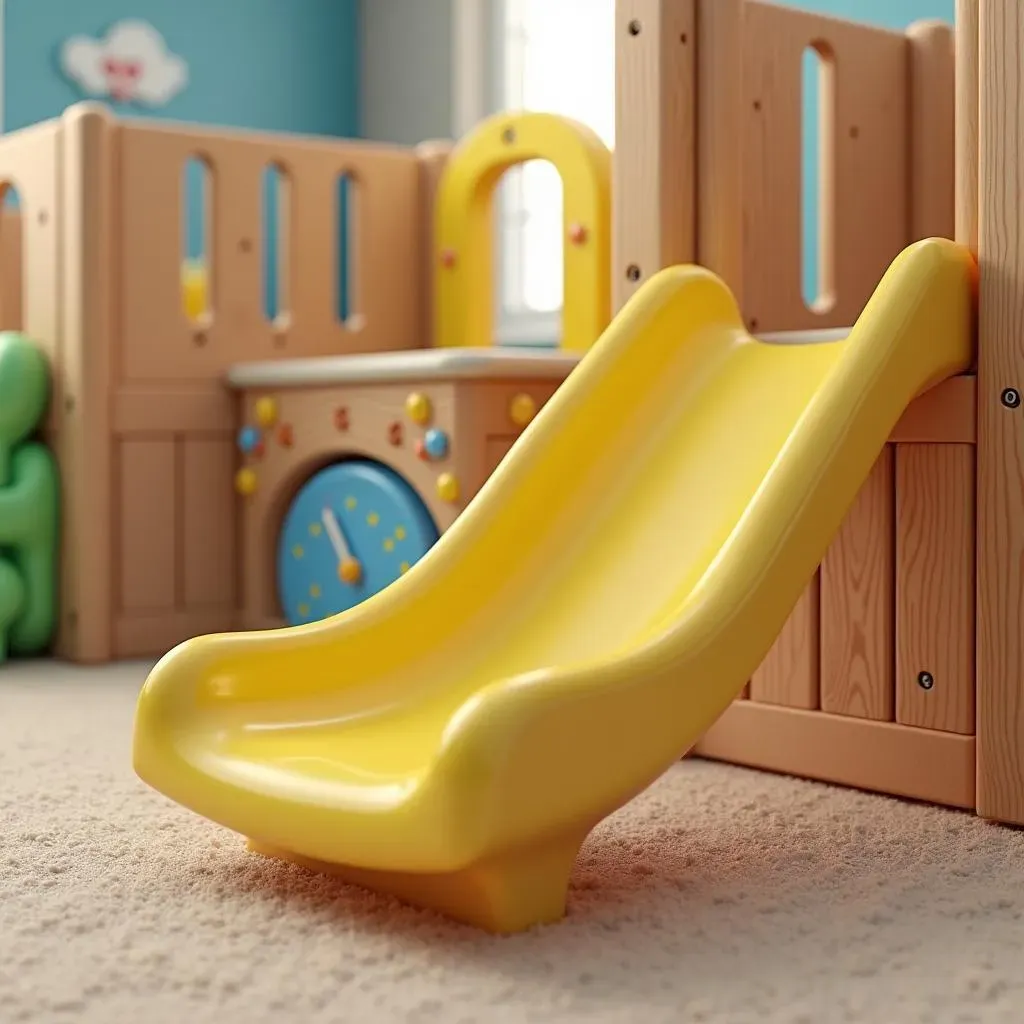
Now, let's talk about the stars of any playground: slides and swings! A simple slide can be constructed from sturdy plywood and finished with a non-toxic, child-safe paint. Consider the angle of the slide carefully to ensure a safe and controlled descent. For swings, you can build a simple frame using sturdy lumber and attach durable swing seats. Ensure the swing set is securely anchored to the floor or wall to prevent tipping. Remember, always supervise children while they're using swings or slides.
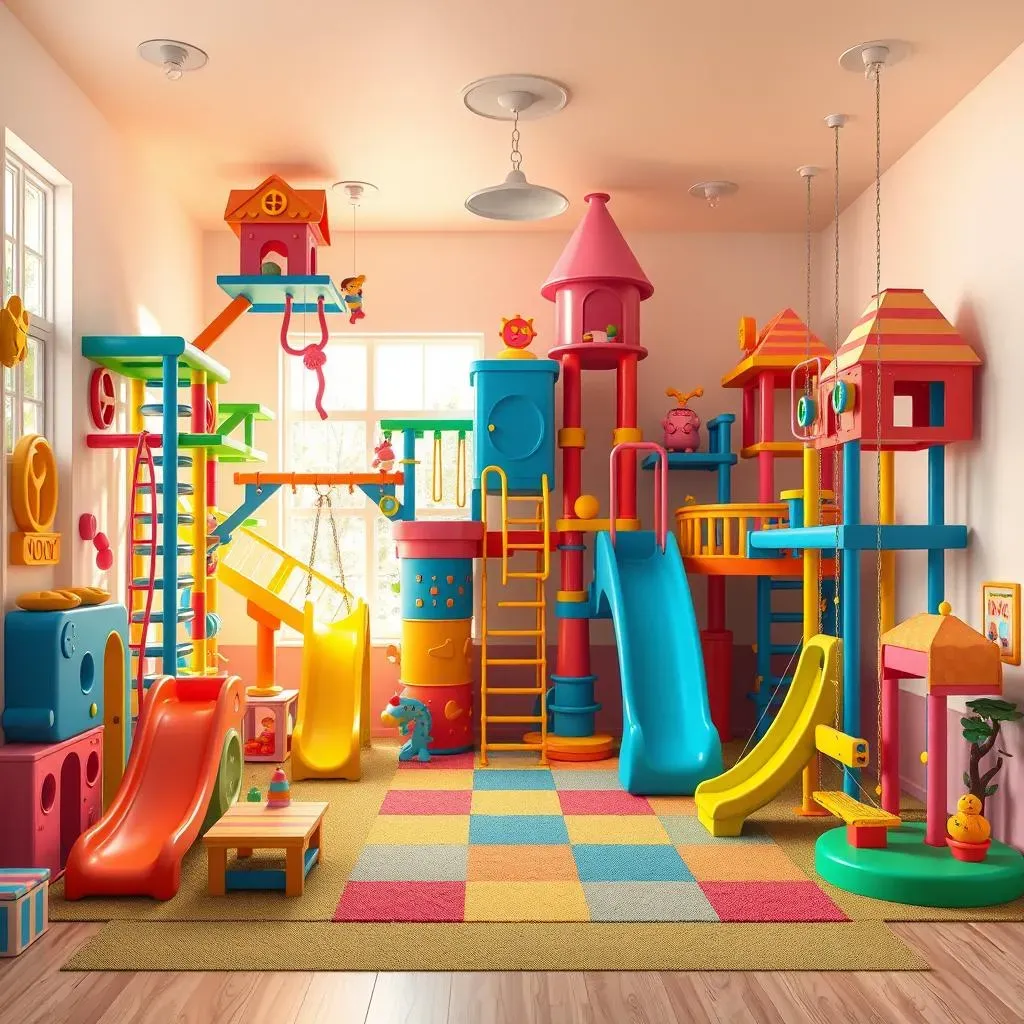
Beyond slides and swings, consider adding other fun features to your DIY indoor playground. A rope ladder can add a challenge for older children, while a small playhouse can provide a quiet space for imaginative play. Remember, the key is to create a space that's both fun and stimulating. Let your creativity run wild! Think about incorporating themes, colors, and textures that will engage and excite your children. A well-designed playground can be a source of endless joy and creative exploration for your little ones. Let's make this a playground they'll cherish for years to come.
- Slides (ensure safe angle and sturdy construction)
- Swings (secure anchoring is crucial)
- Rope ladders (for older children)
- Playhouse (for imaginative play)
- Ball pit (using plastic balls and a sturdy frame)
Maintaining and Expanding Your DIY Indoor Playground Equipment

Maintaining and Expanding Your DIY Indoor Playground Equipment
Regular Maintenance: Keeping Your Playground Safe and Sound
Think of playground maintenance as a form of preventative medicine for your child's safety and enjoyment. Regular inspections are key – aim for at least a monthly check-up. Look for loose screws, wobbly parts, splinters, or any signs of wear and tear on the wood, ropes, or padding. Tighten any loose screws or bolts immediately using the right tools. Replace any damaged parts without delay. Don't wait for a problem to become a hazard! A little proactive maintenance goes a long way in keeping your kids safe.
Cleaning is another crucial aspect of maintenance. Regularly wipe down surfaces with a damp cloth to remove dust, dirt, and sticky fingerprints. For soft play areas, follow the manufacturer's instructions for cleaning and sanitizing. Consider using a child-safe disinfectant to kill germs. A clean playground is a healthy playground, reducing the risk of illness and keeping the equipment looking great. Remember, a well-maintained playground is a happy playground.
Maintenance Task | Frequency |
|---|---|
Inspection for loose parts | Monthly |
Cleaning surfaces | Weekly |
Sanitizing soft play areas | As needed |
Expanding Your Playground: Adding New Challenges and Fun
Once your initial playground is built and running smoothly, don't be afraid to expand and add new elements! As your child grows, their play needs and interests will change. Consider adding new challenges to keep them engaged. A simple addition could be a new climbing feature – a rope ladder or a small rock-climbing wall. Or perhaps a balance beam made from a sturdy 2x4. These additions can provide new opportunities for physical activity and skill development. Remember to always prioritize safety when adding new equipment.
Another fun way to expand your playground is by incorporating a theme. Perhaps a pirate ship theme with a rope bridge and treasure chest, or a space theme with planets and stars painted on the walls. Let your child’s imagination guide you! This not only adds a visual appeal but also enhances the imaginative play aspect. You can use paint, fabrics, and other decorative elements to create a truly unique and engaging space. The possibilities are endless! Remember, an evolving playground keeps things exciting and helps stimulate your child's creativity. Let's make this playground a space of endless fun and adventure!
- Add a climbing rope or ladder
- Incorporate a balance beam
- Create a themed play area (e.g., pirate ship, space station)
- Add a new slide or swing
- Introduce obstacle course elements
Troubleshooting and Problem Solving: Addressing Common Issues
Even with careful construction and regular maintenance, issues can arise. Loose screws or bolts are common, so keep a supply of appropriate hardware on hand. If a piece of wood becomes damaged, replace it promptly. If the padding becomes worn or damaged, replace it immediately to maintain a safe play surface. Don't hesitate to seek professional help if you encounter a problem you're not comfortable addressing yourself. Remember, safety is paramount.
Keeping a logbook of maintenance tasks, repairs, and any issues you encounter can be incredibly helpful. This will help you track the lifespan of your equipment, anticipate potential problems, and ensure you're staying on top of maintenance. Plus, it provides a record of your DIY project! Remember, a well-maintained playground is a testament to your dedication to your child's safety and well-being. It's a place where they can explore, learn, and grow, surrounded by your love and care. Let's make this a playground they'll never forget!