Table of Contents
Tired of the same old plastic playgrounds? Yearning for a more natural, imaginative, and budget-friendly play space for your kids? Then get ready to unleash your inner builder and create the ultimate backyard adventure with DIY natural playground equipment! This article is your complete guide to designing, building, and maintaining a fantastic, safe, and stimulating play area using readily available natural materials. We'll walk you through every step, from choosing the perfect location and gathering materials to constructing exciting play features and ensuring long-lasting fun. Forget expensive, mass-produced equipment; discover the joy of building unique, personalized play structures that encourage creativity, physical development, and a deep connection with nature. Get ready to transform your backyard into a magical playscape with our expert tips and inspiring ideas for DIY natural playground equipment. Let's get started!
Designing Your DIY Natural Playground Equipment

Designing Your DIY Natural Playground Equipment
Assessing Your Space and Children's Needs
Before you even think about hammering a nail, take a good look at your backyard. How big is the area you can dedicate to the playground? Is it mostly flat, or are there slopes and hills that could add to the fun? Consider the sun exposure—you'll want some shade for those scorching summer days. Most importantly, think about your children (or the children who will be using it). What are their ages and abilities? Are they adventurous climbers, or do they prefer quieter activities? A design that caters to their interests will ensure they get the most enjoyment out of their new playground. Don't forget about safety! Look out for hazards like low-hanging branches, sharp rocks, or anything that could pose a risk.
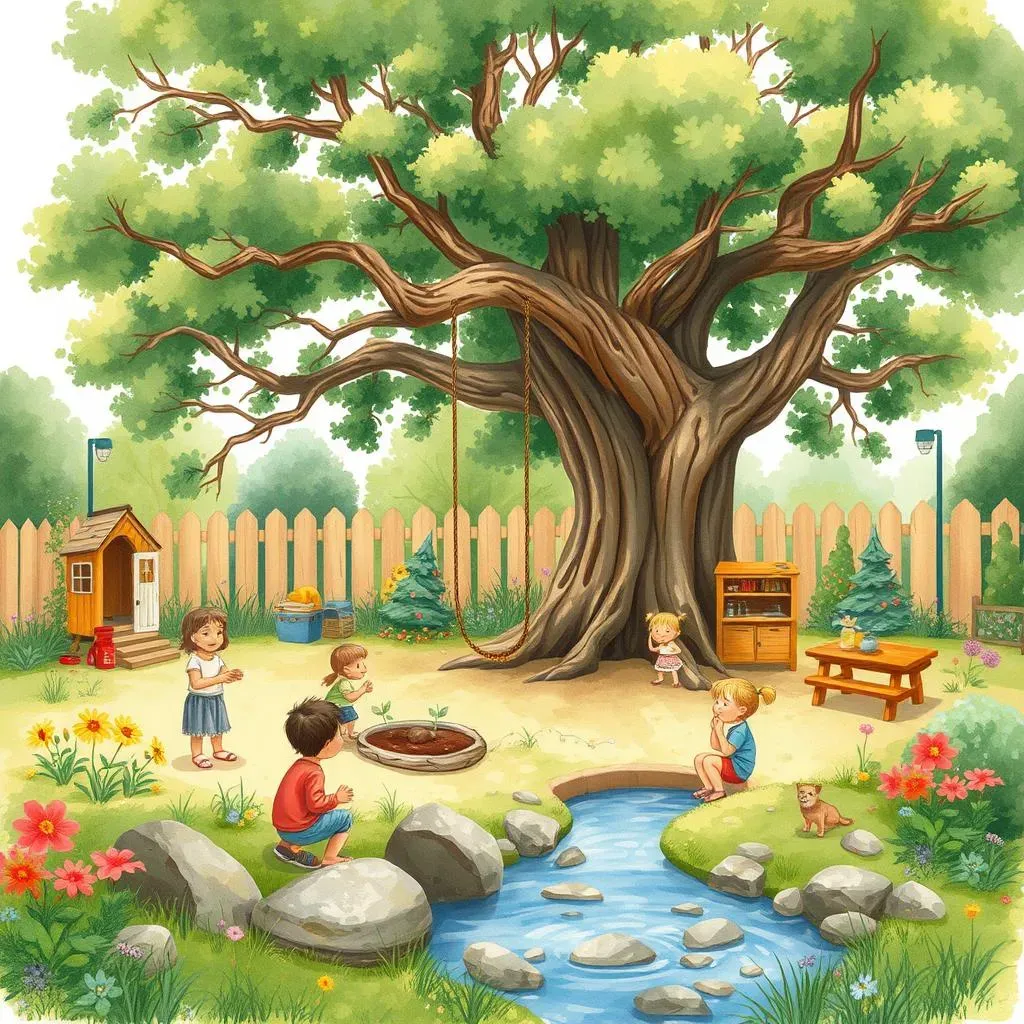
Imagine a playground built around a magnificent oak tree, with a rope swing hanging from a sturdy branch. Or perhaps a gentle slope perfect for building a miniature mud kitchen and creating a small creek bed for water play! The possibilities are endless. Let the natural features of your yard inspire your design. Remember, a successful design is one that feels natural and seamlessly integrates with the existing landscape.
Factor | Considerations |
|---|---|
Space | Size, shape, terrain, sun/shade |
Children | Ages, abilities, interests, safety needs |
Existing Features | Trees, slopes, water sources, etc. |
Sketching Your Dream Natural Playscape
Grab some paper, pencils, and maybe even some colored markers. It's time to get creative! Start by sketching out a basic layout of your playground area. Include existing features like trees and bushes, and note any obstacles. Then, begin adding your play elements. Think about different zones: a climbing area, a digging pit, a water play zone, a quiet reading nook under a tree, maybe even a small fort. Don't be afraid to experiment with different arrangements until you find a design that feels both functional and fun. Remember to leave enough space between elements so children can move freely and safely.
Think about flow. How will children move from one activity to another? Will there be natural pathways? Will there be clear transitions between different play areas? These are important design considerations, as it makes the playground a more intuitive and enjoyable experience for its users. Consider adding elements that encourage imaginative play, such as a "fairy garden" or a "construction zone" where kids can build with natural materials. The best designs are the ones that spark imagination and encourage hours of free play.
- Start with a basic layout of your space
- Add play elements: climbing area, digging pit, water feature, etc.
- Consider flow and transitions between zones
- Incorporate elements that encourage imaginative play
Gathering Materials for DIY Natural Playground Equipment

Gathering Materials for DIY Natural Playground Equipment
Sourcing Natural Materials
Let's talk sourcing! Forget the hardware store for now; your playground's building blocks are already out there, waiting to be discovered. Think fallen branches, sturdy tree stumps (make sure they're stable!), and smooth river rocks. A trip to a local park or even your own backyard might yield amazing finds. Remember to always check for splinters, sharp edges, or any potential hazards before using any material. For larger pieces like logs or stumps, consider asking a tree service if they have any they're discarding. You'd be surprised how many usable materials are just waiting to be repurposed! Don't forget about the power of repurposing – old tires, pallets, and even sturdy buckets can add unique elements to your playground.
Safety first! Remember to inspect all materials thoroughly before using them. Look for sharp edges, splinters, or anything that could pose a risk to children. If you’re unsure about the safety of a material, it’s always best to err on the side of caution and not use it. And remember, adult supervision is crucial, no matter how safe your playground is.
Material | Source | Safety Check |
|---|---|---|
Logs & Branches | Fallen trees, tree services | Check for splinters, rot |
Rocks & Stones | Riverbeds, your yard | Round, smooth edges preferred |
Sand & Soil | Local supplier, your yard | Check for contaminants |
Repurposing and Recycling
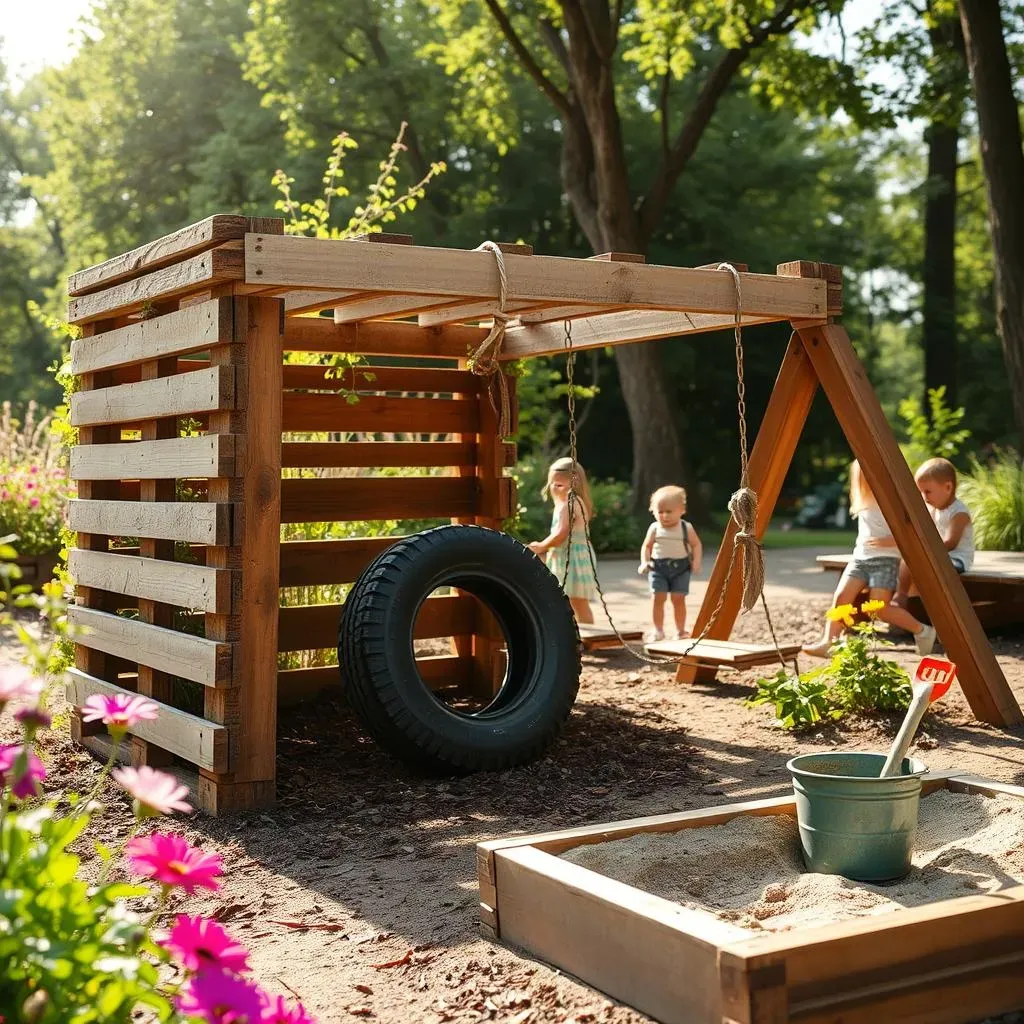
One person's trash is another's treasure, especially when building a natural playground! Don't underestimate the potential of repurposed materials. Old tires can become swing seats or climbing obstacles. Pallets, when properly treated and secured, can form the base for a fantastic fort. Even sturdy buckets can be used for sand play or as planters for a small sensory garden. Think creatively about how you can incorporate these materials into your design. Not only is repurposing environmentally friendly, but it's also a fantastic way to save money and add unique character to your playground.
Remember to always prioritize safety when using repurposed materials. Make sure all edges are smooth, and that any potentially hazardous parts are securely fastened. A little bit of creativity and attention to detail can turn discarded materials into amazing playground features. Plus, you'll be teaching your children valuable lessons about sustainability and resourcefulness!
- Old tires: swing seats, climbing features
- Pallets: fort bases, climbing walls
- Buckets: sand play, planters
- Plastic pipes: tunnels, water features
Additional Resources & Considerations
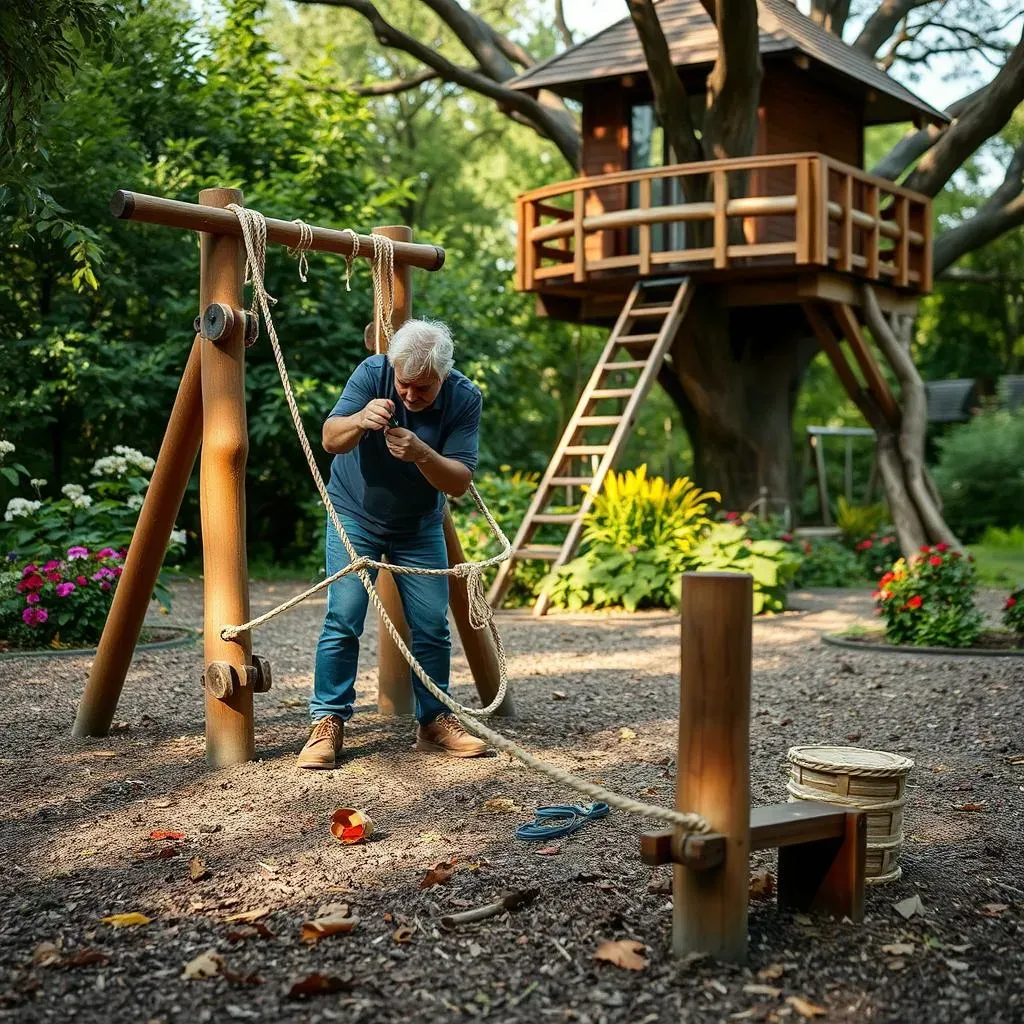
Sometimes, you might need a few extra items to complete your playground vision. Rope, for example, is fantastic for creating swings, climbing ropes, or even a simple pulley system. Hardware like screws and bolts will be needed for certain structures. For water play features, you might consider buying a simple water pump or repurposing old containers. Remember to always buy child-safe materials and tools. Don't forget about the finishing touches: a little bit of paint (non-toxic, of course!) can add color and personality to your creations. Consider using natural dyes from plants for a truly eco-friendly approach.
Before you start building, make a detailed list of everything you'll need. This will help you stay organized and avoid unexpected delays. And remember, the best playgrounds are built with love and a little bit of creativity. Have fun with it!
Building Safe and Fun DIY Natural Playground Equipment

Building Safe and Fun DIY Natural Playground Equipment
Prioritizing Safety in Your Designs
Safety should always be your top priority when building any playground, especially one made from natural materials. Before you even start hammering, take a moment to visualize how children will use each element. Will there be any potential tripping hazards? Could a structure tip over? Are there any sharp edges or splinters that need to be addressed? Think about potential impact points – if a child falls, where will they land? Soften impact zones with mulch, sand, or wood chips. Always secure structures firmly to the ground to prevent tipping or movement. Regularly inspect your creations for any signs of wear and tear, and don't hesitate to make repairs or replace any damaged components.
Remember that even seemingly harmless materials can pose a risk if not handled correctly. Always ensure that any wood is properly treated and free from splinters. Rocks should be smooth and rounded to avoid cuts and scrapes. Sand should be clean and free from contaminants. When in doubt, consult a safety professional or research appropriate safety standards for playground construction. A little extra time spent on safety planning will go a long way in ensuring your children have many years of safe and enjoyable play.
Safety Feature | Implementation |
|---|---|
Impact Absorption | Mulch, sand, wood chips |
Structure Stability | Secure anchoring, sturdy materials |
Sharp Edge Removal | Sanding, smoothing, protective coverings |
Constructing Fun and Engaging Play Elements
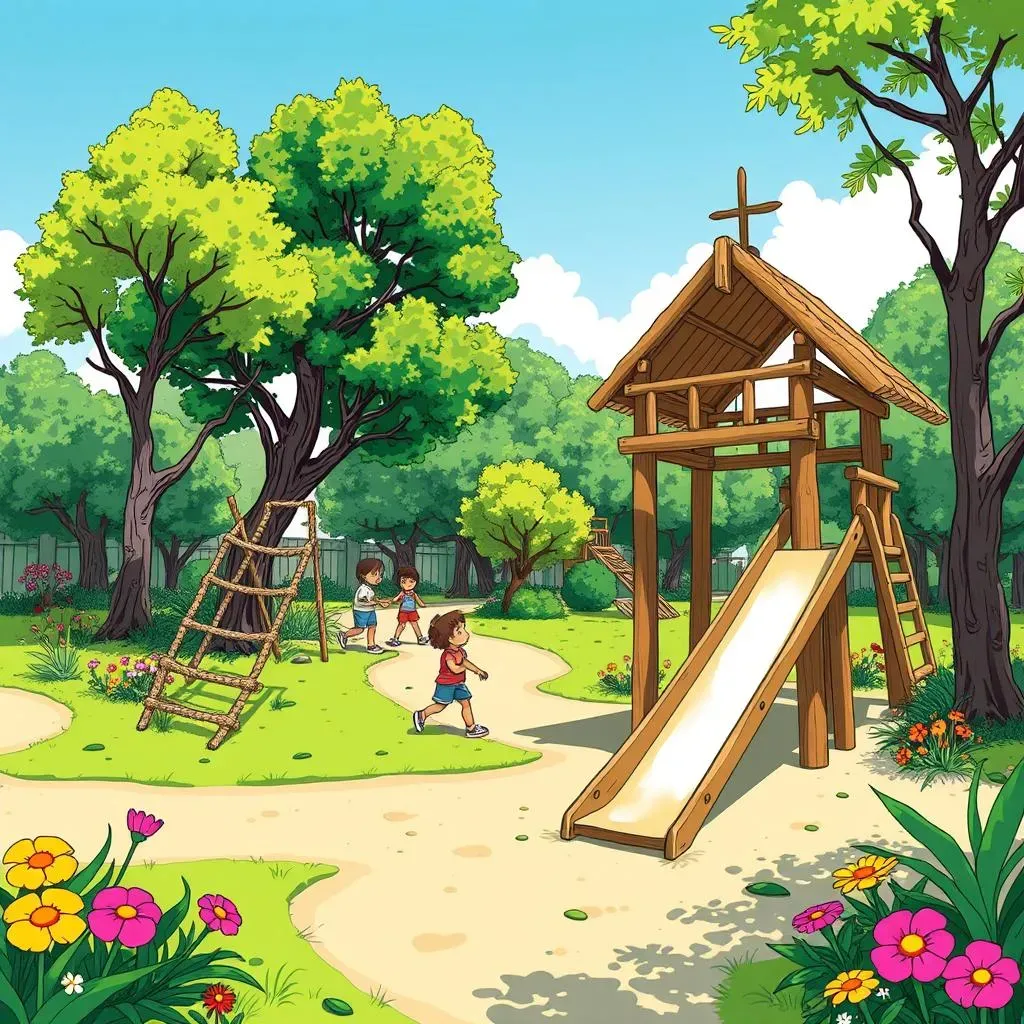
Now for the fun part – building the actual playground! Start with simpler projects to gain confidence, and then move on to more complex designs. A simple log pile can provide hours of creative play, while a slightly elevated platform with a short ramp can turn into a fantastic climbing structure. Consider creating a balance beam from a sturdy log, or a small mud kitchen using old containers and a wooden pallet. Incorporate natural elements like climbing ropes made from strong natural fibers, or a small slide constructed from smooth, polished wood. Remember, the key is to let your imagination run wild and create something unique and engaging. Encourage your children to participate in the building process; their input will make the playground even more special!
Don't be afraid to experiment with different designs and materials. The beauty of a natural playground is that it can be adapted and modified over time. As your children grow, you can add new features or modify existing ones to keep the playground challenging and exciting. Remember, the goal is to create a space that encourages imaginative play, physical activity, and a connection with nature. The more creative you get, the more fun your children will have.
- Log piles for imaginative play
- Elevated platforms with ramps for climbing
- Balance beams from sturdy logs
- Mud kitchens using repurposed containers
Adding Finishing Touches and Personalization
Once your main play structures are in place, it's time to add some finishing touches to make your DIY natural playground truly special. Consider adding a small sensory garden with fragrant herbs and soft textures. A birdhouse or a small bug hotel will attract wildlife and provide opportunities for observation and learning. If you have the space, a small digging pit filled with sand or soil can provide endless hours of digging, building, and creating. Remember to decorate your playground with natural elements like colorful stones, interesting twigs, or even carefully placed flowers. Let your creativity shine through! The goal is to create a space that's both fun and inviting, and reflects the unique personality of your family.
The most important finishing touch is to involve your children in the process. Let them help paint, decorate, or even suggest new additions. Their input will make the playground feel even more personal and special. And remember, the best playgrounds are the ones that are built with love and a little bit of imagination. Have fun with it!
Maintaining Your DIY Natural Playground Equipment

Maintaining Your DIY Natural Playground Equipment
Regular Inspections and Maintenance
Maintaining your DIY natural playground equipment isn't about constant work; it's about mindful upkeep. Think of it as a gardening project—regular checks and small adjustments keep things thriving. Start with weekly inspections. Walk around the playground, looking for loose screws, wobbly structures, or any signs of damage. Pay close attention to wood, checking for rot, cracks, or splinters. Remove any debris that might accumulate, such as leaves, twigs, or rocks. Addressing minor issues promptly prevents them from becoming major problems. Regular maintenance also ensures the safety and longevity of your playground, allowing your children to enjoy it for years to come. A little bit of preventative care goes a long way!
Remember, children are tough on playgrounds, and natural materials can wear down over time. Regular inspections are essential for identifying potential hazards before they become serious problems. It's also a great opportunity to engage your children in the maintenance process, teaching them about responsibility and the importance of caring for their play space. Involving them in these tasks can foster a sense of ownership and pride in their playground. Make it a fun family activity!
Maintenance Task | Frequency | Tools/Materials |
|---|---|---|
Inspection | Weekly | Eyes, gloves |
Debris Removal | Weekly | Rake, broom |
Tightening Screws/Bolts | Monthly | Screwdriver, wrench |
Wood Treatment | Annually | Wood sealant, brush |
Addressing Wear and Tear
Even with regular inspections, wear and tear is inevitable. Wood can rot, ropes can fray, and structures can become unstable over time. When you spot damage, address it promptly. Minor repairs, such as tightening loose screws or replacing a broken branch, are usually easy to handle. For more significant damage, you might need to replace a section of wood or rebuild a part of the structure. Remember to always use safe and appropriate materials for any repairs, ensuring that the repaired area is just as strong and safe as the original. Remember, safety should always be your top priority. If you’re unsure about how to make a repair, it's always best to err on the side of caution and consult a professional.
Replacing damaged components is crucial for maintaining the safety and integrity of your playground. Always use high-quality materials that are suitable for outdoor use and are resistant to rot and decay. Make sure any new wood is properly treated and free from splinters. When replacing ropes, choose strong, durable materials that meet safety standards for playground equipment. Remember, a well-maintained playground is a safe playground. By consistently addressing wear and tear, you can ensure that your children have a fun and safe play space for years to come.
- Tighten loose screws or bolts
- Replace damaged wood or rope
- Repair or replace unstable structures
- Reapply wood sealant or protective coatings