Table of Contents
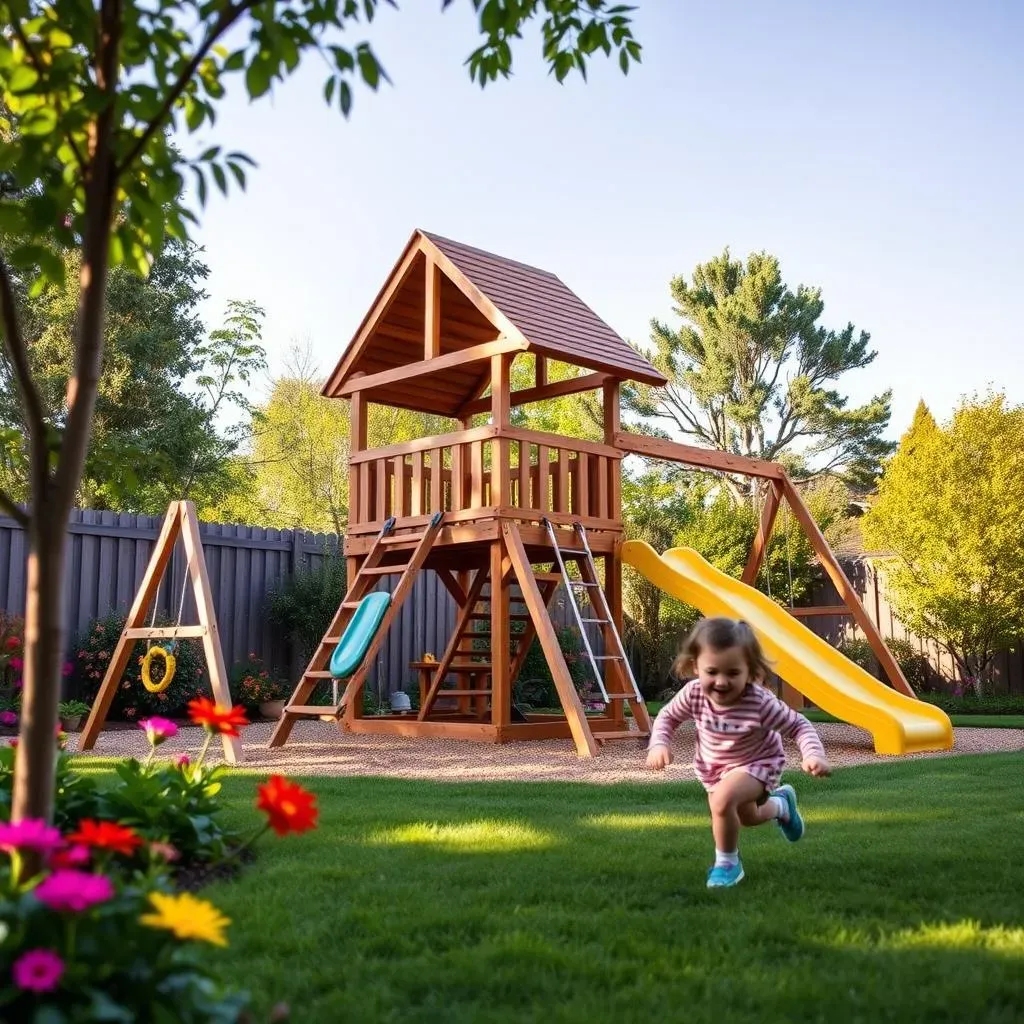
Ever dreamt of creating a magical play space for your little ones, right in your own backyard? Building your own DIY outdoor playground equipment is easier than you think! This article is your ultimate guide to transforming your outdoor area into a fun-filled adventure zone. Forget expensive, pre-fabricated playsets – we'll show you how to build amazing, unique, and safe play structures using readily available materials. We'll walk you through every step, from planning the perfect size and location for your DIY playground to choosing the right materials, whether it's sturdy wood, durable metal, or colorful plastic. We’ll even explore different types of playground equipment you can create, and provide tips for incorporating creative features and fun accessories to personalize your design. Get ready to unleash your inner builder and create a one-of-a-kind playground your kids will adore. With our simple instructions and safety guidelines, building DIY outdoor playground equipment becomes a rewarding and enjoyable project for the whole family. Let's dive into the exciting world of DIY playgrounds and make your backyard the ultimate play haven! Ready to get started? Let's build!
Planning Your DIY Playground: Size, Safety, and Location

Planning Your DIY Playground: Size, Safety, and Location
Measuring Your Space: How Big is Big Enough?
First things first: measure your available space! Consider not just the playground itself, but also the safety zone around it. You'll need enough room for kids to run, jump, and swing without bumping into fences, trees, or other obstacles. Think about the age range of the children who will be using the playground. Younger kids need smaller, simpler structures, while older kids might enjoy more challenging climbing frames and slides. A good rule of thumb is to allow at least 6 feet of clear space around all equipment. Check local building codes and safety regulations for specific requirements in your area. For inspiration on playground designs for smaller spaces, check out our guide to playground equipment for small backyards.
Also, consider the terrain. Is your ground level and stable? If not, you might need to level the ground or build a foundation for your playground. Soft surfaces like sand or mulch are great for cushioning falls, but make sure to check the depth requirements for these materials in your local safety guidelines. If you're uncertain about your ground's suitability, consult a professional. You can also explore different materials like wood, metal, or plastic for your structure. For reviews on different materials, check out our playground equipment reviews page.
Playground Area | Safety Zone | Total Space Needed |
|---|---|---|
10ft x 10ft | 6ft (around all sides) | 22ft x 22ft |
Safety First: Preventing Accidents
Safety should be your top priority when building any playground. Use high-quality materials that are sturdy and durable. Avoid using materials with sharp edges or splinters. Make sure all fasteners are securely tightened and use galvanized bolts and nuts to prevent rust. Check all components regularly for wear and tear and replace them as needed. Consider adding safety surfacing like mulch or rubber mats under and around equipment to cushion falls. Always supervise children while they are playing on the playground. Remember, even the best-designed playground needs adult supervision. For more ideas on creating a safe and fun playground, explore our selection of best outdoor playground equipment.
Think about potential hazards. Are there any low-hanging branches or power lines nearby? Is there adequate drainage to prevent waterlogging? Are there any sharp objects or potential tripping hazards in the area? Address these issues before you start building. Regular maintenance is key! Check for loose screws, splinters, or damage at least once a month. Keep the area free of debris and ensure the safety surfacing remains in good condition. Consider purchasing playground safety equipment like fall protection mats. Remember, a little preventative maintenance goes a long way in keeping your kids safe.
- Use high-quality, durable materials.
- Secure all fasteners tightly.
- Regularly inspect for wear and tear.
- Add safety surfacing under equipment.
- Supervise children while they play.
Choosing the Perfect Spot: Sun, Shade, and Accessibility
Where you place your playground is just as important as what you build. Consider sun exposure. You want a balance of sun and shade. Too much sun can make the playground too hot, while too much shade can make it damp and less appealing. Aim for a location that receives some morning sun and afternoon shade. Accessibility is another key factor. Make sure the playground is easily accessible from your house and that the ground is relatively level and easy to navigate, especially for younger children. Check out our range of affordable outdoor playground sets for more ideas!
Think about the surrounding environment. Is the area relatively sheltered from strong winds? Is it away from busy roads or other potential hazards? Is the ground well-drained to prevent waterlogging after rain? Avoid placing the playground near trees with low-hanging branches or power lines. Consider the views from the playground. If possible, position it so children have interesting things to look at while playing, such as a garden, a bird feeder, or even just a nice view of the sky. Remember, the location of your playground can significantly enhance the overall play experience.
"The best playground is one that's safe, fun, and encourages imaginative play." - Anonymous
Choosing the Right Materials: Wood, Metal, or Plastic? Check out our reviews on different materials here!

Choosing the Right Materials: Wood, Metal, or Plastic? Check out our reviews on different materials here!
The Classic Choice: Wood
Wood is a popular choice for DIY playground equipment because it's readily available, relatively easy to work with, and offers a natural, aesthetically pleasing look. Pressure-treated lumber is a great option as it's resistant to rot and insects, ensuring your playground lasts for years. However, wood requires regular maintenance to prevent splintering and weathering. You'll need to sand and seal it periodically, and replace any damaged parts promptly. Remember to choose wood that's free from knots and other imperfections to minimize the risk of splinters. For more information on using wood, check out our guide to wooden outdoor playground equipment.
Consider the type of wood you choose carefully. Cedar and redwood are naturally resistant to rot and insects, requiring less maintenance than other types of wood. However, they are also more expensive. Pressure-treated pine is a more affordable option that offers good durability, but it requires regular maintenance to prevent weathering. Always source your lumber from reputable suppliers to ensure it meets safety standards for playground construction. Don't forget to factor in the cost of additional materials like paint or stain, which will enhance the look of your playground and protect it from the elements. For budget-friendly options, explore our selection of affordable playground sets.
Wood Type | Pros | Cons |
|---|---|---|
Cedar/Redwood | Naturally rot and insect resistant | Expensive |
Pressure-Treated Pine | Affordable, durable | Requires regular maintenance |
The Durable Option: Metal
Metal playground equipment offers excellent durability and longevity. It can withstand harsh weather conditions and requires minimal maintenance. However, metal can get very hot in direct sunlight, making it less comfortable to use during hot weather. Also, metal can be more challenging to work with than wood, requiring specialized tools and skills. Always ensure that any sharp edges or points are covered or smoothed to prevent injuries. To see examples of metal structures, check out our article on metal outdoor playground equipment.
When choosing metal for your DIY playground, consider using galvanized steel or powder-coated aluminum for superior rust and corrosion resistance. These materials are less prone to rust and weathering than other types of metal, ensuring your playground remains safe and attractive for many years. However, they are also more expensive than other options. Remember to wear appropriate safety gear when working with metal, including gloves and eye protection. Always follow manufacturer's instructions for assembly and maintenance. Safety should always be your top priority when working with metal or any other material.
- Galvanized steel offers good rust resistance.
- Powder-coated aluminum is durable and low-maintenance.
- Metal can get hot in direct sunlight.
- Requires specialized tools and skills.
The Playful Choice: Plastic
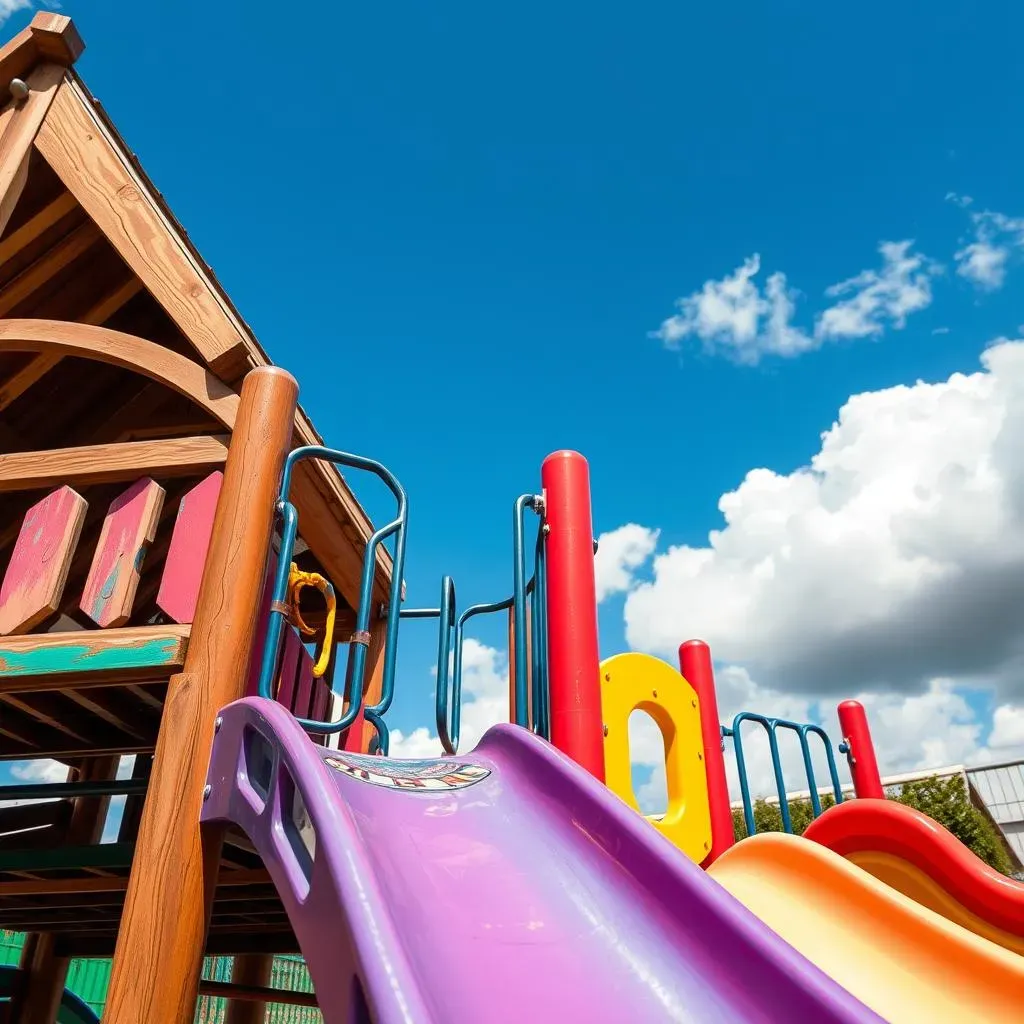
Plastic is a popular choice for DIY playground equipment because it’s lightweight, colorful, and relatively inexpensive. It's easy to clean and maintain, and it's resistant to rot and insects. However, plastic can fade in sunlight and become brittle over time. It's also not as strong or durable as wood or metal, meaning it might not be suitable for all types of playground equipment. Learn more about this material by checking out our post on plastic outdoor playground equipment.
When choosing plastic for your DIY playground, make sure it's made from high-density polyethylene (HDPE) or other durable materials. Look for products that are UV-resistant to prevent fading and cracking. Always check for any sharp edges or burrs before allowing children to play on the equipment. Plastic playground equipment is generally safer for younger children as it’s less likely to cause serious injuries in case of falls. However, always supervise children while they are playing, regardless of the material used.
"Choose materials that are safe, durable, and appropriate for the age and abilities of the children who will be using the playground."
Building Your Playground: StepbyStep Guide with Safety Tips

Building Your Playground: StepbyStep Guide with Safety Tips
Laying the Foundation: Preparing Your Ground
Before you even think about hammering a nail, prep your ground! Level the area where your playground will go. Remove any rocks, roots, or other obstacles. For smaller structures, a compacted earth base might suffice. But for bigger projects, a more substantial foundation is needed. Consider concrete footings for added stability, especially if you're building a taller structure. This ensures your playground remains sturdy and safe for years to come. Remember, a solid foundation is the key to a long-lasting and safe playground. For inspiration on foundations for different playground types, check out our range of best outdoor playground equipment.
Once the ground is level, you can start to assemble the main structure. Follow your chosen plan meticulously. Pre-drill holes for screws to prevent splitting the wood. Use galvanized bolts and nuts for extra strength and weather resistance. Check each step to ensure everything is square and level. Having a helper is incredibly useful during this phase, especially for lifting and positioning heavy components. Don't rush this stage; accuracy and precision are key to ensuring a safe and stable playground. For budget-conscious options, explore our selection of affordable playground sets for ideas!
- Level the ground thoroughly.
- Remove any obstacles.
- Use appropriate foundation for the structure.
- Pre-drill holes for screws.
- Use galvanized fasteners.
Building the Structure: Frame, Platforms, and Features
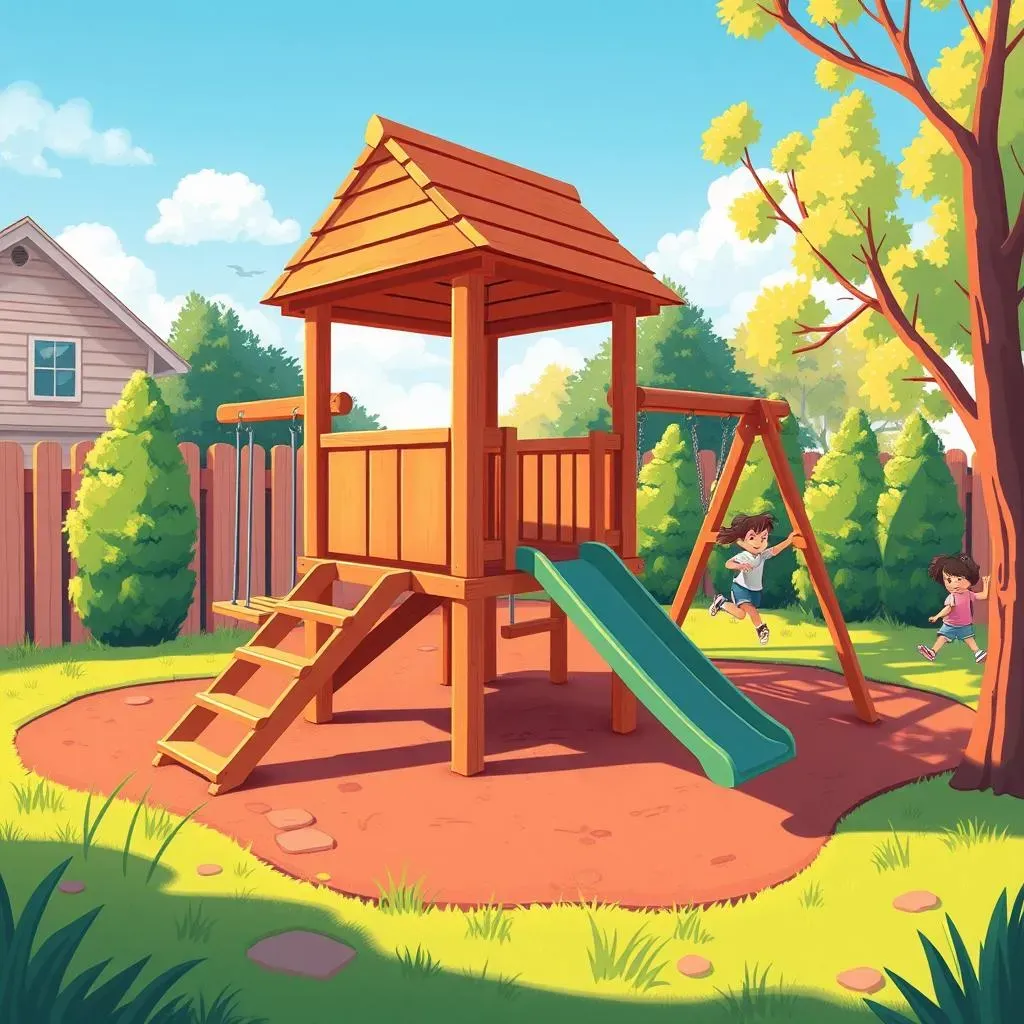
With the foundation set, you can build the framework of your playground. This will depend on your chosen design. It might involve building platforms, creating a climbing frame, or assembling a swing set. Follow your plans carefully, ensuring all joints are secure and properly braced. Remember, safety is paramount. Use extra bracing where needed to ensure stability. Take your time and double-check measurements as you go. Having a second pair of hands is always helpful during this stage. For inspiration on different playground designs, check out our guide to playground equipment for parks.
Once the main structure is complete, you can add the fun features! This could include swings, slides, climbing walls, monkey bars, or anything else your imagination comes up with. Make sure all features are securely attached and meet safety standards. Regularly inspect all components, tightening any loose screws or bolts as needed. Keep in mind that different features are suitable for different age groups, so choose features that are appropriate for the children who will be using the playground. Remember, a well-built and well-maintained playground is a safe playground. For reviews on different playground components, check out our playground equipment reviews.
Feature | Safety Considerations |
|---|---|
Swings | Check rope strength, secure chains |
Slide | Ensure smooth surface, secure mounting |
Climbing Frame | Use sturdy materials, check for sharp edges |
Safety Checks and Final Touches
Before letting the kids loose, conduct a thorough safety check. Walk around the entire playground, checking every bolt, screw, and joint. Ensure there are no sharp edges or splinters. Test all features to make sure they are secure and function properly. Double-check the safety surfacing to ensure it's adequately deep and covers the entire area underneath the equipment. If anything feels loose or unstable, tighten it or replace it immediately. Remember, safety is more important than speed! For more safety tips, check out our guide on playground equipment for schools.
Once you're satisfied with the safety checks, add the final touches. You could paint the playground, add some landscaping, or install some decorative elements. This will make it look even more appealing and inviting. Add some plants or flowers nearby to brighten the area. Consider adding some shade structures, like a pergola or umbrella, to provide relief from the sun. Remember, a well-designed and well-maintained playground is a joy to behold and use. Enjoy the fruits of your labor and watch your children have endless fun on their new playground! For more ideas on adding finishing touches, check out our post on playground equipment for small backyards.
"Building a playground is a labor of love, but the joy it brings is immeasurable." - Anonymous
Adding Creative Touches: Unique Features and DIY Playground Accessories

Adding Creative Touches: Unique Features and DIY Playground Accessories
Adding Whimsy and Wonder: Unique Playground Features
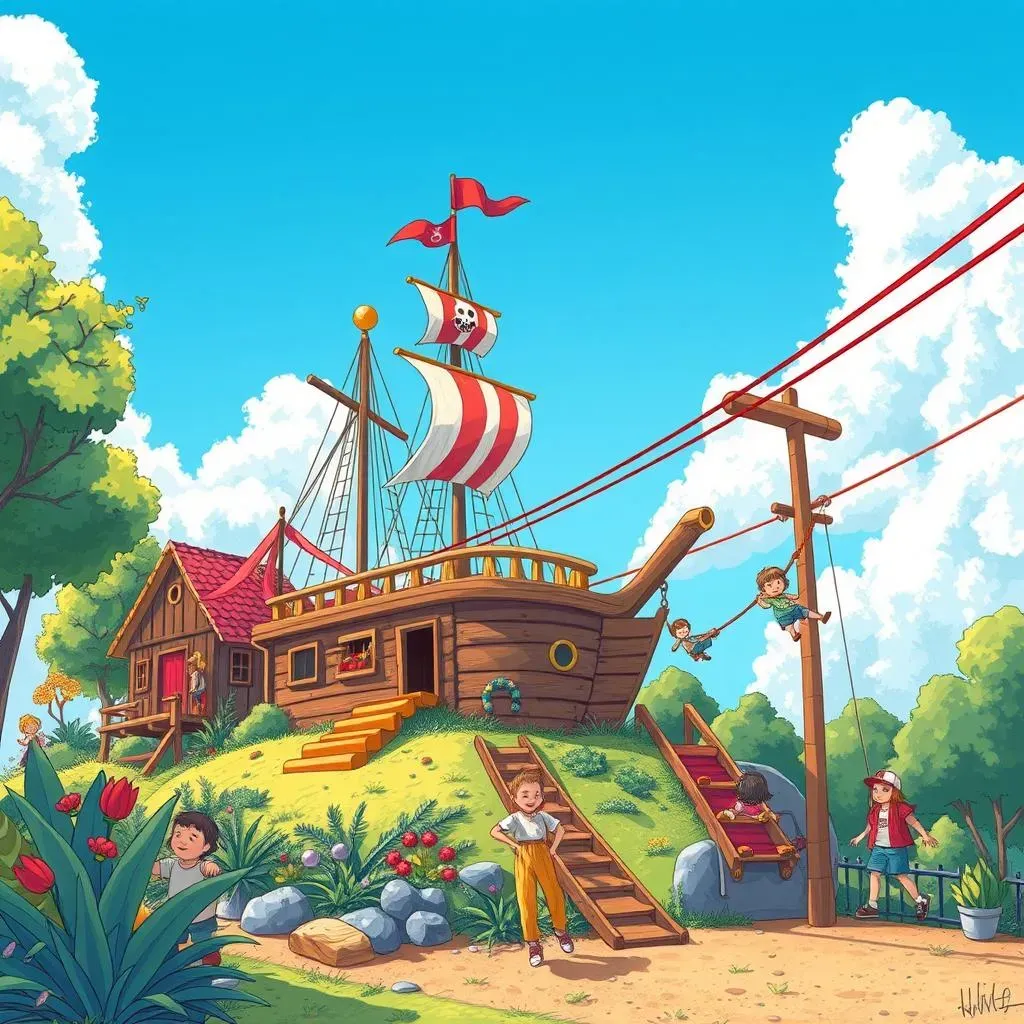
Okay, the basic structure is up, but now's where the *real* fun begins! This is your chance to inject personality and creativity into your DIY outdoor playground equipment. Forget boring old swings; think pirate ships, whimsical castles, or even a miniature obstacle course! Let your imagination run wild. Will your playground feature a tire swing, a rope ladder, or a climbing wall? Perhaps a secret hideaway under the deck, or even a miniature zip line (if you're feeling ambitious and have the space, of course!). Remember to check out our best outdoor playground equipment page for some extra inspiration!
Consider the ages and interests of the children who'll be using the playground. Little ones might love a sandpit or a mud kitchen, while older kids could appreciate a more challenging climbing structure or a basketball hoop. Involve them in the design process! Ask them what they'd like to see in their dream playground. Their input will not only make the project more fun, but it will also ensure the playground is something they'll truly enjoy. Don't forget the importance of safety! Even the most creative features need to be built securely and to appropriate safety standards. For more ideas on fun and safe features, check out our playground equipment for parks page.
Feature | Age Appropriateness | Safety Considerations |
|---|---|---|
Sandpit | Toddlers - Young Children | Supervise children, use soft sand |
Climbing Wall | Older Children | Secure handholds, use safety surfacing |
Zip Line | Older Children/Teens | Professional installation recommended |
DIY Playground Accessories: Personalizing the Play Space
Once you have the main structure in place, it's time to add those special touches that truly personalize your playground. Think about adding colorful murals, fun signs, or even a chalkboard wall where kids can draw and express their creativity. You could also build a small stage for puppet shows or concerts, or create a designated area for imaginative play with props and costumes. A little bit of creativity goes a long way in transforming a simple playground into a magical, enchanting space! Remember to check out our guide on playground equipment for schools for more inspiration.
Don't underestimate the power of simple accessories. A few brightly colored buckets, some old tires repurposed as stepping stones, or even a collection of interesting rocks can add a lot of character to your playground. Get creative with recycled materials! Old pallets can be transformed into climbing walls, plastic bottles can be used to make colorful decorations, and tires can be used to create unique play features. Let your creativity flow and have fun with it! Remember, the goal is to create a playground that is both fun and engaging for your children. For more ideas, check out our selection of affordable playground sets!
- Murals and chalkboard walls
- Repurposed materials (tires, pallets)
- Themed play areas (pirate ship, castle)
- Sensory elements (textured surfaces, water features)