Table of Contents
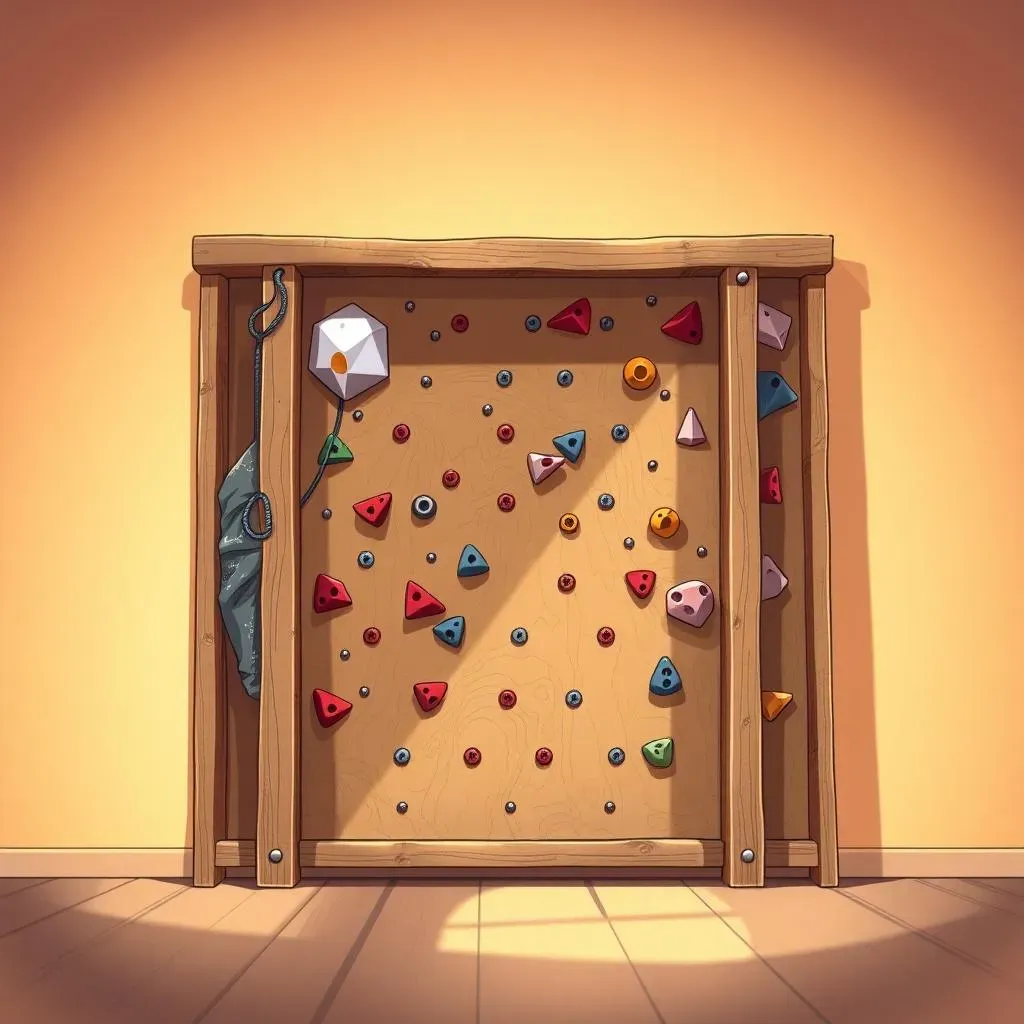
Ever watched kids scale furniture like tiny, determined mountaineers? It's a sign, a clear, furniture-threatening sign, that they need a climbing wall! Forget the expensive, pre-made options; we're diving into the world of DIY playground climbing walls. This isn't about building a Mount Everest replica in your backyard; it's about creating a safe, fun, and challenging space for your kids to burn off energy and develop some serious climbing skills. We’ll walk you through, step-by-step, how to plan, gather materials, and construct your own wall. We’ll also cover essential safety tips and how to make your wall a real joy for the kids. So, if you're ready to transform your backyard into an adventure zone, let's get started. Get ready to build something awesome with your own hands, it's easier than you think!
Planning Your DIY Playground Climbing Wall

Planning Your DIY Playground Climbing Wall
Alright, so you're itching to build a climbing wall, that's fantastic! But before you start grabbing wood and screws, let's talk strategy. First things first, where's this wall going? Is it indoors or outdoors? That makes a huge difference in the materials you'll use. And how big should it be? Think about the space you have and the age of your climbers. A tiny wall won't challenge a 10-year-old for long, and a massive wall might scare a toddler. Also, consider the skill level you're aiming for. Are you looking for a gentle climb or a challenging ascent? Don't forget to check if you need any permits or have any HOA restrictions too, nobody wants a fine.
Once you've got the location and size figured out, sketch it out. Seriously, a simple drawing is all you need. It doesn't have to be fancy; just enough to visualize what you're building. Think about the angle of the wall too. A vertical wall is the easiest to build, but a slightly angled wall can add a bit of a challenge. And don't forget the fun part, think about the type of climbing holds you want. There are all sorts of shapes and sizes, so pick ones that suit your kids' hands and skill level. Remember, planning is key! Don't rush this part, it will make the building process way smoother.
Planning Step | Consideration |
|---|---|
Location | Indoor vs. Outdoor |
Size | Space available, climber age |
Skill Level | Beginner to advanced |
Wall Angle | Vertical or angled |
Climbing Holds | Variety of shapes and sizes |
Gathering Materials for Your DIY Climbing Wall

Gathering Materials for Your DIY Climbing Wall
The Wood You'll Need
Okay, so you've got your plan, now comes the fun part – shopping! For the frame, you'll need some sturdy 2x4 lumber. Think of these as the bones of your wall, so don't skimp on quality. The amount you need will depend on the size of your wall, so measure twice, cut once as they say. For the climbing surface itself, plywood is your best friend. ¾ inch thick plywood is what you want, it's strong enough to handle all those enthusiastic climbers. And a little tip, if you're building an outdoor wall, make sure to get pressure-treated plywood, it can handle the weather a bit better. No one wants a soggy climbing wall!
Climbing Holds and Hardware
Now for the really exciting part – the climbing holds! These come in all shapes, sizes, and colors. You can get them online or at most hardware stores. I recommend getting a variety, so your kids can have different climbing experiences. And you'll need some T-nuts, these are little metal inserts that you'll hammer into the back of the plywood to screw the holds into. Get more than you think you'll need, just in case. And of course, the screws. You'll need wood screws to attach the frame to the wall and to attach the plywood to the frame. Make sure you get the right size and length, so it's all secure.
Material | Purpose | Quantity |
|---|---|---|
2x4 Lumber | Frame Support | Based on wall size |
¾ inch Plywood | Climbing Surface | Based on wall size |
Climbing Holds | Hand and foot grips | Variety of shapes/sizes |
T-Nuts | Hold attachment | More than you think you need |
Wood Screws | Frame and plywood attachment | Various sizes |
Safety and Finishing Touches
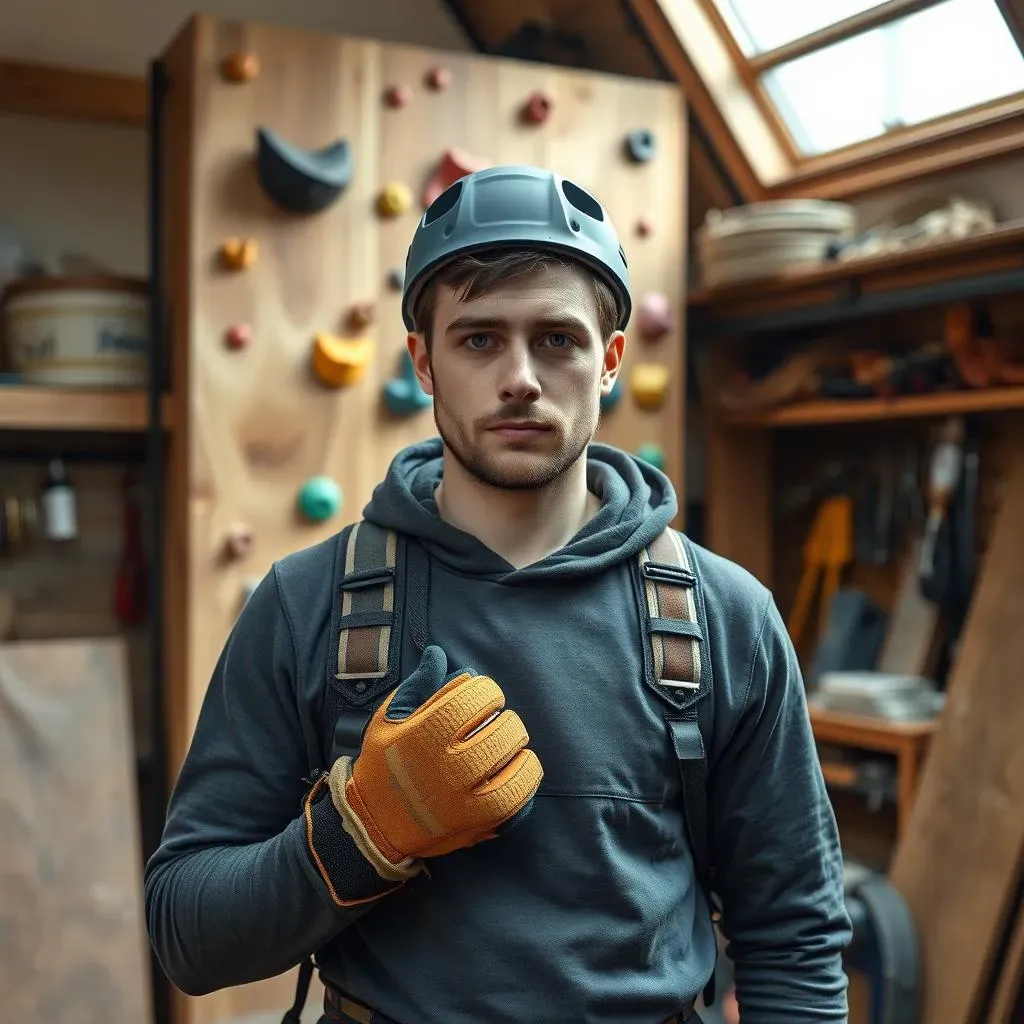
Last but definitely not least, think about safety. A crash pad or gymnastics mat is a must for underneath the wall to cushion any falls, and trust me, there will be falls. And some sandpaper, you'll need it to smooth any rough edges on the wood, we don't want any splinters! And if you're feeling fancy, some paint or sealant can help protect the wood and make your wall look awesome. But hey, if you leave it plain, that's cool too, it will still be a great climbing wall. Remember, safety first, then fun, then looks, but don’t forget to have fun while building it!
Building Your DIY Playground Climbing Wall

Building Your DIY Playground Climbing Wall
Framing the Foundation
Alright, let's get down to business! First, we're putting up the frame. Locate the studs in your wall – they're usually 16 or 24 inches apart. Use a stud finder, or you can try the old knock-and-listen method. Once you've found them, mark them with a pencil. Now, take your 2x4s and start screwing them into the studs. These are going to be the main support for your wall, so make sure they're nice and secure. If you're making an angled wall, this is where you'll adjust the angle of your frame. Use a level to ensure everything is straight and even. This is crucial, nobody wants a wonky climbing wall!
Once the frame is up, it's time to attach the plywood. Lift the plywood and screw it into the 2x4 frame. Make sure the screws are going into the 2x4s, and not just into the plywood itself. You want a strong and durable base. Start at one corner and work your way around, making sure the plywood is flush against the frame. Use a lot of screws, it's better to be over-secure than under. This part can be a bit tricky, so if you have a friend to help, this is a good time to call them. Teamwork makes the dream work, right?
Preparing the Climbing Surface
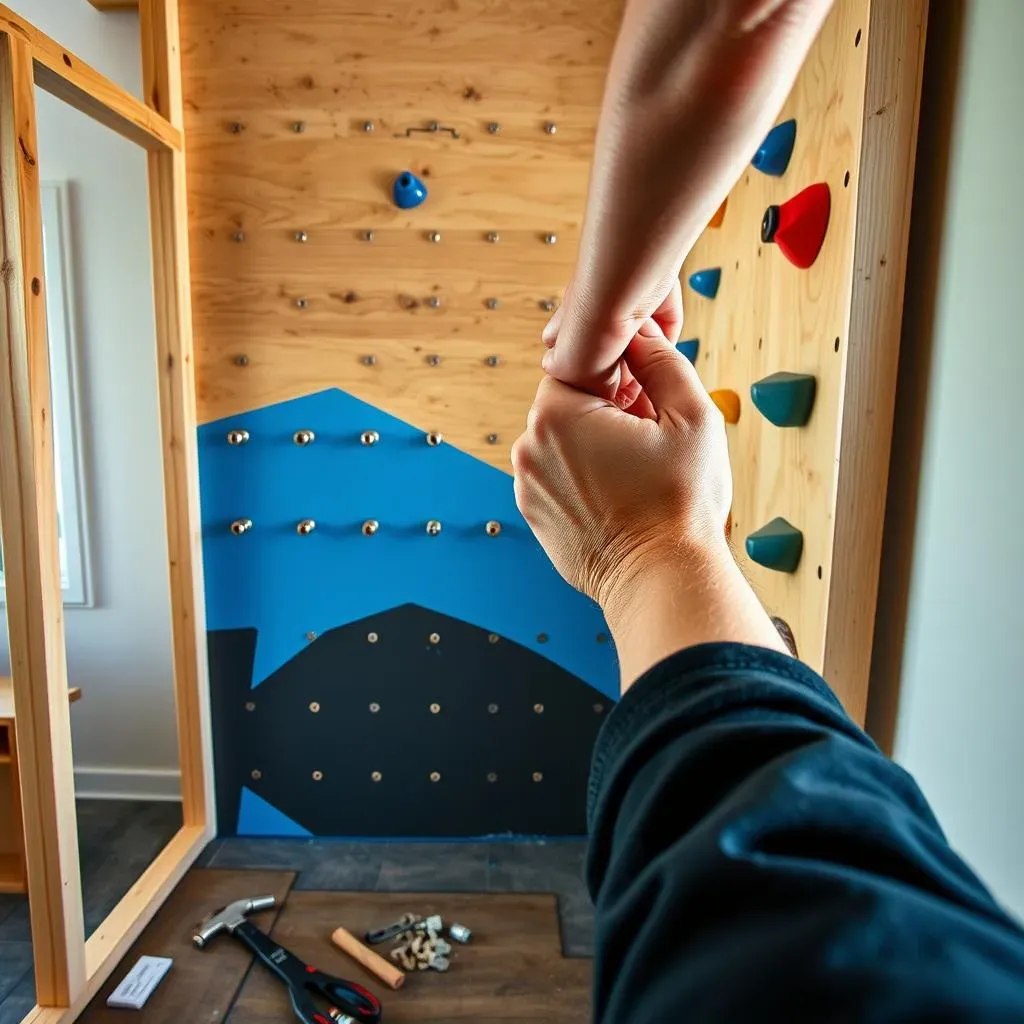
Now that your plywood is up, it's time to get those climbing holds ready. This is where the T-nuts come in. Grab your drill and make holes in the plywood for the T-nuts. You can follow a pattern or go wild and make your own design. Just make sure the holes are big enough for the T-nuts to fit snugly. Now, hammer the T-nuts into the back of the plywood. Make sure they are nice and flush, so they don't stick out. This is where your climbing holds will screw into, so it's important to get it right. Once you have all the T-nuts in place, it's time to attach the holds. Screw them in tightly, but not too tight, you don't want to break them.
Step | Action | Tips |
|---|---|---|
1 | Attach 2x4 frame | Secure to wall studs, use a level |
2 | Attach plywood | Screw securely to frame, use plenty of screws |
3 | Drill holes for T-nuts | Follow a pattern or create your own |
4 | Hammer in T-nuts | Ensure they are flush with the plywood |
5 | Attach climbing holds | Screw in tightly, but not too tight |
Adding the Finishing Touches
Almost there! Now, before you let your little monkeys loose, make sure you have a crash pad or gymnastics mat underneath the wall. This is super important for safety. Smooth any rough edges of the wood with sandpaper. We don't want any accidental splinters! And if you want to get creative, paint the wall or add a sealant. You can even make it a fun project with the kids. Let them pick the colors or even paint some designs on the wall. It's their climbing wall, after all. And that’s it! Your DIY playground climbing wall is ready for action. Stand back and admire your work, you did it!
Safety and Fun with Your DIY Climbing Walls

Safety and Fun with Your DIY Climbing Walls
Safety First: Setting the Ground Rules
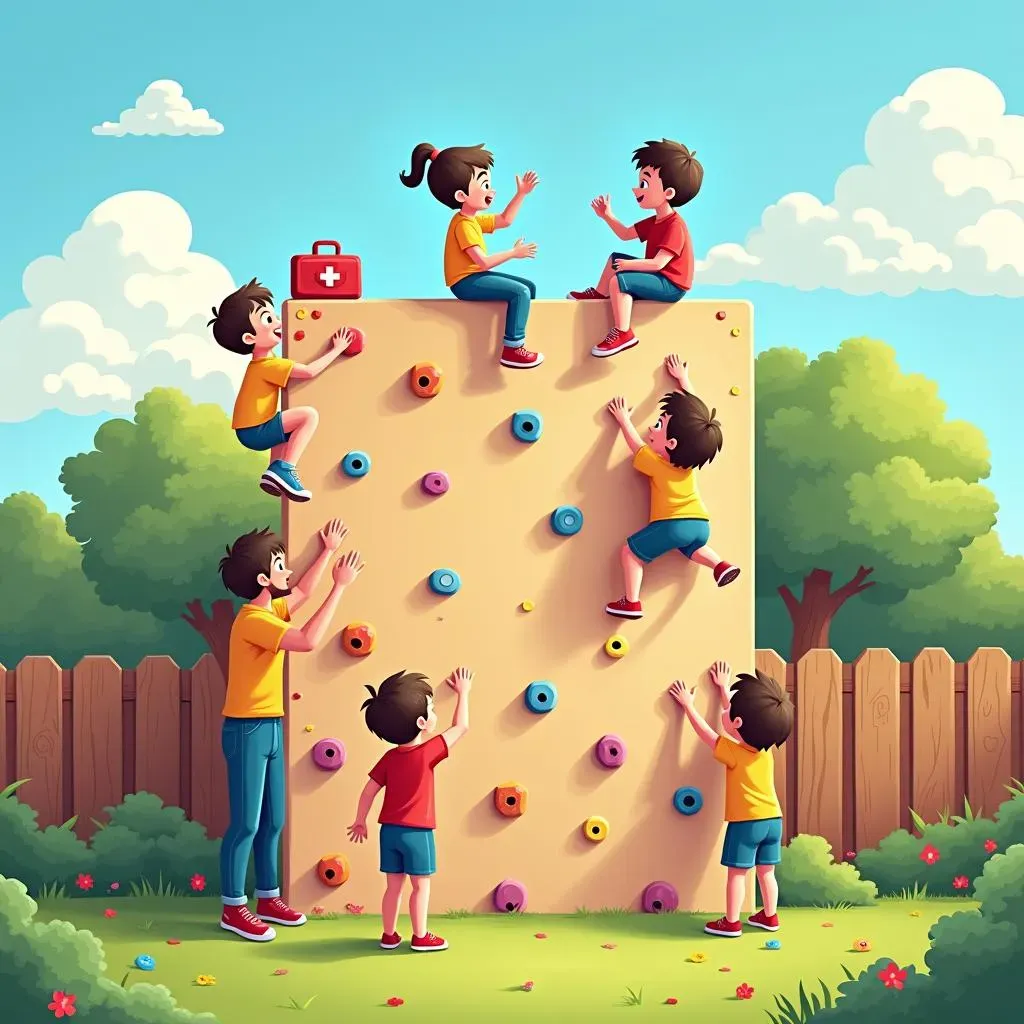
Okay, so you've built this awesome climbing wall, and the kids are practically vibrating with excitement to use it. But hold your horses, it's time for a quick safety talk. First things first, make sure that crash pad or mat is always in place. No exceptions! It's the safety net that protects them from bumps and bruises. And before any climbing session begins, give the wall a quick check. Make sure all the holds are tight and nothing is loose or wobbly. Set some ground rules, too. No climbing with shoes on, no pushing, and always climb one at a time. Remind them it's not a race, it's about having fun and challenging themselves. It's like the rules of the playground, but for the climbing wall, and trust me, kids respect the rules when they know they're there to keep them safe.
Keeping it Fun: Mix it Up!
Now that we've covered the serious stuff, let's talk about the fun part. It's easy for kids to get bored, so mix up the climbing holds from time to time. Change their positions, add new ones, or create different routes that they can follow. This keeps it fresh and challenging. You can even make it a game, like "follow the yellow holds" or "climb to the top without using your feet". And don't be afraid to let the kids help in the process. Let them pick the routes or help you change the holds. It gives them a sense of ownership and makes them more engaged. Remember, a climbing wall isn't just about physical exercise; it's also about creativity and problem-solving. The more you involve them, the more they will enjoy it.
Safety Rule | Why It's Important |
|---|---|
Crash pad/mat | Cushions falls and prevents injuries |
Check holds | Ensures stability and prevents accidents |
No shoes | Prevents slipping |
One at a time | Avoids collisions |
Climb not a race | Focus on technique and safety |
Adding Challenges and Encouragement
Finally, remember that encouragement is key. Cheer them on, celebrate their successes, and help them learn from their stumbles. A little positive reinforcement goes a long way. And don't be afraid to challenge them, but make sure the challenges are age-appropriate. You can create a "challenge of the week" or a "climbing goal" that they can work towards. This keeps them motivated and helps them improve. And most importantly, have fun with them. Get on the wall yourself, show them how it's done. It will not only be a fun bonding experience but will also show them that you trust the structure you built, that you believe in their abilities, and that you are there to support them. It's not just a climbing wall, it's a tool for growth, and it's a great way to get some exercise done while having a great time.