Table of Contents
Tired of the same old boring backyard? I was too! That's why I decided to take matters into my own hands, quite literally. Forget those expensive, pre-made sets; we're diving into the awesome world of "diy playground equipment for backyards." This isn't just about saving a few bucks, it's about creating a unique space where your kids (and maybe you too!) can unleash their inner monkeys. This article will walk you through everything: from the initial planning stages and picking the perfect spot, to the nitty-gritty of actually building your own custom play area. We'll explore some essential equipment ideas, like swings, slides, and sandboxes, and I'll even share some tips on keeping it all safe and fun. Think of it as your personal guide to turning your backyard into an epic adventure zone. So, grab your tools, put on your thinking cap, and let's get building!
Planning Your DIY Backyard Playground Equipment

Planning Your DIY Backyard Playground Equipment
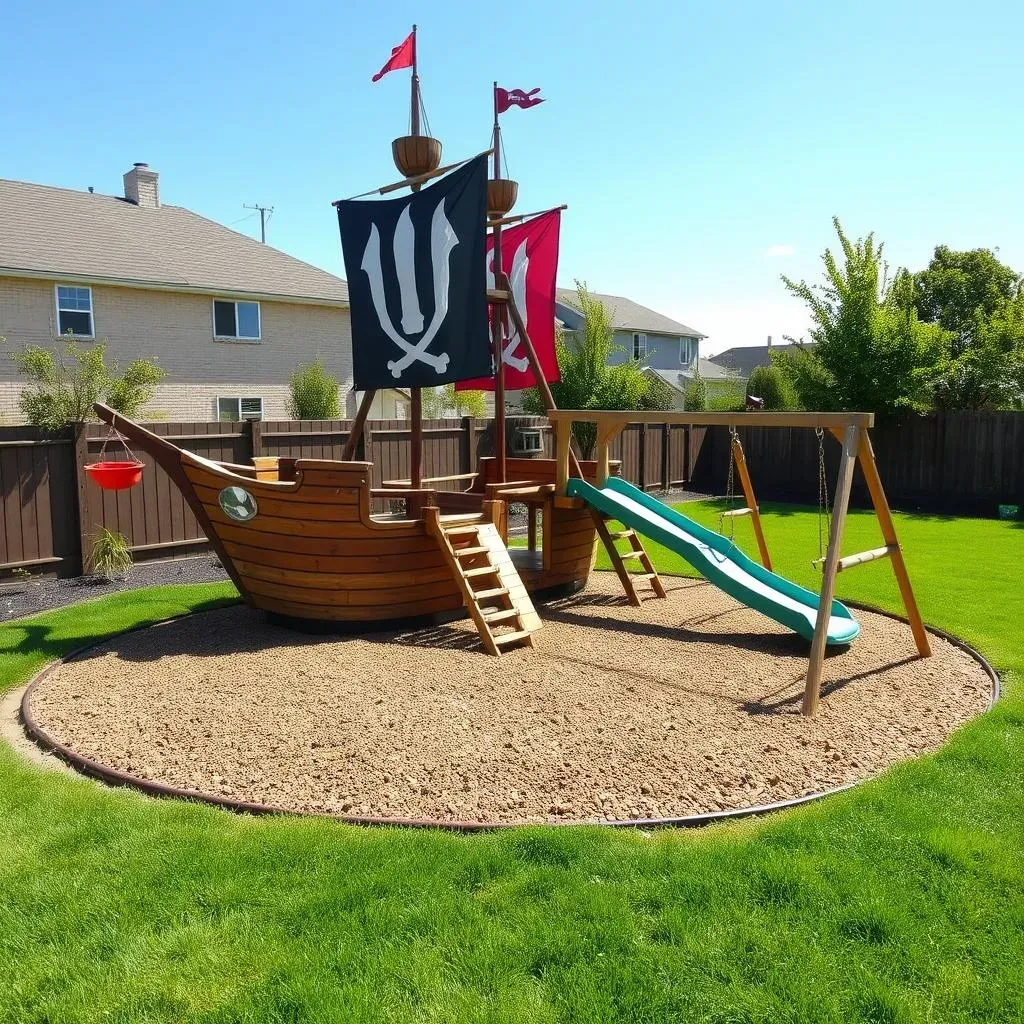
Alright, so you're thinking about building your own backyard playground? Awesome! Before you grab a shovel and start digging, let's chat about planning. It's like baking a cake, you can't just throw everything together and hope for the best. First, you need to scout your location. Is it flat? Is it big enough? Remember, kids need space to run around like crazy chickens. I made the mistake of putting my first swing set too close to the fence, let me tell you, that was a learning experience, thankfully no one got hurt. Next, think about what your kids actually want. Are they all about climbing? Do they dream of being a pirate on a ship? Tailor the equipment to their interests. It’s their space after all, we are just the builders of their dreams.
Once you have a general idea of what you want, it's time to get serious about measurements. Draw a rough sketch of your backyard and mark out where you envision the different play areas. Don't forget to leave some wiggle room, a few extra feet can make a huge difference. Consider the materials you'll use – wood, metal, ropes? Each has its own pros and cons, so do your research. And most importantly, safety first! Check for any hazards like tree roots or uneven ground. You don't want any accidental tumbles ruining the fun. And don't forget to check your local building codes, sometimes they have some rules about structure heights or distances from property lines. I once forgot that and had to move half of my structure. It wasn't fun, learn from my mistakes!
Planning Step | Considerations |
|---|---|
Location Scouting | Flatness, size, proximity to hazards |
Kid's Interests | Climbing, swinging, sand play |
Sketch & Measurements | Space allocation, equipment size, safety zones |
Material Selection | Wood, metal, ropes, durability, cost |
Safety Checks | Hazards, uneven ground, local codes |
Building Your DIY Playground: StepbyStep

Building Your DIY Playground: StepbyStep
Getting Started:
Laying the Foundation
Okay, so you've got your plan, now it's time to get your hands dirty! First things first, prepare the ground. This is super important, like making sure your canvas is ready before you paint. You'll want to clear the area of any grass, rocks, or anything else that's going to get in the way. Leveling the ground is key too. If it's all bumpy, your equipment won't be stable. I remember when I didn't level the ground properly, my swing set was doing a weird dance. It was funny, but not safe! Use a rake and a level to make sure everything is nice and even. This step takes some elbow grease, but it's worth it. Think of it as the foundation of your masterpiece!
Next, you'll want to mark out where the posts for your structure will go. Use stakes and string to lay out the exact positions, just like you did in the planning stage. Double check your measurements and make sure everything is square and where it should be. Once you're happy with the layout, it's time to start digging holes for the posts. This can be a workout, so grab a friend or a cold drink, you will need it. Make sure the holes are deep enough and wide enough for your posts. I always add a bit of extra depth, just to be safe. Remember, we want this thing to be sturdy, not a wobbly mess.
Construction Time:
Assembling the Framework
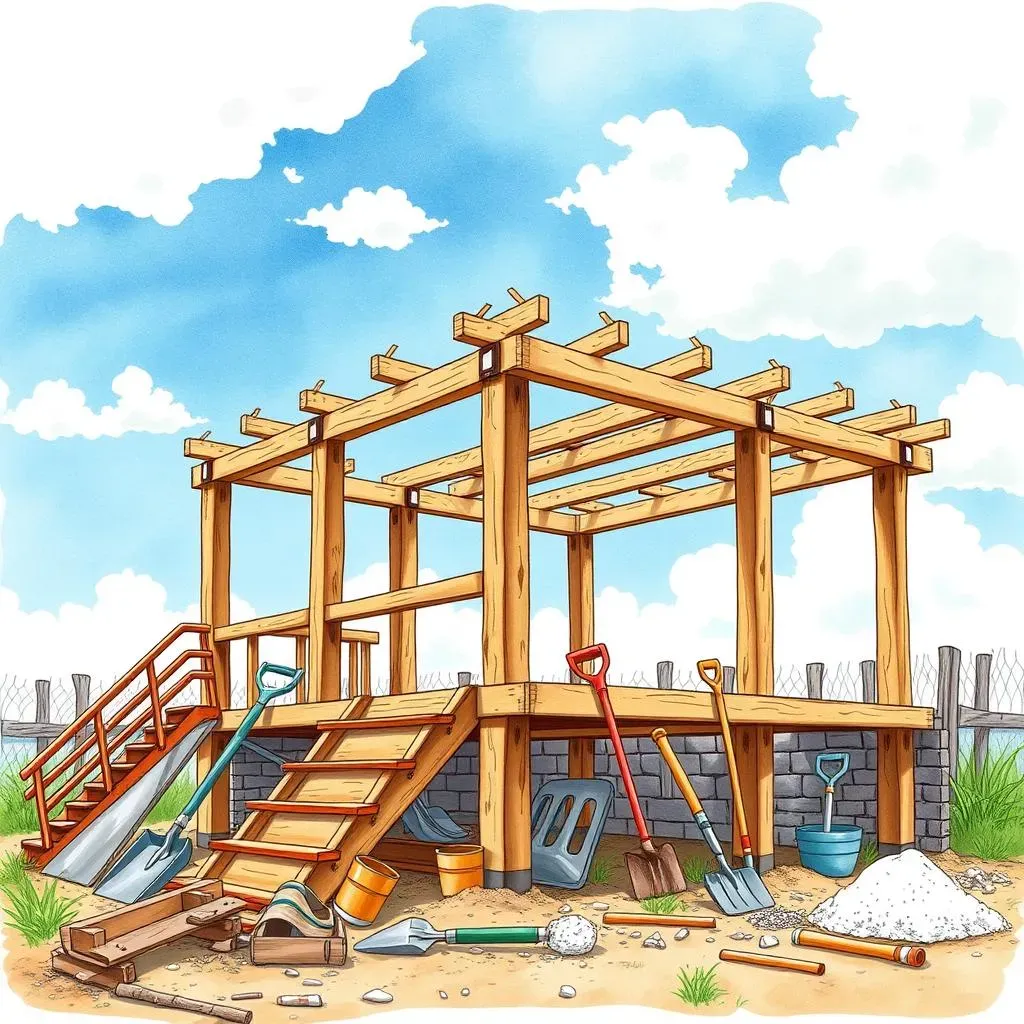
Now for the fun part, putting the pieces together! Start by setting your posts into the holes you've dug. Make sure they're plumb, meaning straight up and down. You can use a level to check this. Once the posts are in place, it's time to pour in the concrete. This will make sure everything is nice and secure. Let the concrete cure for at least 24 hours, or whatever is recommended on the concrete mix you are using. Patience is key here, don't try to rush it. Once the concrete is set, you can start attaching the beams and other structural elements to the posts. Follow your plan carefully, and make sure everything is bolted together tightly. I always double-check my bolts, it's better to be safe than sorry.
As you assemble the frame, keep checking that everything is level and square. Small errors early on can cause big problems later. This is where having a helper comes in handy. It can be tough to hold pieces in place while you're trying to bolt them together. Once the main structure is up, you can start adding the fun stuff like swings, slides, and climbing walls. The process will vary depending on the specific equipment you're installing, but just follow the instructions that came with the equipment and you will be fine. Remember, this is your playground, so feel free to get creative and add your own personal touch. I added a tire swing to mine, and it's become a big hit.
Step | Description | Tools Needed |
|---|---|---|
Prepare Ground | Clear and level the area | Shovel, rake, level |
Mark Post Locations | Use stakes and string | Stakes, string, measuring tape |
Dig Post Holes | Dig deep and wide holes | Post hole digger or shovel |
Set Posts | Make sure posts are plumb and secure | Level, concrete mix |
Assemble Frame | Attach beams and structural elements | Wrench, bolts, screws |
Finishing Touches:
Safety and Play
Once all the equipment is up, it's time to focus on safety. Check all bolts and connections one last time, making sure everything is tight and secure. You'll also want to add some sort of soft surfacing under the play area, like rubber mulch, wood chips, or sand. This will help cushion any falls and prevent injuries. I remember one time my daughter tripped and fell on the soft mulch, it was a relief it was there. It's a small step, but it makes a big difference. Make sure the surfacing is deep enough to provide adequate cushioning. You also want to ensure there is enough clear space around the equipment to prevent accidental bumps and scrapes.
Finally, it’s time to let the kids loose! But before you do, give them a quick safety briefing. Explain the rules of the playground, like "no pushing" and "always use two hands on the ladder". I made a list with some rules for my kids and posted it next to the playground. It might sound a little boring, but it can prevent a lot of accidents. And most importantly, make sure to supervise them while they're playing. Now, step back and enjoy the fruits of your labor. Watching your kids having fun on the playground you built with your own two hands is one of the most rewarding feelings in the world. It’s a project that will create memories for years to come.
Essential DIY Playground Equipment Ideas

Essential DIY Playground Equipment Ideas
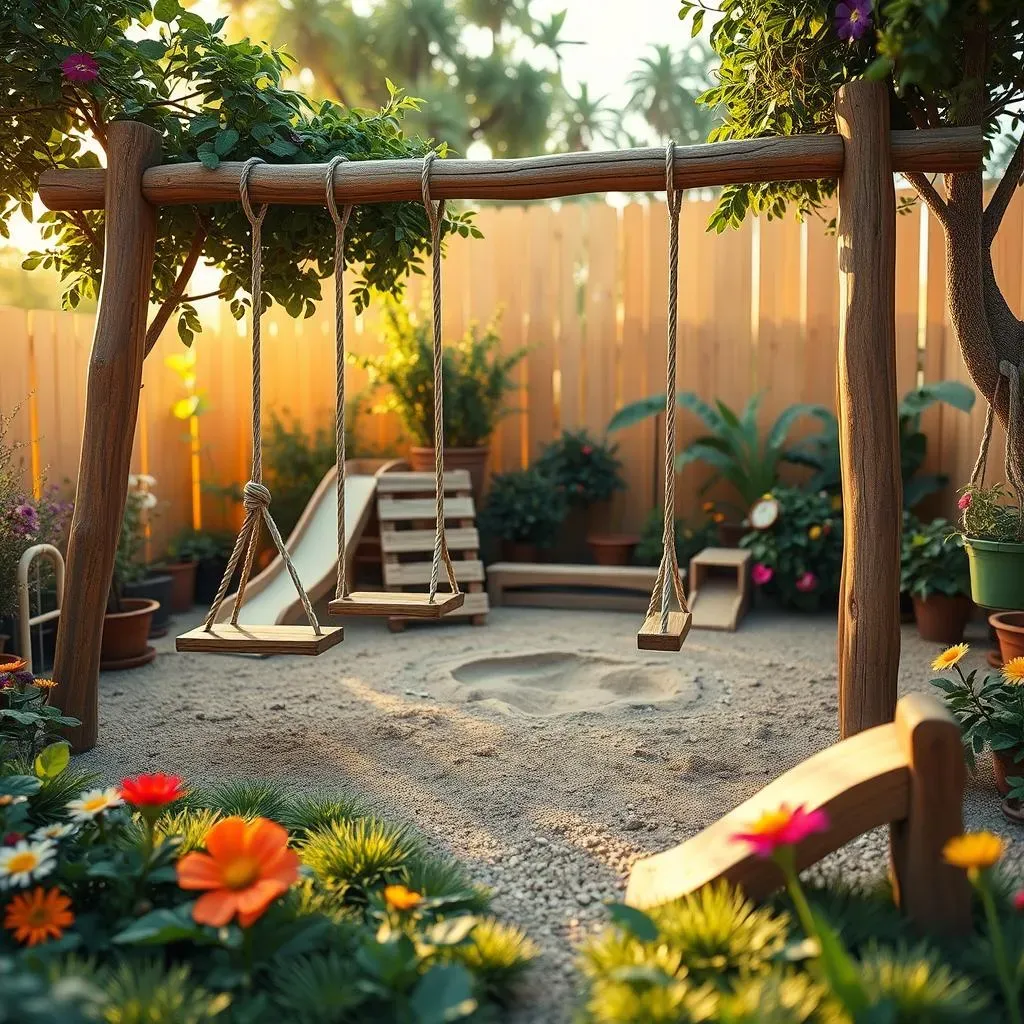
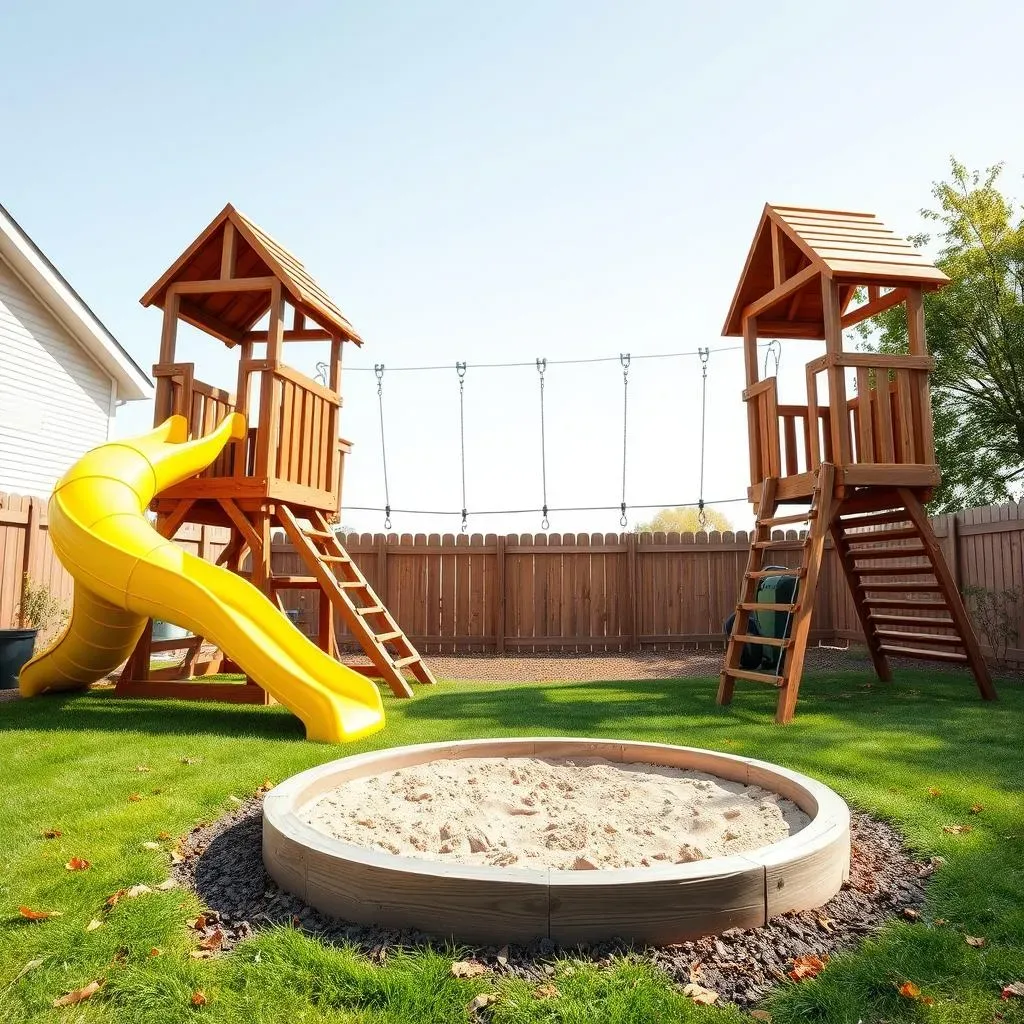
Alright, let's talk about the fun stuff: the actual equipment! When it comes to "diy playground equipment for backyards", the options are pretty much endless, but let’s start with the classics. Swings are a must-have, in my opinion. You can go for a simple rope swing, a classic tire swing, or even a sturdy wooden swing set. I actually built a triple swing set using some old timber and heavy-duty rope, and it is still a hit with the neighborhood kids. Slides are another crowd-pleaser. You can build a simple slide using a piece of heavy-duty plastic or even repurpose an old metal slide. Just make sure it’s not too steep and has a safe landing area. And don't forget a sandbox, it's like a magnet for kids, it is a simple but fantastic addition. A wooden frame filled with sand and some buckets and shovels is all you need. It’s amazing how much fun kids can have with just sand.
Now, if you're feeling a bit more adventurous, you can add some climbing features. A simple rock climbing wall made from plywood and climbing holds is a great option. You can also build a rope ladder or a cargo net for kids to scramble up. Remember to make sure that everything is securely attached and safe to use, safety first. For an added touch, you can create a balance beam using a long piece of wood or a series of stepping stones. It's a great way to improve coordination and balance. I once built a balance beam that was a little too wobbly, and it was hilarious to see the kids trying to cross it. They loved the challenge, and it became a favorite part of the playground. You can also add a playhouse, it can be a simple tent or a more elaborate wooden structure. It is a great place for kids to have their own space for imaginative play.
Equipment Type | Description | DIY Ideas |
|---|---|---|
Swings | Classic playground staple | Rope swing, tire swing, wooden swing set |
Slides | Fun for all ages | Plastic slide, repurposed metal slide |
Sandboxes | Great for imaginative play | Wooden frame, filled with sand |
Climbing Features | Builds strength and coordination | Rock wall, rope ladder, cargo net |
Balance Beam | Improves balance | Wood beam, stepping stones |
Playhouse | Space for imaginative play | Simple tent, wooden structure |
Here are some additional ideas you might like. Consider adding a water play area, like a small water table or a sprinkler system. It's perfect for hot summer days. You can also create a mud kitchen using some old pots and pans and a designated area for mud. I know it sounds messy, but kids love it! A chalkboard is another great addition, it provides a space for creative expression. You can also add some musical instruments, like a xylophone or a drum, to add some fun sounds to the playground. And don’t forget about the importance of seating, a picnic table or some benches will give kids a place to rest and refuel. It's amazing how much a simple bench can be a gathering spot for kids. I added a small picnic table to my playground, and it has become a place to have pretend tea parties.
When selecting the equipment and materials, make sure you choose items that are durable and weather-resistant. You want your playground to last for years. Also, think about the age and abilities of your children, and select equipment that is appropriate for them. You can always start with simple items and add more complex ones as they grow. The goal is to create a space where kids can have fun, be active, and use their imagination. And remember, building a DIY playground is not just about the equipment, it's about creating a space where kids can make memories. I remember when my daughter made a fort under the slide, it was just a blanket and some sticks, but it was her favorite spot. It's those little moments that make it all worth it.
- Water Play Area: Small water table or sprinkler system
- Mud Kitchen: Old pots and pans, mud area
- Chalkboard: Space for creative expression
- Musical Instruments: Xylophone, drum
- Seating: Picnic table, benches
Maintaining Your DIY Backyard Playground

Maintaining Your DIY Backyard Playground
Okay, so you've built this amazing "diy playground equipment for backyards", now what? It's not a 'set it and forget it' kind of deal. You gotta keep it in tip-top shape if you want it to last and, more importantly, stay safe for the kiddos. Think of it like a car, it needs regular check-ups and maintenance to keep running smoothly. First things first, regular inspections are key. Walk around your playground every week or two, and look for any loose bolts, splinters, or signs of wear and tear. It's much easier to fix a small problem now than to deal with a big one later. I had a bolt come loose on a swing once, and it was a close call. Now I check them religiously.
Another crucial aspect is keeping the area clean. Remove any leaves, twigs, or other debris that might accumulate. This not only keeps the playground looking nice, but it also prevents things like mold and mildew from growing, especially in damp areas. I always keep a broom and a small dustpan handy for quick cleanups. For the sandbox, remember to cover it when it’s not in use. This will keep out critters and unwanted debris, and it will also help keep the sand dry, preventing it from getting too heavy or clumpy. I learned the hard way when I forgot to cover the sandbox and it rained all night. Let’s just say, it took a lot of work to get it back to a usable state.
Maintenance Task | Frequency | Why It's Important |
|---|---|---|
Inspect for Loose Bolts/Splinters | Weekly | Ensures Safety, Prevents Accidents |
Clean Debris | Weekly | Prevents Mold/Mildew, Keeps Area Tidy |
Cover Sandbox | After Each Use | Keeps Out Critters/Debris, Keeps Sand Dry |
Now, let's talk about the equipment itself. Wooden structures will need to be treated or stained every couple of years to protect them from the elements. If you notice any wood rot, it's important to address it immediately to prevent further damage. Metal structures should be checked for rust, and you might want to apply a rust inhibitor. Ropes and swings should be checked for fraying or damage and replaced as needed. I replace my rope swings every year, just to be on the safe side. It’s a small price to pay for peace of mind. Also, think about the surfacing. If you are using wood chips or mulch, you may need to add more every year to maintain a safe depth. Rubber mulch tends to last longer, but it can also be expensive.
And don't forget about the paint! If you have painted any part of your playground, you might need to touch it up every now and then. Faded paint not only makes it look less appealing, but it can also make it harder to spot potential problems. I always keep a can of touch-up paint handy. It's amazing how a fresh coat of paint can make the whole playground look new again. Finally, always keep an eye on the ground around the playground. Look for any signs of erosion or uneven ground. If you find any, fix them right away to prevent accidents. And always remember, a little bit of maintenance goes a long way in keeping your diy playground safe and fun for years to come.
- Treat Wooden Structures every 2 years
- Check Metal Structures for Rust regularly
- Replace Ropes/Swings annually or as needed
- Maintain Soft Surfacing (mulch or rubber)
- Touch Up Paint as needed