Table of Contents
Is your backyard looking a little…blah? Do your kids have more energy than a caffeinated squirrel? Well, you're in the right place! Forget those pricey, store-bought playgrounds. We're diving headfirst into the world of diy playground equipment for budget-conscious families. This isn't about spending a fortune; it's about getting creative and building a fun, safe space for your kids to burn off that extra energy using simple ideas and some elbow grease. We'll explore how to make your own backyard wonderland with easy-to-find materials and a dash of imagination. From climbing structures that’ll make your kids feel like monkeys to swings that’ll send them soaring, we've got you covered. Get ready to transform your backyard into the ultimate play zone, all without emptying your wallet. So, grab your tools (and maybe a juice box), and let's get started!
Building Your Dream DIY Playground on a Budget

Building Your Dream DIY Playground on a Budget
Dream Big, Start Small
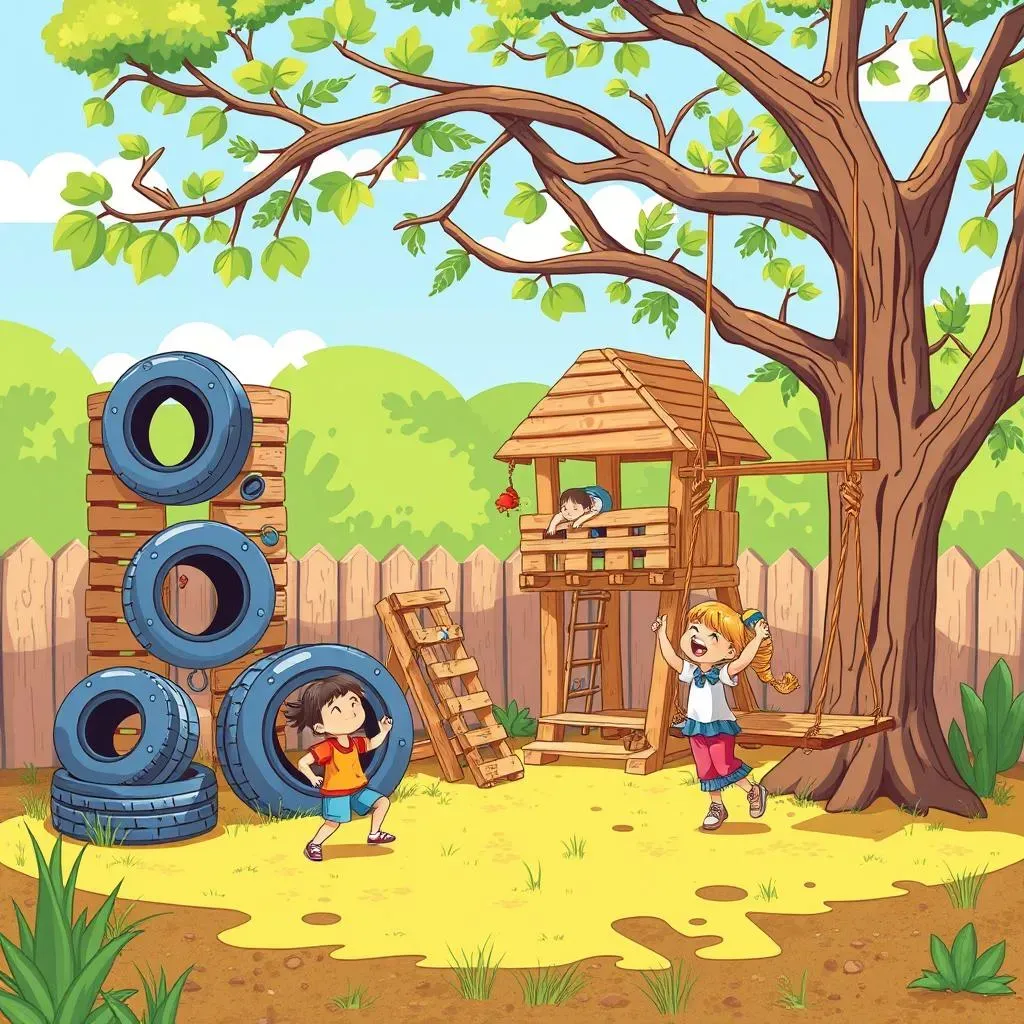
Okay, so you're picturing a backyard paradise, right? I get it, I've been there! But before you start sketching out a multi-level, gravity-defying fortress, let's talk reality. Building a dream DIY playground on a budget isn’t about having the most expensive equipment; it's about using what you have and getting creative. Think about what your kids actually love to do. Do they adore climbing? Maybe a simple tire wall is the way to go. Are they into digging? A sandbox made from old wood planks could be perfect. The point is, start with a small, manageable project, and then add as you go. You don't need to do it all at once. I remember when I built my first swing set, it was literally just a tire and some rope - but my kids loved it!
The key here is to repurpose and reuse. Check out your local classifieds or online marketplaces for free or cheap materials. Old tires, wooden pallets, and even sturdy cardboard boxes can be transformed into amazing play structures. Don't be afraid to think outside the box. Scour your garage, check with friends and family, and see what you can find. I once turned an old plastic barrel into a tunnel for my kids, and they were over the moon about it. Remember, the goal is to create something fun and functional without spending a fortune. So put on your thinking cap, channel your inner MacGyver, and let's get building!
Material | Potential Use | Cost |
|---|---|---|
Old Tires | Climbing walls, swings, sandbox borders | Free - $5 each |
Wooden Pallets | Forts, playhouses, ramps | Free - $10 each |
Rope | Swings, climbing nets, rope ladders | $10 - $20 |
Plastic Barrels | Tunnels, play structures | Free - $15 each |
Cardboard Boxes | Forts, tunnels, playhouses | Free |
Planning and Priorities
Before you start hammering and sawing, take some time to plan. Ask your kids what they want in their dream playground. This not only gets them excited, but it also ensures they'll actually use what you build. It's a bummer to put in all that effort to create something that they end up ignoring. I always find that a simple sketch can help you visualize the space and make sure everything fits. Consider the size of your yard, the ages of your kids, and any safety concerns. Prioritize the elements that are most important to your kids, and then work your way down the list. Maybe a simple sandbox is more important than an elaborate climbing structure. It's all about what makes your kids happy.
Also, think about the long-term use of the playground. Will it still be fun when your kids get older? Can you make adjustments or add new elements as they grow? Consider making some structures that can be modified, like a basic frame that can be used for different things over time. Don't feel like you have to create the perfect playground right away. It's a process, and it's okay to start with a few simple elements and then add to it over time. Remember, the best playgrounds are the ones that are used and loved, not the ones that look like they came from a magazine.
"The best playgrounds are the ones that are used and loved, not the ones that look like they came from a magazine." - A wise parent (probably)
MustHave DIY Playground Equipment for Active Kids

MustHave DIY Playground Equipment for Active Kids
Climbing Structures
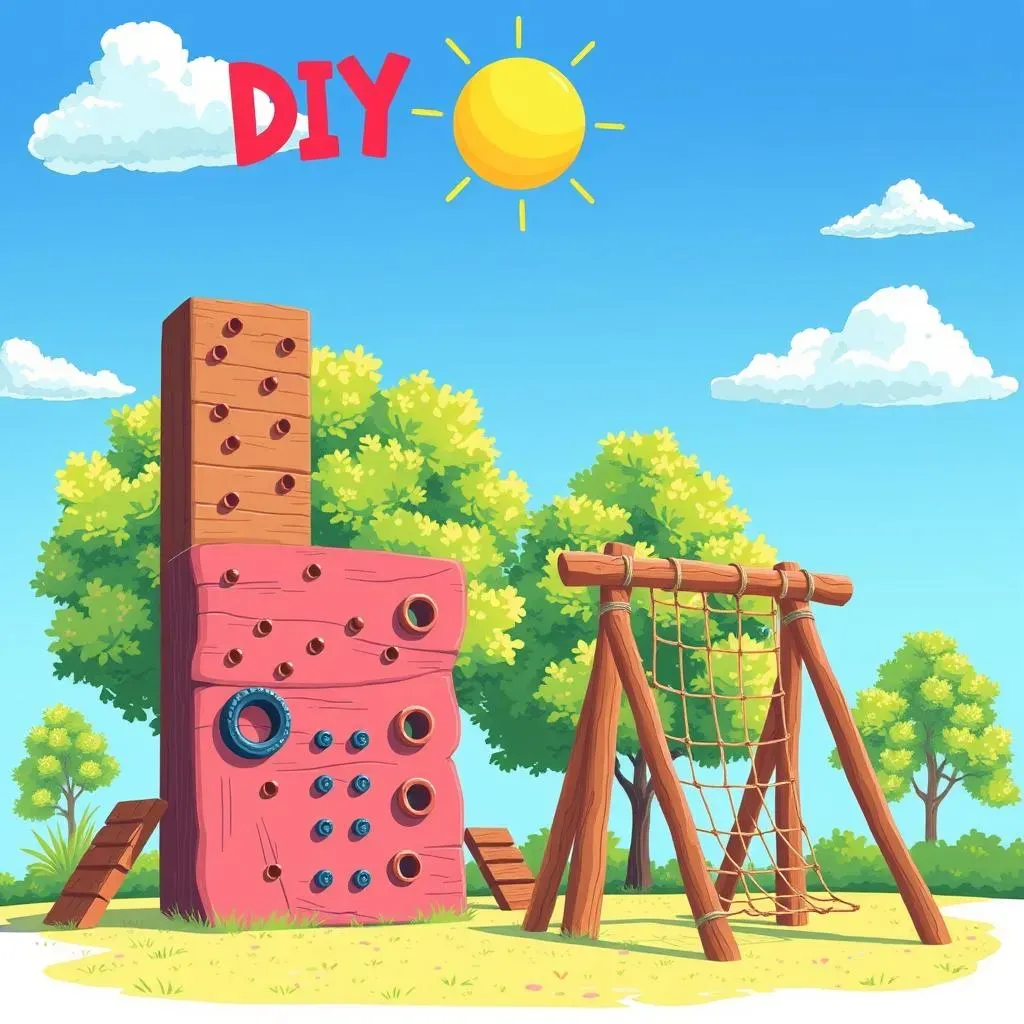
Okay, let's talk about getting those little monkeys moving! When I think of must-have DIY playground equipment, climbing structures are always at the top of my list. Kids are natural climbers, so why not give them a safe and fun way to explore that urge? You don't need to build a massive jungle gym, though. A simple climbing wall using plywood and some climbing holds can be a fantastic start. I remember when I made one for my kids with different colors, they loved the challenge. You can also get creative with tires and rope to create a net or ladder for them to climb. It’s all about adding levels and challenges that encourage them to use their whole bodies.
Another great option is to use tree stumps or large logs. If you have access to these, they make a wonderful natural climbing structure. Just make sure they are secure and won't roll. You can also build a simple A-frame structure and add a rope net or ladder for climbing. The key is to make it sturdy and safe, and always supervise your kids when they're using it. I've found that adding different textures and challenges makes it more engaging for them. So go wild with your creativity and give them something that makes them want to climb and explore.
Equipment | Materials | Benefits |
|---|---|---|
Climbing Wall | Plywood, climbing holds, screws | Develops strength, coordination, problem-solving |
Tire Climbing Net | Old tires, rope, fasteners | Improves agility, grip strength, balance |
Log Climber | Tree stumps or logs | Encourages natural movement, balance |
A-Frame with Rope Net | Wood, rope, fasteners | Builds upper body strength, coordination |
Swinging and Sliding Fun
Now, what's a playground without some swinging and sliding action? It's like peanut butter without jelly – just not the same! Swings are a classic for a reason. They provide that awesome feeling of flying and also help kids develop their balance and coordination. You can make a super simple tire swing with an old tire and some sturdy rope. Or, if you're feeling a bit more ambitious, you can build a basic wooden swing set frame. I've seen some awesome swings made from old skateboard decks, too. It's all about finding something that's both safe and fun for the kids.
Slides are another must-have for active kids. You don't need to buy an expensive plastic slide. You can make a simple slide using a tarp or a piece of cardboard on a grassy hill. Or even better use a piece of durable plastic sheeting over a wooden frame. Just make sure the landing area is soft and safe. I've also seen some great DIY slides made from recycled plastic barrels. The key is to make sure it’s not too steep and that the kids have a soft landing. Remember, the goal is to create a space where they can get some of that energy out, while having a blast.
"Swinging and sliding are not just fun; they're essential for developing balance and coordination!" - Some random dude
Making it Safe and Fun: DIY Playground Equipment Tips

Making it Safe and Fun: DIY Playground Equipment Tips
Safety First, Always
Alright, let's get real for a second. Building a DIY playground is awesome, but safety has to be your number one priority. I can't stress this enough! Before you let your kids loose on their new play space, do a thorough check. Make sure all your structures are sturdy and stable. I always give everything a good shake and push to make sure it won’t budge. Check for sharp edges, protruding nails, or any other potential hazards. Remember, kids are experts at finding trouble. Use smooth, rounded materials whenever possible. And always, always supervise your kids while they're playing.
Another key aspect of safety is fall protection. Make sure you have a soft landing surface under and around your playground equipment. Wood chips, sand, or rubber mulch are great options. Avoid concrete or hard surfaces. I've seen some parents use old mattresses or thick blankets. Just make sure they're secured in place. It’s also a good idea to check the playground regularly for any wear and tear. Things can loosen up over time, so it’s important to stay on top of maintenance. Safety isn't just a one-time thing; it's an ongoing process. It's way better to be safe than sorry, trust me on this one.
Safety Check | Action |
|---|---|
Structure Stability | Shake and push all structures to ensure they are sturdy. |
Sharp Edges | Use smooth, rounded materials; sand down any rough spots. |
Fall Protection | Use wood chips, sand, or rubber mulch under equipment. |
Regular Inspection | Check for wear and tear regularly; tighten any loose parts. |
Making it Engaging and Fun
Okay, safety is covered, now let’s get to the fun stuff! A safe playground is essential, but it should also be engaging and fun for your kids. Think about adding elements that will spark their imagination. Maybe a small chalkboard for drawing or some colorful decorations. I once painted some old tires with bright colors and patterns and my kids thought it was the coolest thing ever. You can also add different textures and materials to make it more interesting. Think ropes, fabrics, or even some outdoor musical instruments. The goal is to create a space that encourages creativity and exploration.
Don't be afraid to involve your kids in the design process. Ask them what they want, and let them help with building or decorating. This not only makes it more fun for them, but it also gives them a sense of ownership. I've found that when my kids are involved, they're much more likely to use and appreciate the playground. Remember, it's not about creating a perfect, magazine-worthy space; it's about creating a space where your kids can have fun, be active, and make memories. So get creative, think outside the box, and let your imagination run wild.
"The best playgrounds are those that spark imagination and encourage exploration." - Some random internet quote
Maintenance and Upkeep
Alright, so you've built your awesome DIY playground, and your kids are having a blast. But the work doesn't stop there. Regular maintenance and upkeep are key to keeping it safe and fun for the long haul. I always make it a habit to do a quick check of the playground every week. Look for any loose screws, splinters, or signs of wear and tear. Tighten anything that's loose and replace any broken or damaged parts. It's also a good idea to clean the playground regularly to prevent the build-up of dirt and grime. A little bit of maintenance goes a long way.
Also, think about the weather. If you live in a place with harsh winters, you might need to store some of the equipment during the colder months. This will help prevent damage and prolong the life of your playground. And as your kids grow, you might need to make some adjustments to the playground. Maybe add new elements or change the layout. It's all about adapting to their needs and keeping it exciting. Remember, a well-maintained playground is a safe and fun playground. So put on your maintenance hat and keep those play structures in tip-top shape.