Table of Contents
Ever look at your big backyard and think, "This could be way more fun?" I did! My kid's toys were scattered everywhere, and it was a mess. So, I decided to build a custom playground. This isn't about buying some pre-made kit; we're talking about creating a space where kids can truly play and explore. This article will guide you through my journey of building a DIY playground, focusing on using large spaces effectively. We'll cover planning, building, and maintaining your play area. Get ready to transform your yard into an awesome zone, using your own two hands. We'll explore how to plan your large space, select and assemble the equipment, and ensure it's a safe and fun environment for the children. This guide will help you with your "diy playground equipment for large spaces" project from start to finish. Let's get building!
Planning Your DIY Playground for Large Spaces

Planning Your DIY Playground for Large Spaces
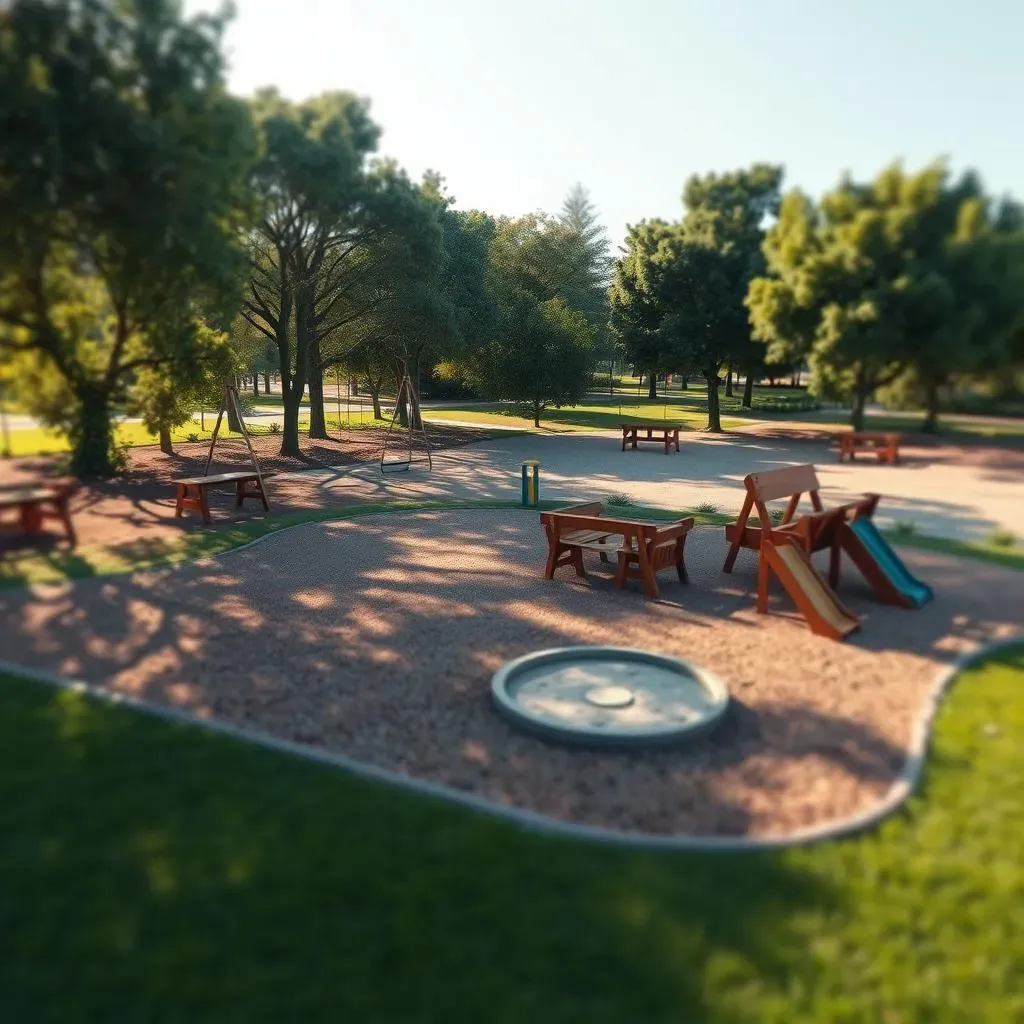
Okay, so you've got this big, empty space, and you're dreaming of a playground, right? First things first, let's not just throw some swings in and call it a day. Planning is key, especially when you're dealing with a large area. I started by measuring my yard, like a real-life treasure hunt, mapping out where things could go. Think about the sun; you don't want the slide to be a scorching metal death trap in the summer. Also, consider the ground, is it flat? Do you need to level it out? Then, think about zones. A swing area, a climbing area, a sandbox zone. It helps to organize the chaos. It's like making a map before you go on an adventure, you wouldn't just wander around aimlessly, would you?
Before you even start shopping for materials, think about the age of your kids. A toddler's playground will look way different than a pre-teen's. A small slide for a toddler is fun, but for a older kid, it might be boring. I sketched out a few ideas, moving things around like puzzle pieces, until it felt right. Then, I thought about safety. How much space do I need around the equipment? Do I need a soft landing surface? It's not just about fun, it's about keeping everyone safe. I even asked my kid what they wanted, they had some interesting ideas like a pirate ship, but I had to be realistic.
Planning Stage | Considerations |
|---|---|
Measuring Space | Accurate measurements of the area. |
Sun Exposure | Plan the playground to avoid direct sun during peak hours. |
Ground Condition | Level ground, soft surface. |
Age of Children | Different age groups need different equipment. |
Safety | Space around equipment, soft landing surfaces. |
Building Your DIY Playground with Large Equipment

Building Your DIY Playground with Large Equipment
Getting Started: Gathering Your Materials
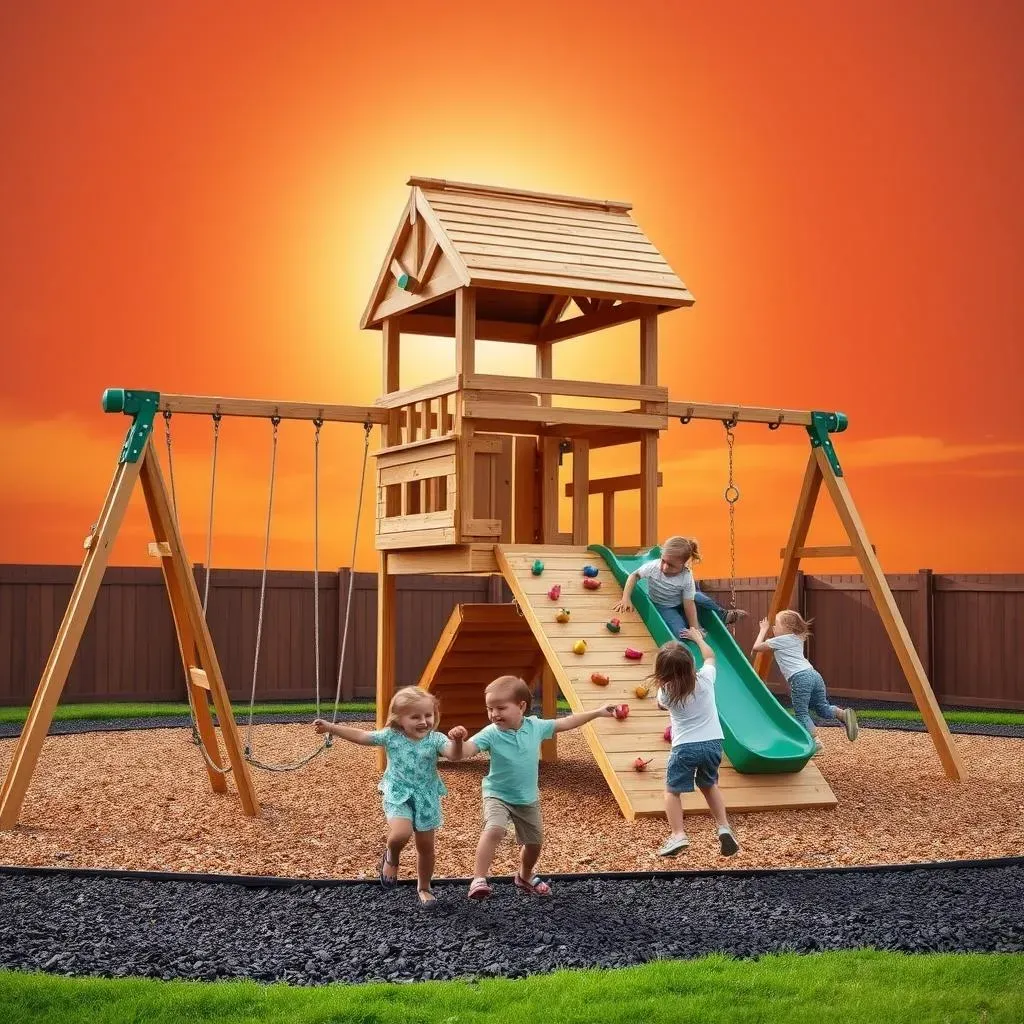
Alright, you've got your plan, now it's time to get real. Building a playground, especially with large equipment, is like putting together a giant puzzle. First, let's talk materials. We're not just talking about wood and screws here. Think about swing sets, slides, climbing walls, and maybe even a cool rope bridge. I went for pressure-treated lumber because, well, it rains. A lot. You also need to think about the hardware. Heavy-duty bolts, screws, and brackets are your friends. Don't skimp on these, you want to make sure everything is super secure. You'll also need tools, lots of them. A good drill, a saw, a level, and a measuring tape are essentials. I felt like a construction worker for a week. It was actually kind of fun.
Also, think about the base, the ground where you will set up the equipment. I used rubber mulch, it's soft, it's safe, and it looks nice. But you have other options. Sand, wood chips, or even grass can work, but remember, safety first. I remember reading this quote somewhere: "The best playground is the one that is safe and fun." I think that's spot on, don't you? Don't rush the material-gathering phase. Take your time, make sure you have everything you need, and then we can move on to the fun part: building.
Assembling Your Playground: Step-by-Step
Now, for the main event: putting it all together. This is where your plan becomes a reality. I started with the swing set, which was the most complicated part. I followed the instructions carefully, making sure that every bolt was tight and every piece was in the right place. It's like following a recipe, but instead of a cake, you get a playground. I would do a little, then take a break, then do a little more. Don't try to do it all at once, it's tiring. Then came the slide, which was much easier to install. I remember thinking, "This is actually working!" Then the climbing wall, which I admit, was a bit tricky. I had to adjust it a few times to make sure it was secure.
One thing I learned: don't be afraid to ask for help. I called a friend over to help me with some of the heavier parts, and it made a huge difference. Teamwork makes the dream work, right? Always double-check your work. Make sure everything is level and secure. This is not the time to cut corners. I cannot stress enough the importance of safety. If something doesn't feel right, fix it. It's better to spend a little extra time now than to have an accident later. After all, we want a playground that is not only fun, but also safe.
Assembly Phase | Key Steps |
|---|---|
Swing Set | Carefully follow instructions, ensure all bolts are tight. |
Slide | Install securely, double-check stability. |
Climbing Wall | Adjust for stability, ensure secure attachment. |
Safety Check | Double-check level and security of all components. |
Ask for Help | Don't hesitate to ask for assistance with heavy parts. |
Finishing Touches and Safety Checks
Once everything is assembled, it's time for the finishing touches. I added some extra rubber mulch around the base of the slide and under the swing set to make it extra soft. I also made sure there were no sharp edges or loose screws. I walked around the playground a few times, pretending to be a kid, climbing and swinging to make sure everything felt right. It's kind of fun, actually, to play on your own creation. Then, I did one final safety check, just to be sure. I went over every bolt and every joint to make sure everything was tight and secure.
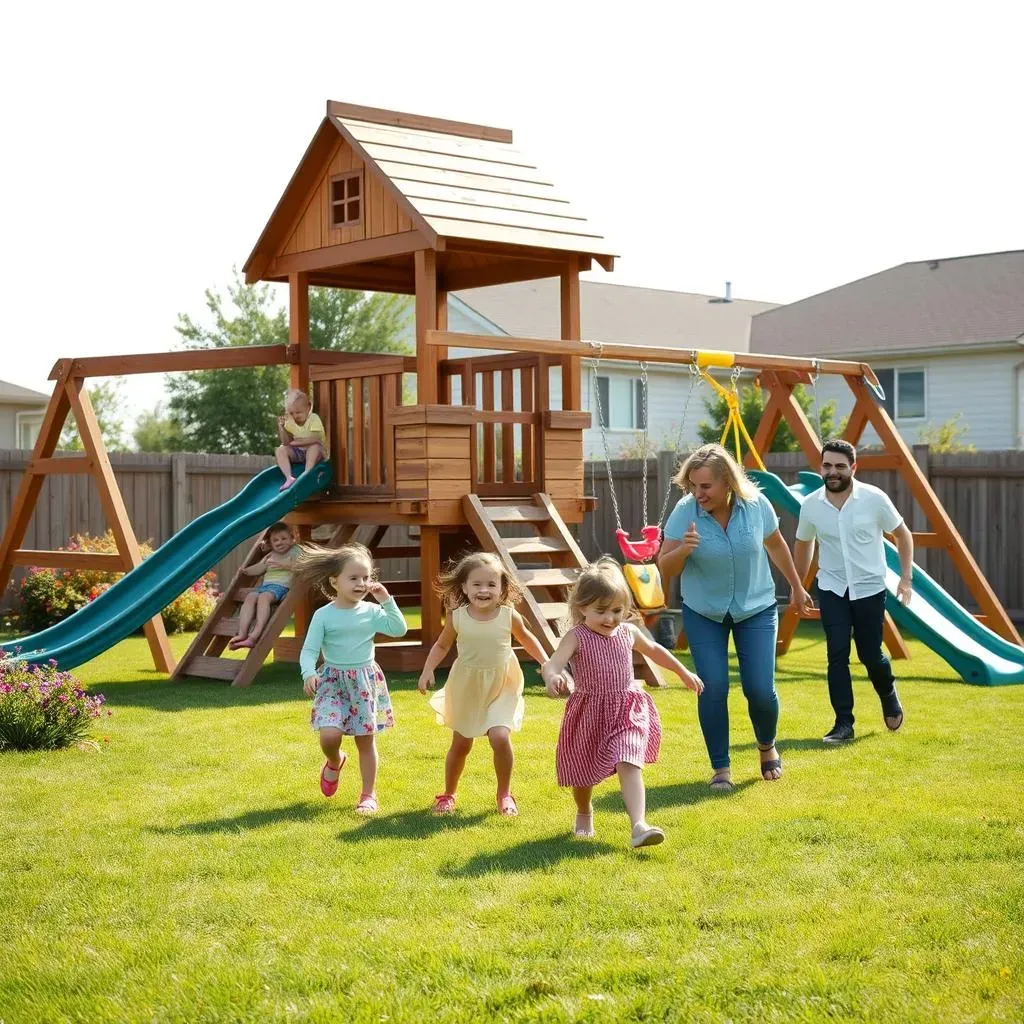
And finally, the most exciting part, letting the kids loose! They loved it. It was amazing to see them running around, climbing, and swinging on something I had built with my own two hands. Building a playground isn't just about the equipment, it's about creating a space where kids can have fun, explore, and make memories. It was a lot of work, but it was worth every minute. I think you will agree once you have your own playground set up. The feeling is amazing.
Maintaining and Enjoying Your DIY Playground for Large Spaces

Maintaining and Enjoying Your DIY Playground for Large Spaces
Keeping it Clean and Safe
Okay, so you've built this amazing playground, now what? Well, it’s not a ‘set it and forget it’ kind of deal. You need to keep it clean and safe. I do a quick check every week, looking for any loose bolts, sharp edges, or anything that might be a hazard. It's like giving your car a once-over before a road trip. You want to make sure everything is good to go. I also sweep away any leaves or debris that might have collected on the playground. It keeps it nice and tidy. And, I am not going to lie, it makes me feel good to see it in good shape, it shows that I care.
Also, I give the playground a deeper cleaning every month or so. I use a soft brush and some soapy water to scrub away any dirt or grime. It's a good workout, and it keeps the playground looking its best. Sometimes I let the kids help, they actually enjoy spraying water around. It's a fun way to get them involved. Remember, a clean playground is a safe playground. So, put in a little effort, it will be worth it.
Maintenance Task | Frequency | Purpose |
|---|---|---|
Quick Check | Weekly | Identify and fix potential hazards |
Sweeping Debris | Weekly | Keep the play area tidy |
Deep Cleaning | Monthly | Remove dirt and grime |
Weathering the Storm
Now, let's talk about the weather. Rain, sun, snow, it can all take a toll on your playground. I live in an area where we get all four seasons, so I've had to adapt. After a big rain, I check for puddles and make sure the mulch isn’t washed away. I might need to rake it back into place. The sun can also be a problem, especially if you have plastic parts. I try to keep them shaded as much as possible, and I check them regularly for any signs of fading or cracking. You might also want to consider covering the playground during the winter months, if you live in a place where you have heavy snowfall. This will help protect it from the elements. It’s like dressing for the weather, you have to prepare your playground too.
And, I cannot stress enough the importance of regular maintenance. It’s not a one-time thing, it’s an ongoing process. But the good news is, it's not that hard. Just a little bit of work every now and then will keep your playground in great shape for years to come. "The key to longevity is maintenance," a wise man once said. And I agree, it's true for playgrounds too.
Making the Most of Your Space
Finally, let’s talk about enjoying your playground. It’s not just about the equipment, it’s about creating a space where kids can have fun, be creative, and make memories. I love watching my kids play on the playground, it’s so rewarding. I try to change things up every now and then, adding new elements or rearranging the equipment. It keeps things fresh and exciting. I also encourage the kids to come up with their own games and activities. It’s amazing to see what they come up with. The playground is a place for them to use their imagination and creativity. And for me, it’s a reminder of the fun we have as a family.
The most important thing is to make sure that the playground is a place where kids feel safe, comfortable, and happy. That's what it's all about. So, go out there, enjoy your playground, and make some memories. After all, that’s what life is about, right?
Here are some ideas to keep the playground fun:
- Add new toys or equipment regularly.
- Create themed play days.
- Encourage imaginative play.
- Involve the kids in the maintenance process.
- Use the playground for family activities.