Table of Contents
Tired of the same old boring backyard? Do you live in a rural area where ready-made playgrounds are hard to come by? Well, you're in luck! This article is your go-to guide for creating amazing **diy playground equipment for rural areas**. We're not talking about flimsy, unsafe structures, but robust, fun, and engaging play areas built with your own two hands. Forget those expensive, cookie-cutter playgrounds! We'll explore why DIY is perfect for rural settings, how to plan your build, and which materials to use. We'll even cover crucial safety tips to keep your little ones safe. Plus, we'll dive into some inspiring ideas to get your creative juices flowing. So, grab your tools, put on your thinking cap, and let's make some magic happen in your backyard with **diy playground equipment for rural areas**!
Why DIY Playground Equipment is Perfect for Rural Areas
Why DIY Playground Equipment is Perfect for Rural Areas
The Rural Advantage
Let's face it, folks, rural areas often miss out on the fancy, pre-made playgrounds you see in the city. They can be expensive and require professional installation, which isn't always practical when you're miles from the nearest town. That's where the beauty of DIY comes in! You're not limited by what's available at the store; you can build exactly what your kids need, using materials that are accessible and affordable in your area. Plus, there's a certain satisfaction in creating something with your own hands, and your kids will love that you made it just for them.
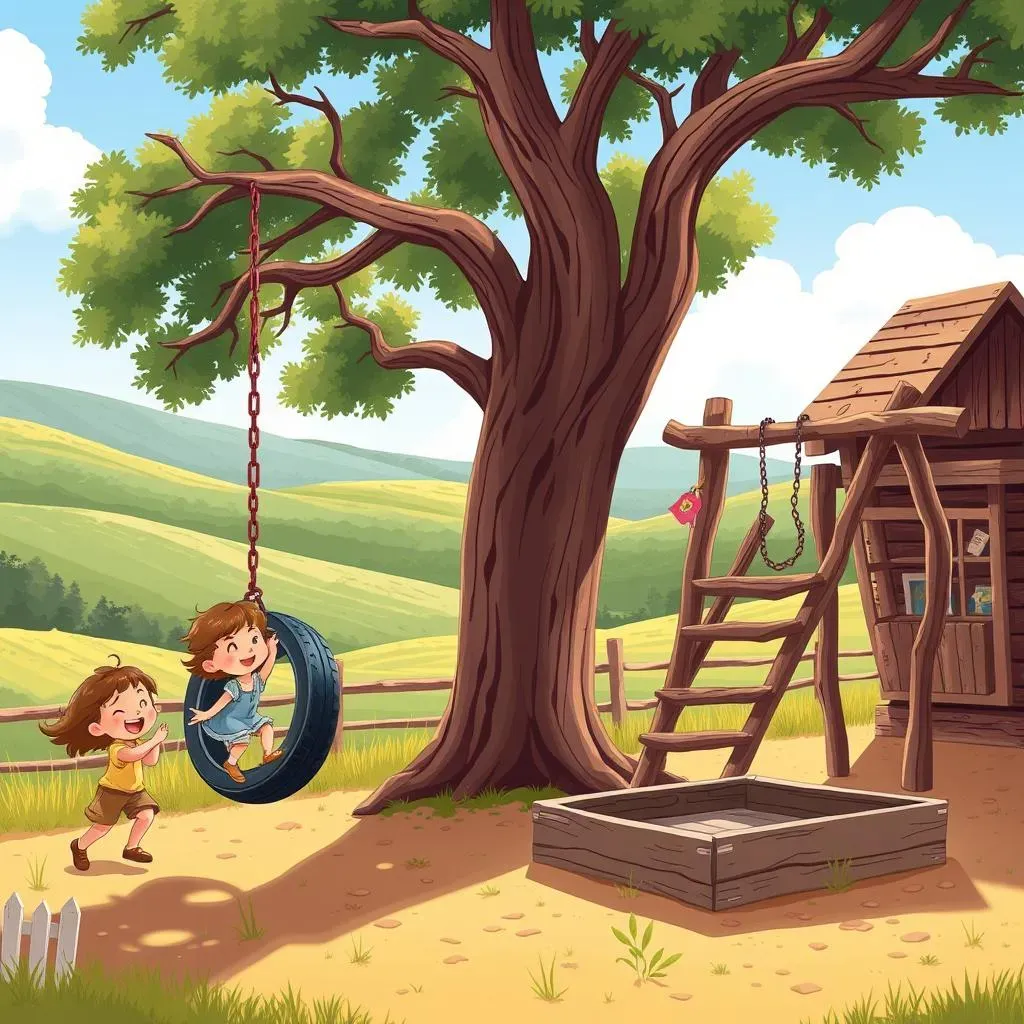
Think about it: a tire swing hanging from an old oak tree, or a climbing frame made from sturdy branches you found on your property. These aren't just play structures; they're part of the landscape, and they blend seamlessly with the natural beauty of your rural surroundings. It's about creating a space that's both fun and authentic to your environment.
Budget-Friendly Fun
Another big win for DIY playground equipment in rural areas is the cost savings. Store-bought playgrounds can cost a small fortune, and that's before you factor in delivery and installation. With DIY, you're in control of your budget. You can repurpose old materials, like tires, wood pallets, or even sturdy rope, and turn them into incredible play features. It's about creativity and resourcefulness, not spending a ton of cash.
You could build a fantastic sandbox using some old lumber, or craft a simple balance beam from a fallen log. It's not about perfection, it's about imagination and making the most of what you have. And, let's be honest, the kids won't care if it's not perfectly polished. They'll be too busy having fun!
DIY Advantage | Store-Bought Disadvantage |
|---|---|
Customizable to your space | Limited to pre-set designs |
Cost-effective | Can be very expensive |
Utilizes local materials | May require costly shipping |
Unique and personal | Generic and impersonal |
Planning and Designing Your DIY Playground
Planning and Designing Your DIY Playground
Assessing Your Space
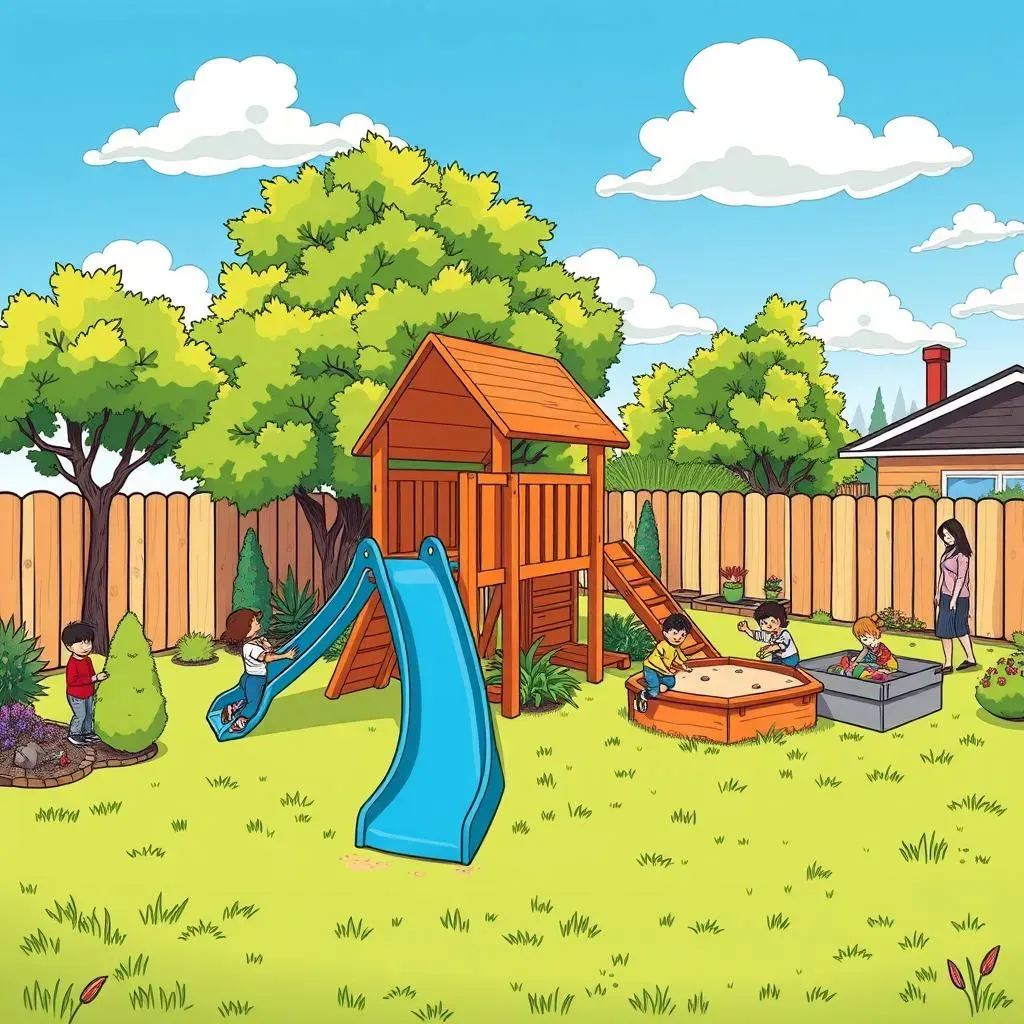
Alright, before you start hammering away, let's talk planning. First things first, take a good look at your backyard. How much space are we working with? Is it flat, or does it have hills and dips? Think about where the sun hits during the day. You might want to avoid placing the playground in a spot that gets scorching hot in the afternoon. And, of course, consider any existing trees or other landscape features. You don't want to build a swing set right where you're planning to plant a garden next spring, do you? This initial assessment will help you figure out what kind of playground will fit best and where it should go.
It's also a good idea to think about the age and abilities of the kids who will be using the playground. Toddlers need different equipment than older children, and you'll need to keep safety in mind for all ages. Remember that a well-planned playground is one that is both fun and safe for everyone. So, take your time, walk around your space, and let the landscape guide you. This isn't just about building; it's about creating an experience.
Sketching Out Your Ideas
Now that you've assessed your space, it's time for the fun part: brainstorming! Get the kids involved, if you can. What kind of playground do they dream of? Do they want a slide? A climbing wall? A sandbox? Maybe a fort? Don't be afraid to think outside the box. Once you have some ideas, try sketching out a rough plan on paper. It doesn't have to be perfect, it's just to help you visualize how everything will fit together. Think about how the different elements of the playground will connect and how kids will move between them. This is your chance to get creative and make a unique play area that your kids will love.
Remember, you don't have to build everything at once. You can start with a few key features and add more over time. It's like building with Lego, just on a larger scale! And don't get hung up on perfection. The beauty of a DIY playground is that it's unique and reflects your family's personality. So, grab a pencil, some paper, and let your imagination run wild. This is where the magic begins!
Planning Stage | Key Questions to Ask |
|---|---|
Space Assessment | How much space do I have? Is it level? Where is the sun most intense? |
User Consideration | What are the ages and abilities of the kids using the playground? |
Brainstorming | What features do the kids want? What's realistic for my space and budget? |
Sketching | How will the different elements fit together? Can I visualize the layout? |
Building Your DIY Playground: StepbyStep Guide
Building Your DIY Playground: StepbyStep Guide
Gather Your Tools and Materials
Okay, you've got your plan, now it's time to get your hands dirty! Before you start building, make sure you have all the tools and materials you need. This might include things like a saw, a drill, a hammer, measuring tape, and safety glasses. For materials, you'll need wood, screws, nails, rope, tires, or whatever else you've decided to use for your playground. It's always a good idea to double-check your list before you get started, so you don't have to stop mid-project to run to the store. I always seem to forget something, and it's usually the most important thing!
Pro Tip: Organize your tools and materials in a way that makes sense to you. I like using a tool belt and keeping everything in labeled bins. It makes the whole process much smoother and less frustrating. Trust me, you’ll thank yourself later when you're not spending half your time looking for the right screw.
Start with the Foundation
Just like building a house, you need a solid foundation for your playground. This usually means setting up the main supports, like the posts for a swing set or the base for a climbing frame. Make sure these supports are sturdy and well-anchored in the ground. You don't want anything to wobble or fall over when the kids are playing! If you're using wood, be sure to treat it to protect it from the elements. I like to use a good sealant to prevent rot and keep it looking nice for a long time. It is an extra step, but it is worth it.
When setting your posts, make sure they are deep enough and secured properly. You might need to use concrete to ensure they are stable. This is a crucial step, so take your time and get it right. Remember, safety is paramount, and a strong foundation is key to a safe playground. I've seen some pretty scary DIY projects that skipped this step, and let me tell you, it's not worth the risk!
- Double-check your measurements.
- Use a level to ensure posts are straight.
- Dig deep enough holes for posts.
- Use concrete for added stability.
Add the Play Features
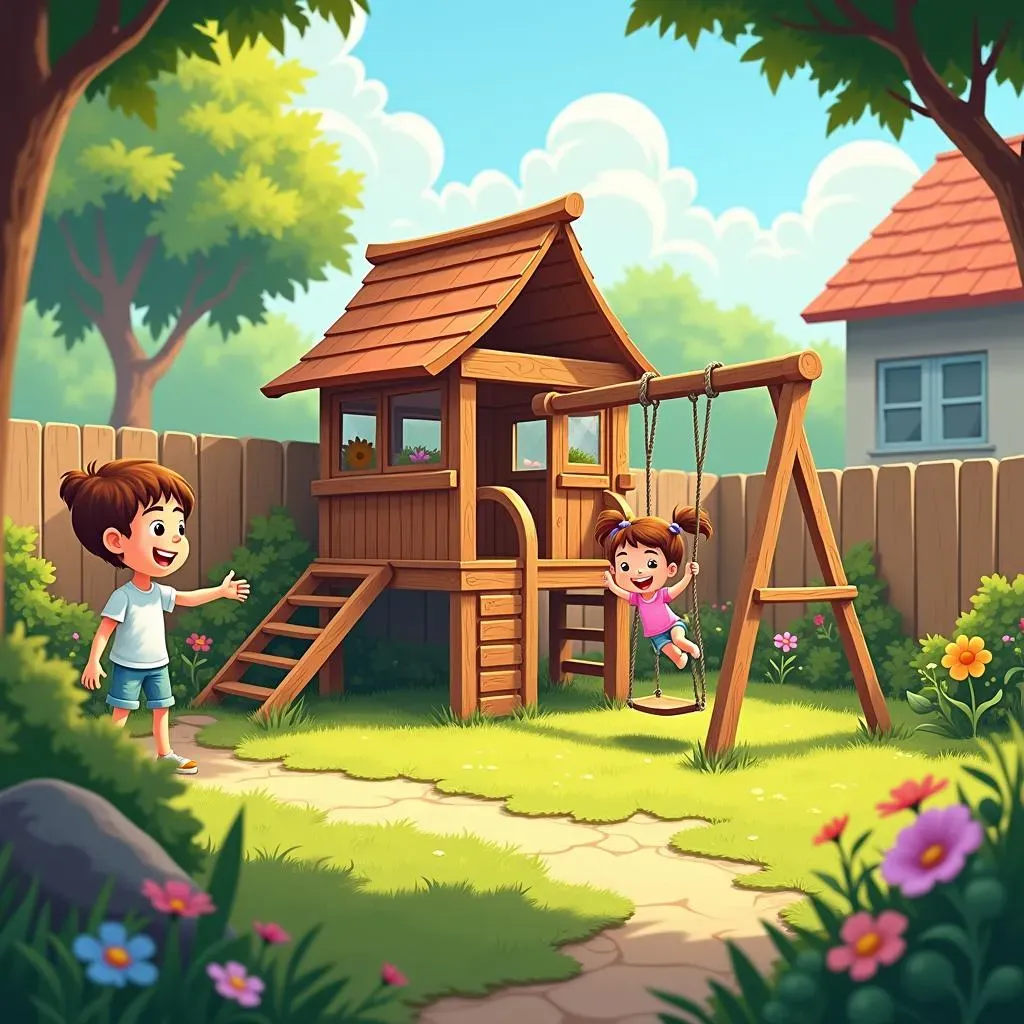
Now for the fun part: adding the play features! This is where your design really comes to life. Start by attaching the swings, slides, climbing walls, or whatever else you've planned. Make sure everything is securely fastened and tested before letting the kids loose. I like to do a little "test run" myself, just to make sure everything is solid. It's also a good idea to add some soft surfaces, like wood chips or sand, around the playground to cushion any falls. Safety first, always!
Take your time and enjoy the process! This is where you get to see your vision become a reality. Don't be afraid to make adjustments as you go. Sometimes, things look a little different in real life than they do on paper, and that's okay. The most important thing is that you're creating a safe and fun space for your kids to play. I always find it so rewarding to see the kids enjoying something I've made. It's the best feeling!
Choosing Materials for Your DIY Playground
Choosing Materials for Your DIY Playground
Wood: A Classic Choice
Alright, let's talk materials. Wood is a classic choice for playgrounds, and for good reason. It's sturdy, it's relatively easy to work with, and it looks great. Plus, you can often find reclaimed wood or lumber at a reasonable price, especially in rural areas. When choosing wood, think about the type you're using. Pressure-treated wood is a good option for posts and supports, as it's resistant to rot and insects. But, keep in mind that it can contain chemicals, so you might want to use untreated wood for areas where kids will be touching it a lot, like climbing walls or swings. You can then seal it with a non-toxic sealant.
I personally love the look of natural wood, and it fits in so well with a rural setting. You can use different types of wood to create different looks and feels for your playground. For example, cedar is a great choice for its natural resistance to decay, and it smells fantastic! Just make sure you’re using wood that is smooth and free from splinters, and always double check for any protruding nails or screws. Safety first, folks!
Tires: Repurposed Fun
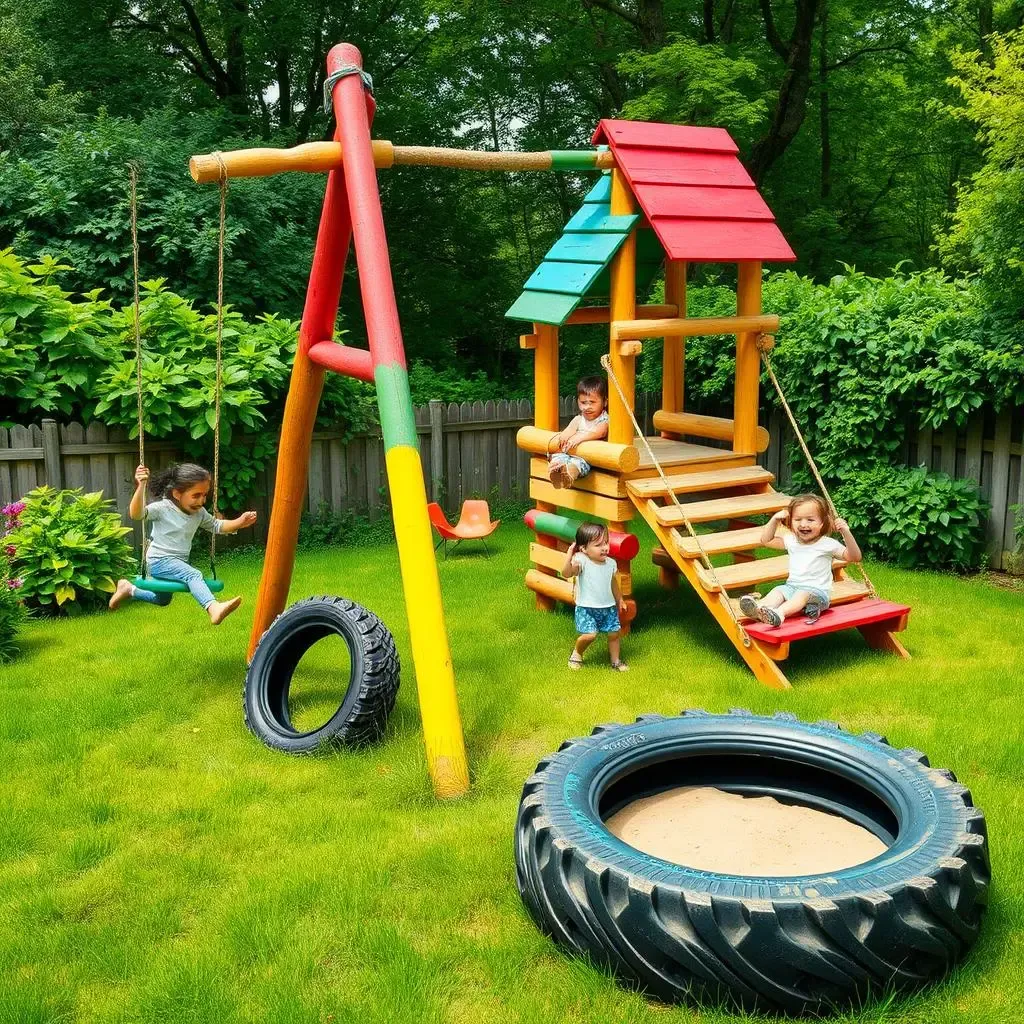
Tires are another fantastic option for DIY playground equipment, especially if you're on a budget. They're durable, readily available, and they can be used in so many creative ways. You can use them for swings, climbing structures, sandboxes, or even as stepping stones. The possibilities are endless! I've seen some incredible playgrounds made almost entirely out of repurposed tires, and they look amazing. Plus, using tires is a great way to recycle and keep them out of landfills. It's a win-win!
When using tires, make sure they're clean and free from any sharp edges or wires. You can paint them in bright colors to make them more appealing, or even cut them into different shapes for added fun. Just be sure to use non-toxic paint, especially if little ones will be touching them. It's all about being creative, resourceful, and safe. And, let’s be honest, who doesn’t love a good tire swing? It brings back childhood memories, right?
Material | Pros | Cons |
|---|---|---|
Wood | Sturdy, easy to work with, natural look | Can be expensive, requires sealing |
Tires | Durable, readily available, great for repurposing | Can be dirty, may need cleaning/painting |
Rope | Affordable, flexible, good for climbing | Can fray, needs regular checks |
Safety Considerations for DIY Playground Equipment
Safety Considerations for DIY Playground Equipment
The Importance of a Safe Play Area
Okay, folks, let's get real for a second. Building a DIY playground is awesome, but safety has to be your number one priority. We’re not just building a fun space; we’re creating an environment where kids will be running, jumping, and maybe even taking a few tumbles. So, making sure everything is sturdy, secure, and free from hazards is absolutely essential. It’s not just about preventing injuries; it’s about giving parents peace of mind, and kids a space where they can play freely without worry. A well-built, safe playground is a happy playground.
Think of it like this: you wouldn't build a house without a strong foundation, right? Same goes for a playground. Neglecting safety is like skipping the foundation, and that's a recipe for disaster. It's not about being overly cautious; it's about being responsible and planning ahead. I’ve seen some DIY projects that look amazing but make me cringe when I think about the safety risks. Let’s not be those people. Let’s build something that’s both fun and safe for everyone.
Regular Inspections and Maintenance
Building the playground is just the first step. Regular inspections and maintenance are crucial for keeping it safe over time. Things can loosen, wear down, or become damaged by the weather. So, it’s important to check everything regularly, especially before the kids start playing. Look for loose screws, splintered wood, fraying ropes, or anything else that might pose a hazard. I recommend doing a thorough check at least once a month, or even more often if the playground is used frequently. It's a quick task that can save a lot of trouble down the road.
Think of it like taking your car in for regular checkups. You wouldn’t wait until the brakes fail to get them fixed, would you? Same goes for your playground. Regular maintenance is key to preventing accidents and keeping everything in good working order. And don't forget to involve the kids in this process! It’s a great way to teach them about safety and responsibility. Plus, they’ll be more likely to point out any issues they see. I always find that kids are great at spotting things that adults might miss.
Safety Check | Frequency |
|---|---|
Check for loose screws, bolts, or nails | Weekly |
Inspect for splintered wood | Weekly |
Examine ropes and chains for wear | Weekly |
Ensure ground cover is adequate | Monthly |
Ground Cover and Fall Zones
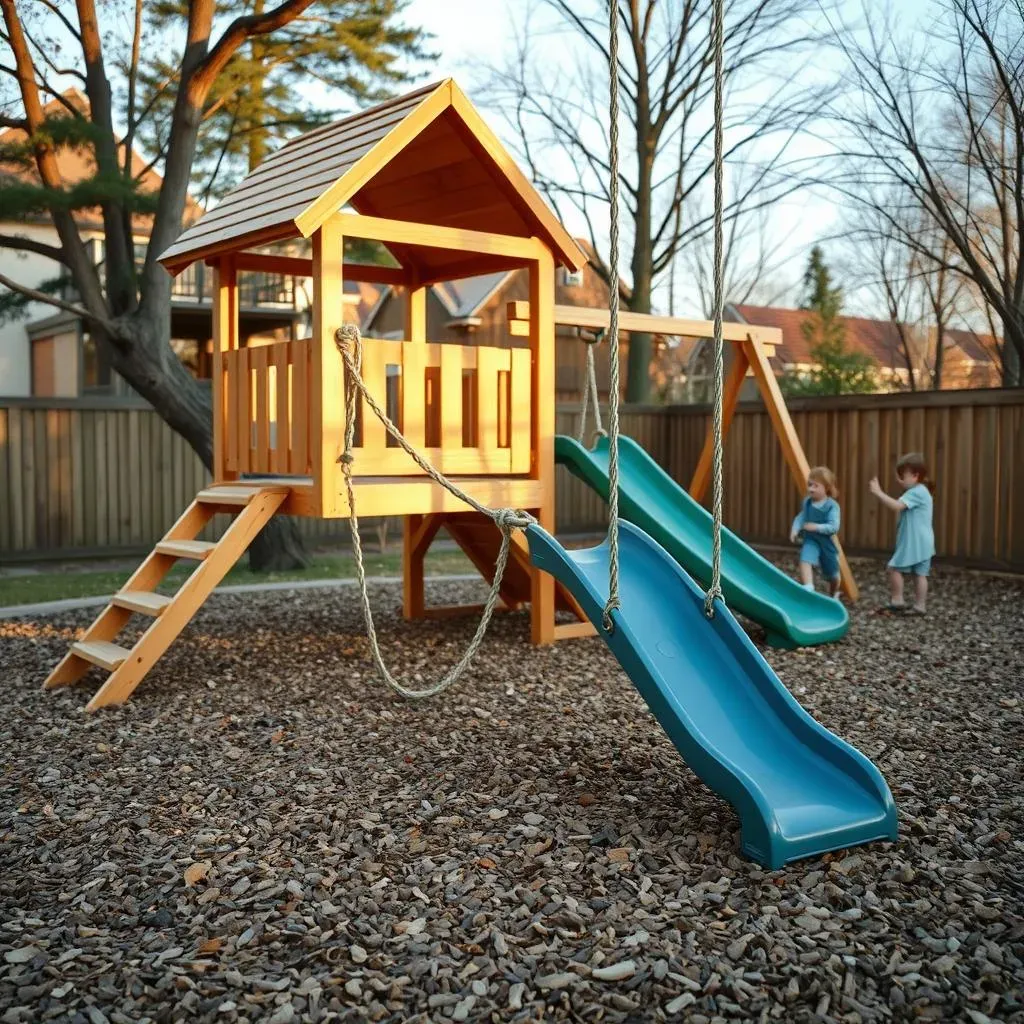
One of the most important safety considerations is the type of ground cover you use around your playground. Hard surfaces like concrete or asphalt are a big no-no. You need something soft and shock-absorbing to cushion any falls. Wood chips, shredded rubber, or pea gravel are all good options. Make sure the ground cover is deep enough, especially under slides and climbing structures. The deeper the layer, the better the protection. It is better to overdo it than underdo it.
Also, think about the fall zones around your playground. You need to have a clear area around each piece of equipment to prevent collisions and make sure kids have enough space to move around safely. This means keeping the area clear of any obstacles, like rocks, tree stumps, or garden tools. It’s about creating a space where kids can play freely without the risk of tripping or bumping into something. It may seem like a lot of work, but believe me, it's worth it for your kids’ safety. And it gives you peace of mind, which is priceless.
Maintenance of Your Rural DIY Playground Equipment
Maintenance of Your Rural DIY Playground Equipment
Why Maintenance Matters
So, you've built this amazing DIY playground, congrats! But, the job isn't over yet. Think of your playground like a car; it needs regular check-ups to keep running smoothly. Maintenance isn't just about keeping things looking nice; it's about ensuring the safety and longevity of your creation. The weather, the kids' enthusiastic play, and just time itself can take a toll on your playground. If you skip maintenance, you're not only risking damage to the structure, but you're also risking the safety of the kids who use it. And no one wants that, right? So, let's talk about what you need to do to keep things in tip-top shape.
It's easy to get caught up in the excitement of building and forget about the upkeep. But, trust me, a little bit of maintenance goes a long way. It's better to spend a few minutes each month checking things over than to have to do major repairs down the line. Plus, regular maintenance will help you spot any potential problems before they become serious hazards. It’s like giving your playground a health check; you're looking for any signs of trouble and fixing them before they get worse. A well-maintained playground is a happy playground, and it makes for happy, safe kids!
Regular Checks and Cleaning
Okay, so what does regular maintenance actually look like? First off, you need to be doing visual checks often. I'm talking about a quick walk around the playground every week. Look for anything that seems loose, broken, or out of place. Check the screws, bolts, and nails to make sure they're tight. Give the wood a look over for any splinters or cracks. Inspect the ropes and chains for any signs of fraying or wear. And don’t forget to check the ground cover. Is it still deep enough to provide adequate cushioning? If not, you might need to add some more. This weekly check is your first line of defense against potential problems.
Along with these visual checks, you also need to keep the playground clean. Remove any leaves, branches, or other debris that might have accumulated. This not only keeps the playground looking nice, but it also helps prevent rot and decay. A clean playground is a safer playground. And, let’s be honest, it’s more inviting for the kids too. I always find that a quick sweep and tidy-up makes a big difference. It's like giving your playground a little spa day, and it keeps everything in tip-top condition. Remember, a clean playground is a happy playground!
Maintenance Task | Frequency |
|---|---|
Visual Inspection | Weekly |
Tighten Loose Fasteners | Weekly |
Clean Debris | Weekly |
Check Ground Cover Depth | Monthly |
Repairing and Replacing Parts
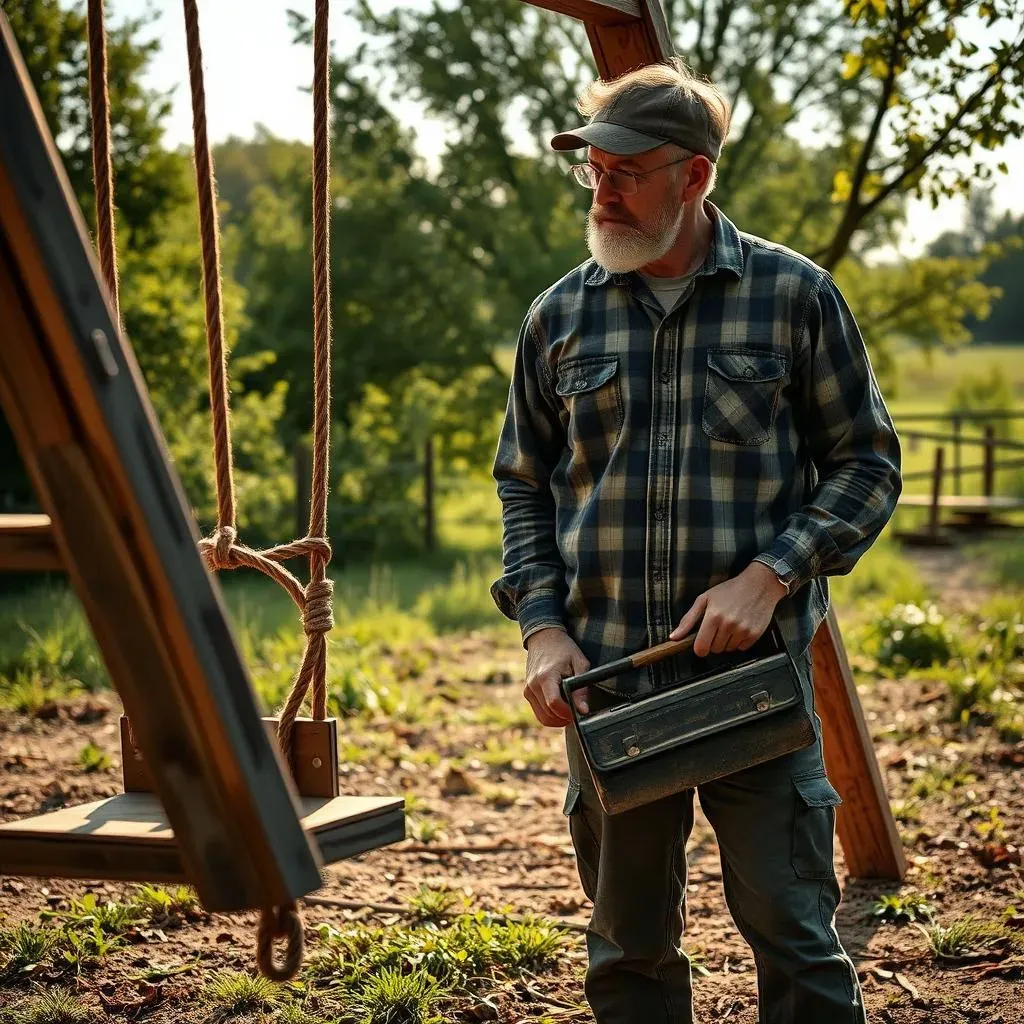
Despite our best efforts, things can still break or wear out. When you find a problem, don’t ignore it. Fix it right away. If you have a loose screw, tighten it. If a piece of wood is splintered, sand it down or replace it. If a rope is frayed, replace it before it snaps. It’s much better to fix small problems before they become big ones. I like to keep a little toolbox handy with all the essential tools and spare parts. That way, I can tackle minor repairs on the spot. It saves a lot of time and hassle.
When replacing parts, make sure you're using the same type and size of materials. Using the wrong parts can compromise the safety of the structure. And don’t be afraid to ask for help if you’re not comfortable doing a particular repair. There are plenty of resources available online and in your community. The important thing is that you're taking care of any problems promptly and effectively. Remember, a well-maintained playground is a safe playground, and that's what matters most.
Inspiring DIY Playground Ideas
Inspiring DIY Playground Ideas
Think Outside the Box
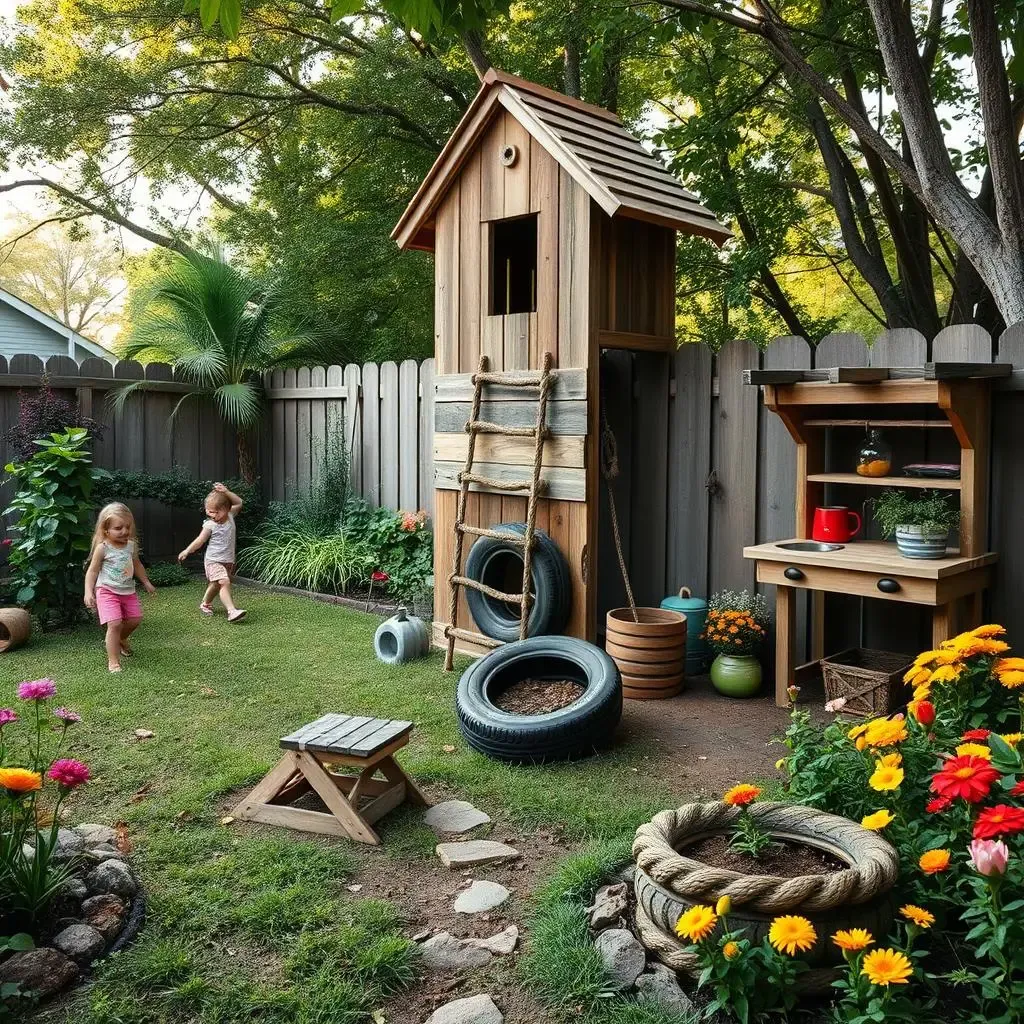
Okay, so now that we've covered the nitty-gritty of building and safety, let's get to the really fun part: ideas! When it comes to DIY playgrounds, the sky's the limit. You don't have to stick to the same old swings and slides. Think about what your kids love to do and what fits your space and budget. Maybe you can build a tire obstacle course, or a mud kitchen, or even a simple fort made out of branches. It is about creating a space that's both fun and engaging for your kids. It's time to let your creativity run wild and see what you can come up with!
Don't be afraid to get inspiration from other playgrounds, nature, or even your kids' imaginations. Sometimes, the best ideas come from the simplest things. For example, a fallen tree can become a balance beam or a climbing structure. Some old pallets can be transformed into a fort, and an old tire can become a swing. It's all about looking at things with a fresh perspective and seeing the potential in what you already have. And remember, the most important thing is that your kids are having fun. So, let's make it amazing!
Idea | Description |
|---|---|
Tire Obstacle Course | Use old tires to create a fun and challenging course for kids to navigate. |
Mud Kitchen | Set up a space where kids can play with mud, water, and natural materials. |
Branch Fort | Build a simple fort using branches and other natural materials. |
Specific Ideas to Get You Started
Alright, let's get specific. Here are some ideas to get your creative wheels turning: How about a climbing wall made from wood and climbing holds? Or a rope ladder leading up to a platform? Maybe a sandbox with built-in diggers and molds? You could even create a water play area with some simple pipes and containers. The key is to choose activities that will encourage physical activity and imaginative play. And remember, you don't have to do it all at once. Start with a few key features and add more as you go. It's a journey, not a race!
I've seen some amazing DIY playgrounds that have incorporated natural elements, like rocks and logs. They blend seamlessly with the landscape and create a more natural play environment. You can also add some fun details, like a chalkboard for drawing, or wind chimes for sound. It's all about creating a space that's unique and reflects your family's personality. And don't forget to ask your kids for their input! They'll have some great ideas that you might not have thought of. It’s their playground, after all!
- Climbing Wall: Use wood and climbing holds for a fun challenge.
- Rope Ladder: Create a climbing structure with a rope ladder.
- Sandbox with Diggers: Build a sandbox with tools for digging and playing.
- Water Play Area: Set up a space for kids to play with water.