Table of Contents
Ever looked at those pricey playground sets and thought, "I could totally build that"? Well, you're not alone! This article is your go-to guide for all things diy playground equipment ideas. We're not just talking about slapping some wood together; we're diving into creating a backyard wonderland that's both fun and safe. Forget the boring store-bought options and get ready to unleash your inner builder. We'll explore imaginative designs, from treehouses and forts to obstacle courses and tire swings, all while making sure your little adventurers stay safe. We'll cover using natural materials, repurposing old items, and share tips for making the construction process smooth and enjoyable, even if you are not a pro. Get ready to transform your backyard into the ultimate play space, because with a little creativity and elbow grease, the best playground is the one you build yourself!
Dream Big: DIY Playground Equipment Ideas

Dream Big: DIY Playground Equipment Ideas
Unleash Your Inner Architect
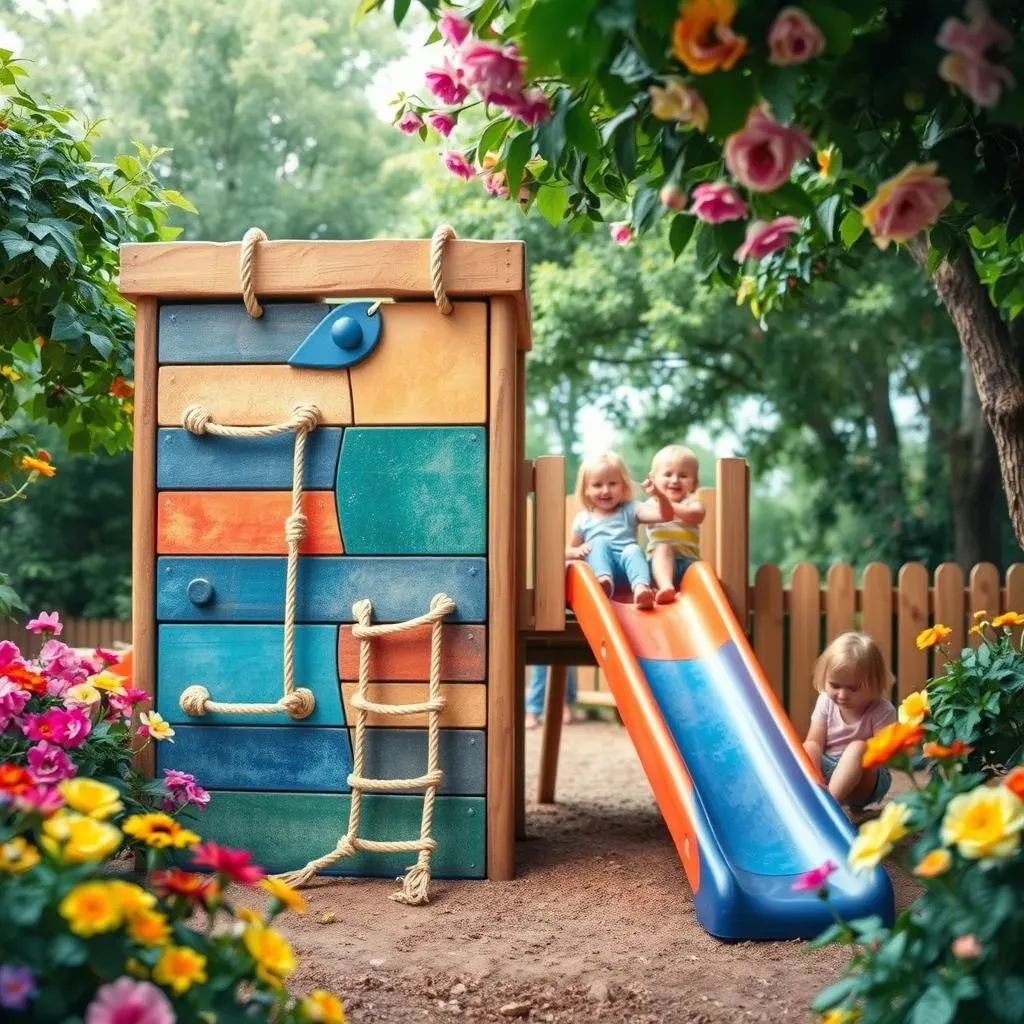
Okay, so you're thinking about a playground, not just any playground, but one that's bursting with your own creativity. Forget those cookie-cutter sets you see in catalogs. We're talking about a playground that reflects your family’s personality. Think treehouses that touch the sky, forts that double as secret hideouts, or maybe a mini-obstacle course to challenge your kids' inner ninjas. The beauty of DIY is that your imagination is the only limit. It's like having a blank canvas, and you're the artist, ready to paint a masterpiece of fun and adventure.
I remember building a simple swing set with my dad when I was a kid. It wasn't fancy, but it was *ours*. We spent hours swinging, laughing, and dreaming up all sorts of scenarios. That's the kind of magic you can create with your own two hands. And honestly, the memories made in the process are just as valuable as the finished product. So, don't be afraid to get a little wild with your ideas.
Starting with the Basics
Before you start hammering away, let's talk about some core concepts. When you are thinking of great diy playground equipment ideas, think about zones. A climbing zone with a sturdy structure, a swinging zone with swings or ropes, a sliding zone with a slide or ramp, and a creative zone with sand or water. These zones can help you organize your ideas and make sure you're hitting all the right notes for fun. Also, consider the space you have available. You don’t need a huge yard to create an awesome play area, just a little planning.
Consider what your kids love to do, do they love to climb? Do they love to dig? Maybe they are into slides? Use their interests to guide you, and remember, this playground isn't just for them, it's for creating unforgettable family moments. It's about building a space where laughter echoes and imaginations soar.
Playground Zone | Possible Equipment | Key Benefit |
|---|---|---|
Climbing Zone | Climbing wall, rope ladder, monkey bars | Builds strength and coordination |
Swinging Zone | Swings, tire swing, trapeze bar | Develops balance and rhythm |
Sliding Zone | Slide, ramp | Provides thrill and excitement |
Creative Zone | Sandpit, water table, mud kitchen | Encourages imaginative play |
Inspiration is Everywhere
Now, where to find inspiration? Look around your own backyard, you will be surprised on the things you can find. Old tires can become swings or stepping stones, fallen branches can become the framework for a fort, and even a pile of dirt can be turned into a mini hill for sliding. Don't overlook the power of repurposing. That old wooden pallet? It can transform into a climbing wall. That unused rope? It's perfect for a rope ladder. I once saw a neighbor use an old boat as a sandpit, talk about creativity! The possibilities are endless.
Look at nature, look at what you already have, look at what kids love to do, and start sketching. The most amazing diy playground equipment ideas often come from the simplest observations. Remember, this isn't about perfection, it's about creating something fun, unique, and memorable.
Building Your Own Backyard Oasis: Tips and Tricks for DIY Playgrounds

Building Your Own Backyard Oasis: Tips and Tricks for DIY Playgrounds
Planning Your Build: More Than Just a Drawing
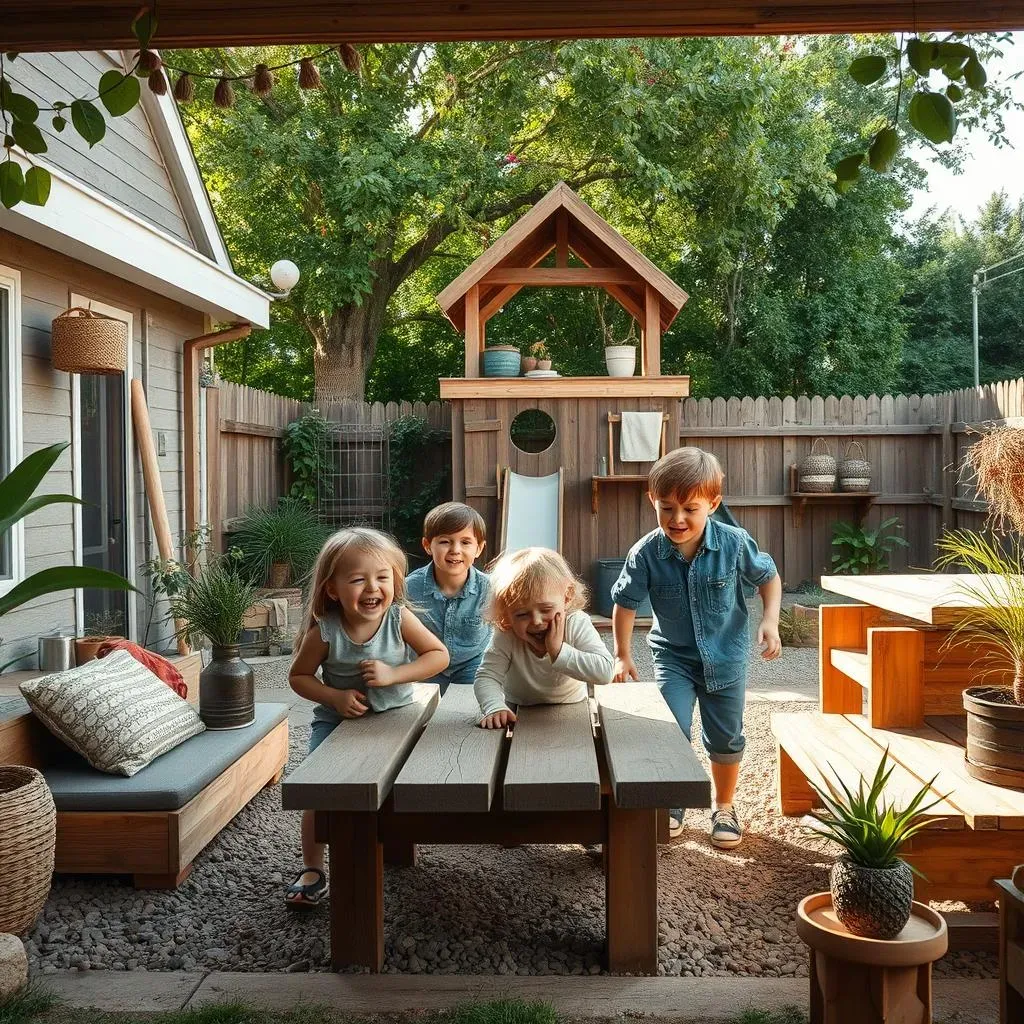
Alright, you've got the vision, now let's talk about making it real. Before you grab your tools, spend some time planning. It's not as glamorous as the building part, but it's super important. Think about your yard's layout. Where will the sun hit the most? Are there any trees or slopes you need to work around? Also, consider the ages of your kids. A toddler-friendly playground will look very different from a playground for older kids. It's all about tailoring the space to their specific needs and abilities.
I like to sketch out a rough plan, nothing fancy, just a basic layout to get a sense of how everything will fit. It's also a good idea to walk through the space with your kids. Get their input, what kind of things do they want to see? It might surprise you how creative kids can be! And remember, you don't need to build everything at once. You can start small and add to it over time, creating a dynamic and evolving play area.
Tools and Materials: Getting Ready to Rumble
Now for the fun part, gathering your gear! You don't need a professional workshop to build an amazing playground. A basic set of tools will get you pretty far: a saw, a drill, a hammer, measuring tape, and a level are essential. When it comes to materials, wood is a great choice for its durability and versatility. You can use treated lumber for the main structures and untreated wood for things like climbing walls or sandboxes. But, don't be afraid to get creative with other materials too.
Check out your local hardware store for inspiration, and sometimes, they might even have offcuts or discounted items that are perfect for your project. Don't forget the fasteners too: screws, nails, and bolts. And, most importantly, always make sure that everything you use is safe and sturdy. You're not just building a playground, you're also building a safe place for your kids to play. So, choose your materials wisely and use quality construction methods.
"The best way to predict the future is to create it." - Peter Drucker
Safety First: Ensuring a Fun and Secure DIY Playground Experience

Safety First: Ensuring a Fun and Secure DIY Playground Experience
The Foundation of Fun: Ground Rules
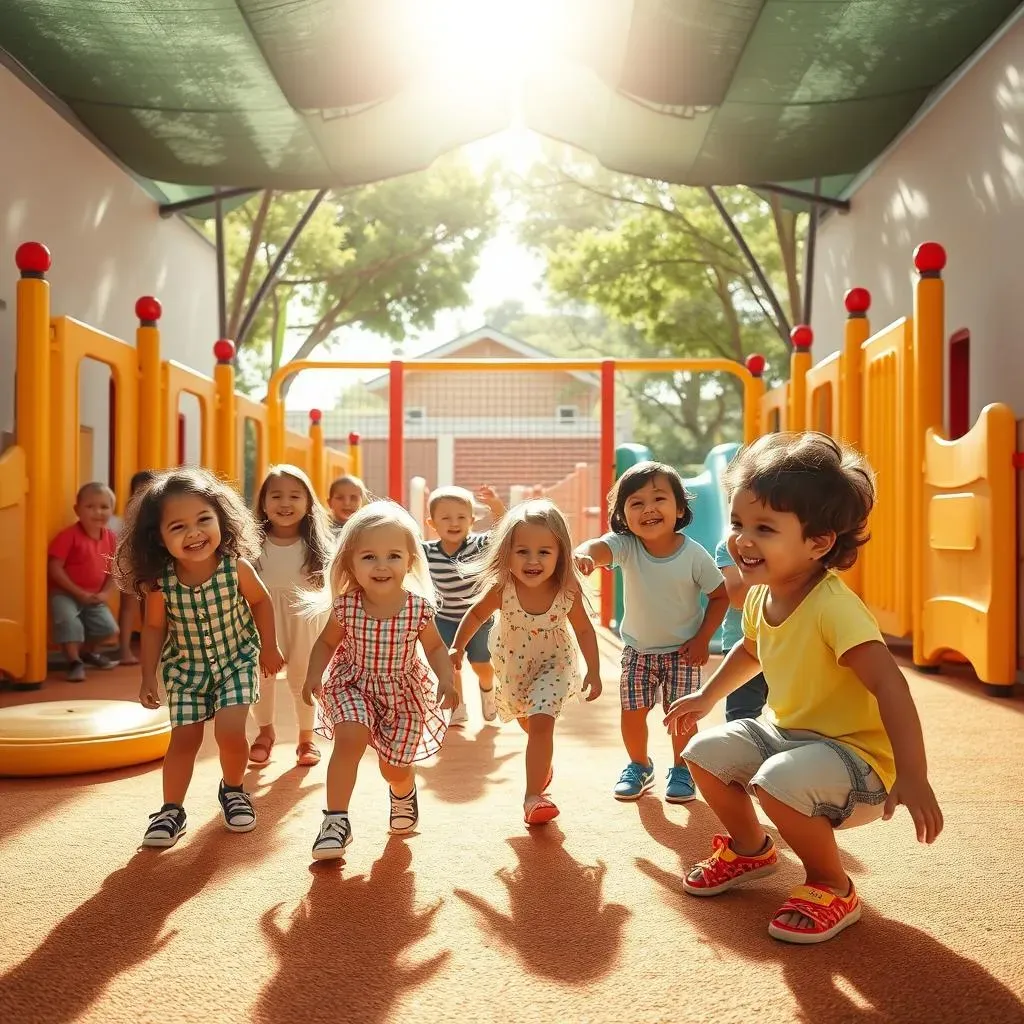
Okay, so we've talked about dreaming big and planning, but now it's time to get real about safety. Building a playground is awesome, but it's also a big responsibility. You want your kids to have a blast, not a trip to the emergency room. So, let's start with the basics: the ground. Make sure your play area has a soft surface. Grass is good, but not great for falls. Wood chips, rubber mulch, or even sand are much better options. They cushion the impact and reduce the risk of serious injuries. And, speaking of the ground, make sure to check for any sharp objects, rocks, or roots that could cause a problem. I remember once, my friend's kid tripped on a hidden root and got a nasty scrape, since then I always make sure the ground is clear of any hazards.
Also, think about the placement of your playground. It should be in a spot where you can easily supervise your kids. Keep it away from sharp edges, fences, or anything else that could be dangerous. A little planning can go a long way in preventing accidents. Remember, safety isn't about being a helicopter parent, it's about creating a secure space where kids can explore and play without unnecessary risks.
Construction Checklist: Building with Confidence
Now, let's get into the nitty-gritty of construction. When you're putting your playground together, always double-check that everything is sturdy and secure. Use high-quality materials, especially for the main support structures. Inspect all the joints, screws, and bolts to make sure they're tight and won't come loose over time. And, if you're using wood, treat it to protect it from the elements and prevent rot or splintering. I always like to give everything a good shake after it's assembled to make sure it doesn't wobble or move. It's better to be overcautious than to regret it later. And, don't forget about the height. Make sure that any platforms or climbing structures are not too high for your kids, and always add safety rails or barriers.
A good rule of thumb is to follow the manufacturer's guidelines for any purchased equipment and adapt them to your specific design. It’s like baking a cake; you need the right ingredients and the right methods to make it work. And remember, if you're not comfortable with a particular aspect of the build, don't hesitate to ask for help from someone who has experience. Sometimes, it's better to call in an expert than to risk making a mistake.
Safety Check | Action |
|---|---|
Ground surface | Use soft materials (wood chips, rubber mulch, sand) |
Sharp objects | Remove rocks, roots, and debris |
Placement | Choose a safe, supervised location |
Structure | Use sturdy, high-quality materials |
Connections | Double-check joints, screws, and bolts |
Height | Ensure platforms and climbing structures are safe |
Barriers | Add safety rails and barriers where needed |
Ongoing Maintenance: Keeping it Safe and Fun
Building the playground is just the beginning, you also need to think about the long-term maintenance. Make it a habit to regularly inspect the entire structure. Check for loose screws, splinters, or any signs of wear and tear. The weather can be harsh on wood and metal, so it's important to keep an eye out for rust, rot, or any other damage. It’s like checking your car’s tires, you do it regularly to make sure everything is safe to drive. And, don’t forget about the ground cover, make sure it's still soft and adequate for falls. Replace any mulch or sand that has been compressed or washed away.
I like to do a quick walk-around every week, and a more thorough inspection every month. It might seem like a chore, but it's a small price to pay for your kids' safety. And, if you notice any problems, don't wait to fix them, address them right away. A little maintenance can prevent bigger issues and ensure that your playground remains a safe and fun place for your kids for years to come. Remember, safety is a continuous process, not just a one-time thing.
"The greatest safety lies in the awareness of danger." - Unknown
Wrapping Up Your DIY Playground Adventure
So, there you have it, a treasure trove of diy playground equipment ideas to get your creative juices flowing. Remember, building your own playground isn't just about saving some cash; it's about crafting a unique space that reflects your family's personality and encourages endless hours of fun, laughter, and maybe even a few scraped knees. The key is to blend imagination with safety, and don't be afraid to let your kids get involved in the design process. After all, it's their kingdom, and you're just the royal builder. Now, go forth, grab your tools, and make some backyard magic happen. The best part? You'll have a playground that's not only awesome but has a story behind it, one that you and your kids built together.