Table of Contents
Thinking about building a fun zone in your backyard? A playground is the answer! But before you picture kids swinging and sliding, there's the not-so-small matter of putting it all together. That's where these diy playground equipment installation tips come in. I know, it might seem like a giant task, but trust me, with the right plan and a little elbow grease, you can totally nail this. We're not just throwing some posts in the ground; we're crafting a space where giggles happen and memories are made. This guide will walk you through everything from picking the perfect spot to making sure everything is rock-solid and safe. We’ll cover how to plan, dig, assemble, and maintain your playground, ensuring it’s a hit for years. So, grab your tools and let's get building! We'll make this process as smooth as a slide, and you'll be the hero of your backyard in no time.
Planning Your DIY Playground Equipment Installation

Planning Your DIY Playground Equipment Installation
Choosing the Perfect Spot
Okay, so you're ready to build a playground, awesome! But before you start digging, let's talk location. It's like picking a home for a family of squirrels; you need to consider a few things. First, think about space. You'll need enough room for the equipment, plus a little extra around it so kids can run without bumping into things. Also, consider the ground. Is it mostly flat, or will you need to level it out? A slope can be a real pain and potentially dangerous. And hey, keep it away from stuff like fences, trees, and your neighbor's prized rose bushes. Trust me, your neighbors (and their roses) will thank you.
Another thing is the surface. You'll want a spot with good drainage, so you don't end up with a muddy mess every time it rains. And think about sun and shade. You'll want a mix so kids can play comfortably even on hot days. Lastly, check for stuff under the ground, like pipes or cables. You wouldn’t want to accidentally dig into something important. Basically, you want a place that's safe, fun, and won't turn into a swamp after a light sprinkle.
Gathering Your Tools and Team
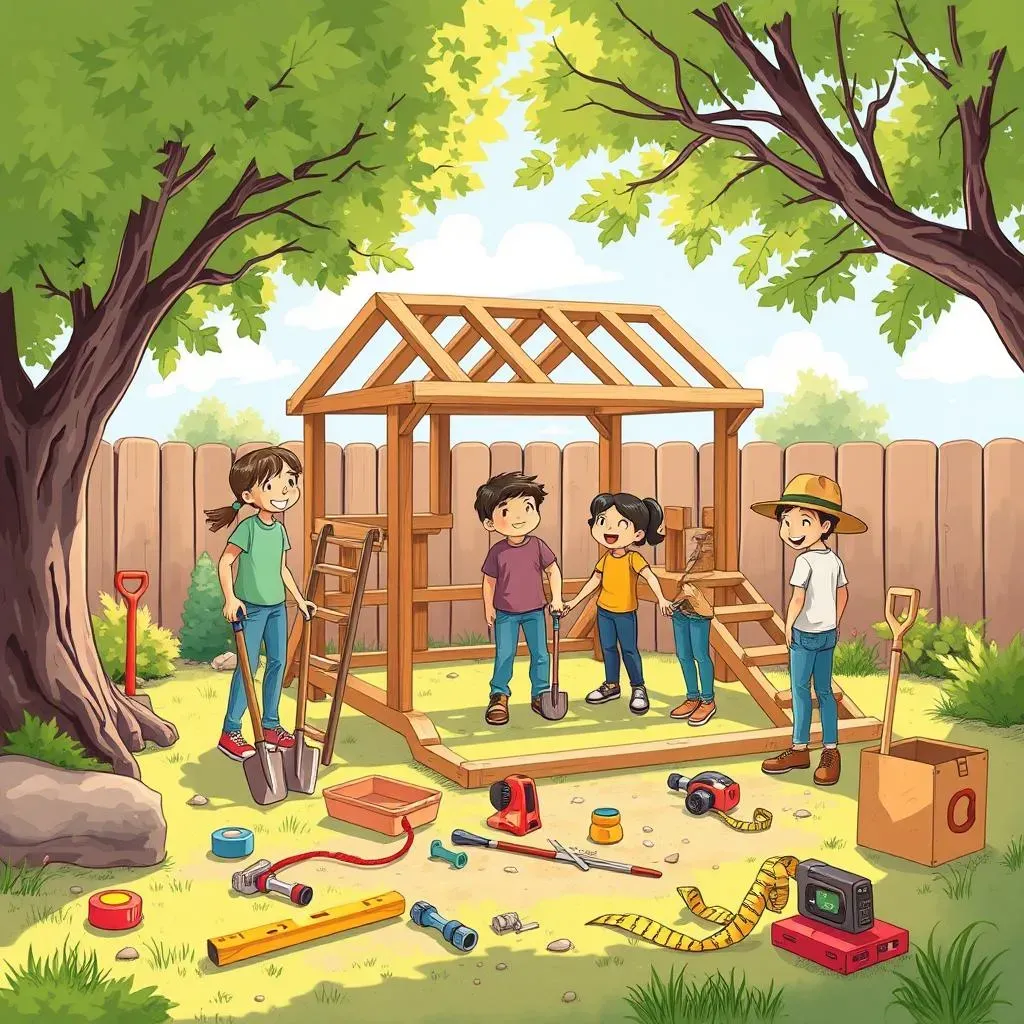
Alright, you've got your spot picked out, now it's time to get your tools and team together. Think of it like assembling a superhero squad—you need the right people and the right gear. First, check your playground kit. Most of the time, they come with the specialized wrenches and bolts you will need. But you'll also need basics like a shovel, a level, a measuring tape, and maybe a wheelbarrow for moving stuff around. It’s like, you can't build a sandcastle without a bucket, right?
Now, about the team. Even if you're a DIY wizard, installing playground equipment is way easier with a few extra hands. Grab some friends or family members, bribe them with pizza, whatever it takes. Make sure everyone knows what their job is and most importantly wear gloves and safety glasses. Plus, having a few extra people around makes it way more fun. Think of it as a mini-barn raising, but instead of a barn, you're building a kingdom of fun for kids. And remember, safety first! So, a good check of all the tools and safety gear before you start, is always a great idea.
Tool | Why You Need It |
|---|---|
Shovel | For digging holes for posts and footings. |
Level | To make sure the playground is level and safe. |
Measuring Tape | To ensure accurate dimensions and spacing. |
Wrenches & Screwdrivers | For tightening bolts and assembling the equipment. |
Safety Glasses | To protect your eyes from debris. |
DIY Playground Equipment Installation: Digging and Setting Foundations

DIY Playground Equipment Installation: Digging and Setting Foundations
Digging the Holes
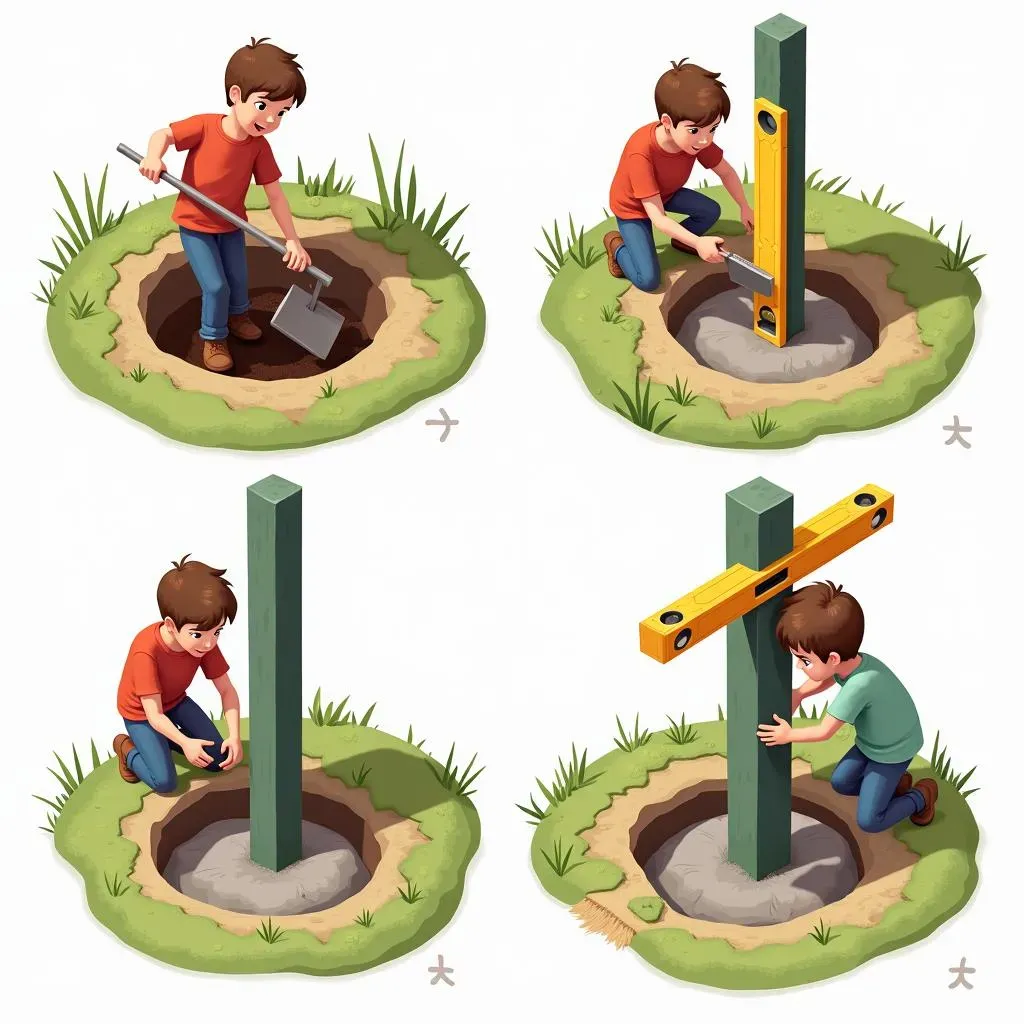
Alright, so you've picked your spot and gathered your crew, now it's time to get your hands dirty. We're talking about digging holes, not just any holes, but the holes that will keep your playground standing strong. Grab that shovel, and let's get to work! The first thing is to check your playground's manual. It will tell you exactly how deep and wide the holes need to be. It is not a one size fits all kind of thing. Typically, you are looking at about 18-24 inches deep. And when you are digging, make sure the sides are straight, like a perfect square. It’s like building the foundation of a house—you want it solid. If you are not sure, go a bit deeper, it's better to be safe than sorry.
Also, make sure you are measuring each hole correctly. You will need to measure the distance between the holes with a tape measure. It is crucial that the holes are in the right spot so that the structure is put together correctly. Remember, you are not digging for buried treasure. You are creating a stable base for your playground. So, take your time, double-check your measurements, and don't be afraid to take a break if you need it. You'll be glad you did when the kids are happily swinging and sliding without any wobbles.
Setting the Posts
Okay, you've got your holes dug, now it's time to set the posts. This is where the magic really starts to happen. You'll want to place each post in the center of its hole. And before you do anything else, check again with your level. You want each post to be perfectly straight, just like a soldier standing at attention. If the post is not straight, it will throw off the entire playground structure. To help keep the posts in place, you can use temporary supports, like wooden braces. It’s like building with LEGOs, but on a much bigger scale, and with less colorful plastic.
Once the posts are in place and level, you will need to start filling the holes. You can use concrete or gravel, depending on your preference and the playground's instructions. If you are using concrete, make sure to mix it well and pour it carefully around the posts. If you are using gravel, make sure to pack it down tightly to provide stability. It is really important that the posts are secure. They will be holding up a lot of weight, and you don't want them to wobble or fall over. So, take your time, make sure everything is level and secure, and get ready to see your playground start to take shape!
Step | Description |
|---|---|
Dig Holes | Dig holes according to the manufacturer's specifications. |
Place Posts | Put the posts in the center of the holes. |
Level Posts | Check that the posts are level and straight. |
Secure Posts | Fill the holes with concrete or gravel, ensuring the posts are stable. |
Curing Time
Now, this part is like waiting for a cake to bake, you can't rush it. If you used concrete, it needs time to cure, to harden. This can take anywhere from 24 to 72 hours, depending on the type of concrete and the weather. So, while you are waiting, it is a good time to go get a drink or something. Don't be tempted to start building too soon. The concrete needs to be hard, before you put a bunch of weight on it. Think of it like a superhero's origin story. They need time to develop their powers, and your concrete needs time to harden and get strong.
After the concrete is hard, then you can start assembling the rest of the playground. This curing time is crucial for the stability and safety of your playground. So, be patient, and use this time to plan the next steps. And you could also get that pizza for your team, so they can keep their energy up! You're almost there, and soon your backyard will be the coolest playground on the block.
Assembling Your DIY Playground Equipment Safely

Assembling Your DIY Playground Equipment Safely
Following the Instructions
Okay, the concrete is cured, and it's time to bring this playground to life. First things first, find that instruction manual that came with your kit. I know, manuals can be a pain, but trust me, this is not the time to wing it. Those instructions are your best friend right now. They'll tell you exactly how each piece goes together, what bolts to use where, and in what order. Think of it like following a recipe for a cake, you wouldn't just throw all the ingredients together and hope for the best, right? Each step is important, and doing them in the right order is crucial to make sure everything fits together correctly and safely.
Also, don't be afraid to double-check each step as you go. Sometimes, it's easy to get caught up in the excitement and miss a small detail. And if you get stuck, don’t be too proud to ask for help. Maybe you have a friend who is good at building things. Or, even check online for tutorials or videos. It's better to take your time and get it right than to rush and have to redo everything. And remember, this is not a race. You want to build a safe playground for kids to have fun, so take your time and be careful.
Connecting the Pieces
Alright, you've got the instructions in hand, now it's time to start connecting all the pieces. Start by laying out all the parts, so you can see what you have. It's like sorting your LEGOs before building a castle. Once you have everything laid out, start with the main frame of the playground. This is like the skeleton of your structure, so you want to make sure it's solid. Use the correct bolts and nuts to attach the pieces together, and don't tighten them all the way at first. This will allow you to make any adjustments as you go. It’s like putting together a puzzle, you want to make sure each piece fits perfectly before locking it in place.
As you add more pieces, keep checking that everything is level and straight. You don't want a crooked slide or a wobbly swing set. And when you are tightening the bolts, make sure they are nice and snug, but don't overtighten them. You could damage the threads or even break the bolt. And don't forget to add any safety caps or covers that came with the kit. These are there to prevent kids from getting hurt on any sharp edges or exposed bolts. You are not just building a playground, you are building a safe haven for fun.
Step | Description |
|---|---|
Lay Out Parts | Organize all the playground components. |
Assemble Frame | Start with the main structure, loosely connecting pieces. |
Check Level | Ensure all parts are level and straight. |
Tighten Bolts | Securely tighten all bolts without overtightening. |
Add Safety Caps | Place safety caps over exposed bolts. |
Double-Checking Your Work
Okay, you've got all the pieces connected, and the playground is starting to look awesome. But before you let the kids loose, it's time for one last check. Go over every connection, every bolt, and every piece to make sure everything is secure. Give the whole structure a little shake to see if anything wobbles or feels loose. And if you find anything, fix it right away. It's like checking your parachute before jumping out of a plane, you want to make sure everything is perfect.
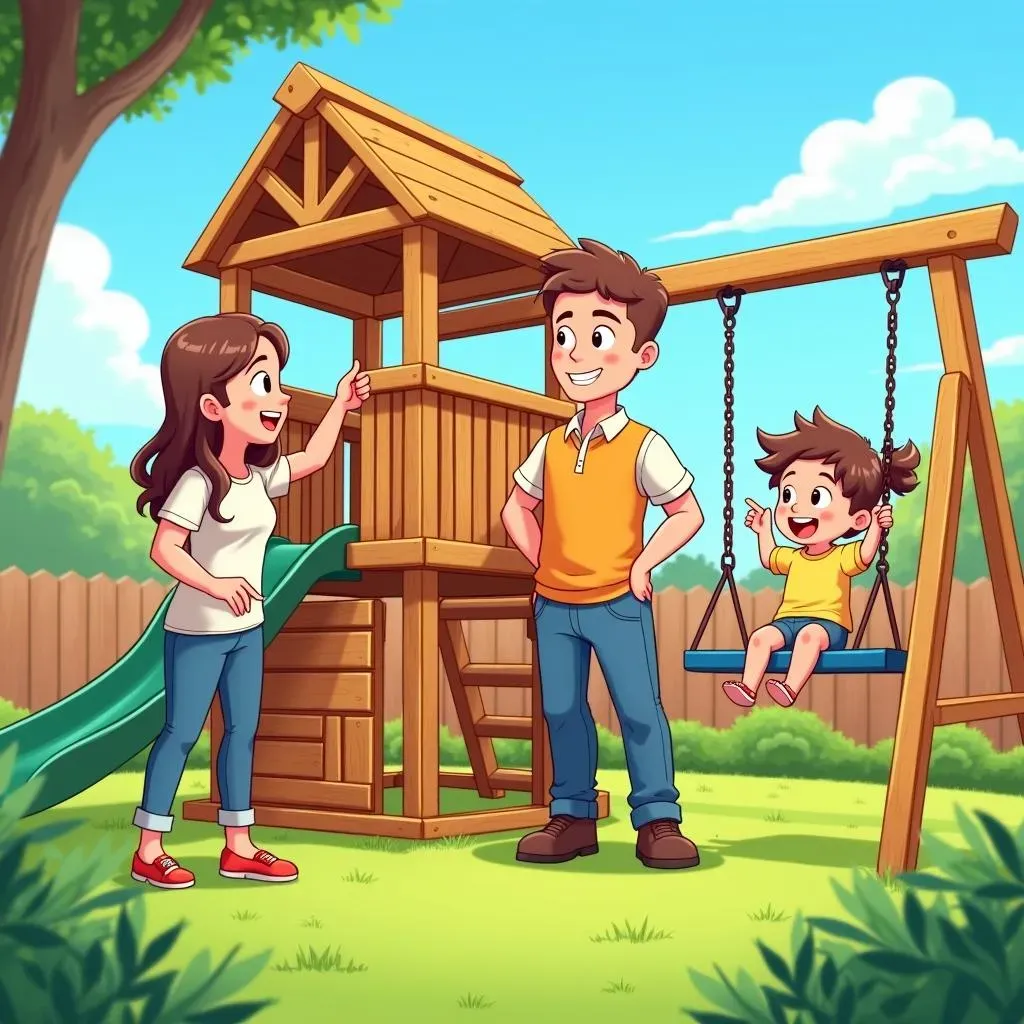
Also, make sure that all the safety features are in place. This includes things like handrails, safety nets, and soft landings. You want to make sure that the playground is not only fun but also super safe. It's like being a superhero, you have to protect the kids. After all, the goal is to create a space where kids can play and have fun, without any worries. So, take your time, double-check everything, and get ready to watch your kids enjoy the playground that you built with your own hands. You did it!
Maintaining Your DIY Playground Equipment and Safety Checks

Maintaining Your DIY Playground Equipment and Safety Checks
Regular Inspections
Alright, so you've built this amazing playground, and the kids are loving it. But the job's not over yet! Think of it like owning a car—you can’t just drive it and never check the oil or tires. You need to do regular check-ups to keep it running smoothly and safely. This means doing regular inspections of your playground equipment. I'm talking about walking around and looking at everything closely, like a detective on a case. Look for loose bolts, cracks, splinters, or anything that looks like it could be a problem. Pay extra attention to the spots where things connect, as these are the most likely to wear down. It’s not just about making sure things look good; it’s about making sure they’re safe.
And don't just glance at it from afar. Get up close and personal with each piece of equipment. Give the swings a little push, see if they're moving smoothly. Check the slide for any cracks or rough spots. Make sure the climbing structures are still sturdy. Think of it as giving your playground a regular health check-up. And it’s not a one-time thing; you need to do it regularly, like maybe every month or so. This will help you catch any issues early, before they become bigger problems. And trust me, a little bit of maintenance now can save you a lot of headaches (and potential injuries) later.
Addressing Wear and Tear
So, you did your inspection and found some issues, don't panic! That’s why we do these checks. Now, it's time to fix them. If you see any loose bolts or screws, tighten them right away. If you find any cracks or splinters, you might need to replace that part. And if you have any metal parts, check for rust, and clean it off, maybe even give them a coat of paint. It’s like giving your playground a spa day, fixing all those little things that make a big difference. You want to make sure that everything is in tip-top shape, so kids can play safely.
Also, think about the safety surfacing around the playground. Is it still thick enough? Does it need to be refilled? Safety surfacing like mulch or rubber can get worn down over time, and you want to make sure it’s still doing its job of cushioning any falls. And don't forget to check for any other safety hazards, like sharp edges or exposed screws. You want your playground to be a haven of fun, not a place where kids can get hurt. So, keep up with the maintenance, address any issues promptly, and your playground will be safe and fun for years to come.
Issue | Solution |
|---|---|
Loose Bolts | Tighten immediately |
Cracks or Splinters | Replace damaged parts |
Rust | Clean and repaint |
Worn Surfacing | Refill or replace surfacing |