Table of Contents
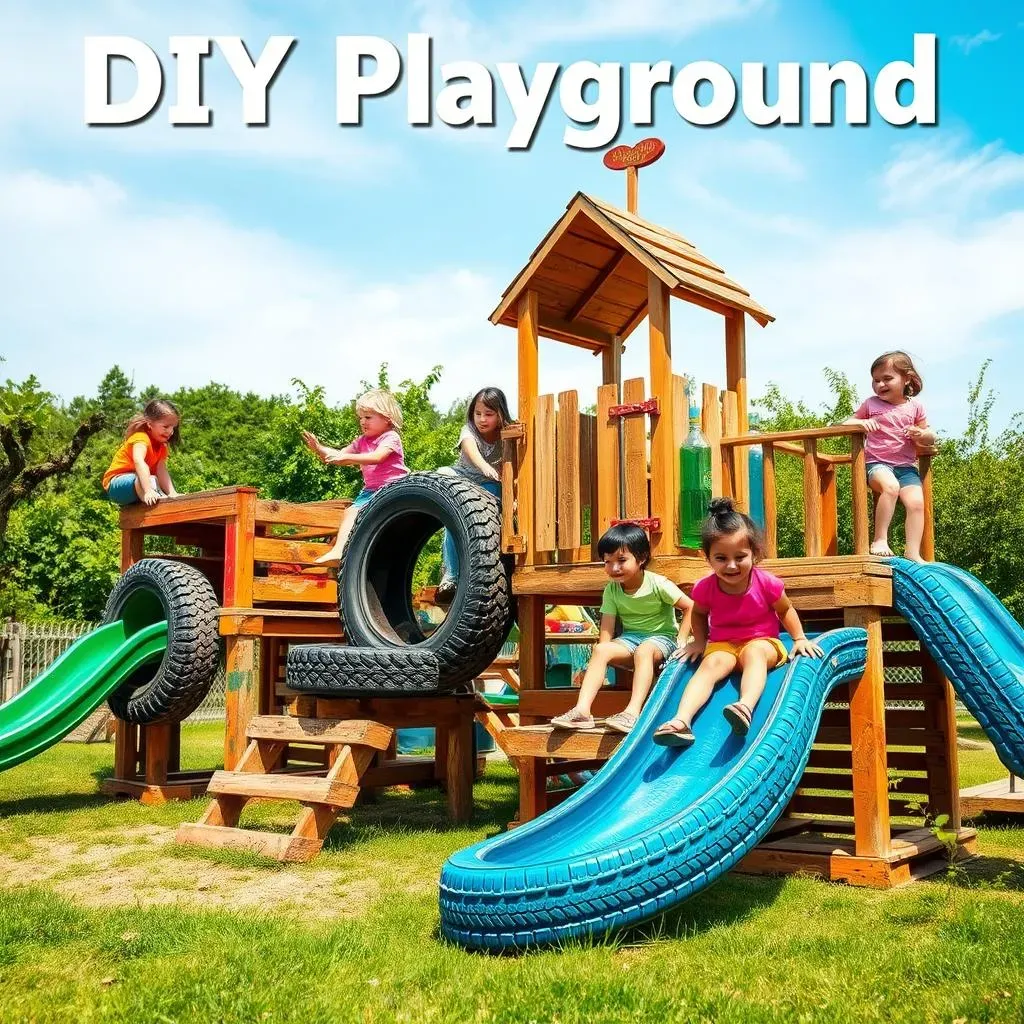
Ever looked at a pile of old tires or empty plastic bottles and thought, "There has to be something cool I can do with this?" Well, if you have kids, or you're just a big kid at heart, you're in luck! We're talking about building your very own awesome playground, and guess what? You don't need to spend a fortune. We will be exploring how to create amazing **diy playground equipment with recycled materials**. This isn't just about saving money; it's about sparking creativity, teaching kids about sustainability, and making something truly unique. This article will guide you from why recycling is great for playgrounds, to showing you some mind-blowing ideas using everyday junk, and making sure your creation is safe for everyone to enjoy. We will discuss some building tips so you can bring your dream playground to life, one recycled item at a time. Ready to get your hands dirty and your imagination soaring? Let's get started!
Why Use Recycled Materials for DIY Playground Equipment?

Why Use Recycled Materials for DIY Playground Equipment?
Saving the Planet, One Swing at a Time
Let's face it, buying new playground equipment can be expensive. But using recycled stuff? It's like giving old junk a superhero makeover! You’re not just saving money, you're also helping the planet. Think about it: fewer new materials need to be made, less waste ends up in landfills, and you are teaching kids about being eco-friendly. It's a win-win-win! Plus, who doesn't love the idea of turning a pile of tires into a super-cool climbing structure? It's like magic, but with less wand-waving and more elbow grease.
Unleash Your Inner Designer
Store-bought playgrounds? They're all the same, right? Kind of boring. But when you use recycled materials, your playground becomes a one-of-a-kind masterpiece. Old tires, wooden pallets, plastic bottles – they all have the potential to transform into something amazing. You can design the playground exactly how you want it, and you can get the kids involved in the design process too. It's a fantastic way to spark their imaginations and make them feel like they're truly part of the fun. This is where your creativity really gets to shine.
Benefit | Description |
|---|---|
Cost-Effective | Reduces the cost of materials by reusing what you already have. |
Environmentally Friendly | Decreases waste and promotes sustainable practices. |
Unique Designs | Allows for customized and creative play structures. |
Educational | Teaches children about recycling and resourcefulness. |
More Than Just Play
Building a playground with recycled materials isn't just about having fun; it's about learning too. It teaches kids about problem-solving, teamwork, and the importance of being resourceful. When they see how a simple old tire can become a swing or how plastic bottles can be transformed into a colorful wall, it opens their minds to new possibilities. And let’s be honest, there's a real sense of accomplishment when you see kids playing on something you built with your own hands. It's a project with a purpose, it's a place where memories are made, and it's something they'll remember for years.
Awesome DIY Playground Equipment Ideas Using Recycled Stuff

Awesome DIY Playground Equipment Ideas Using Recycled Stuff
Tire-riffic Fun
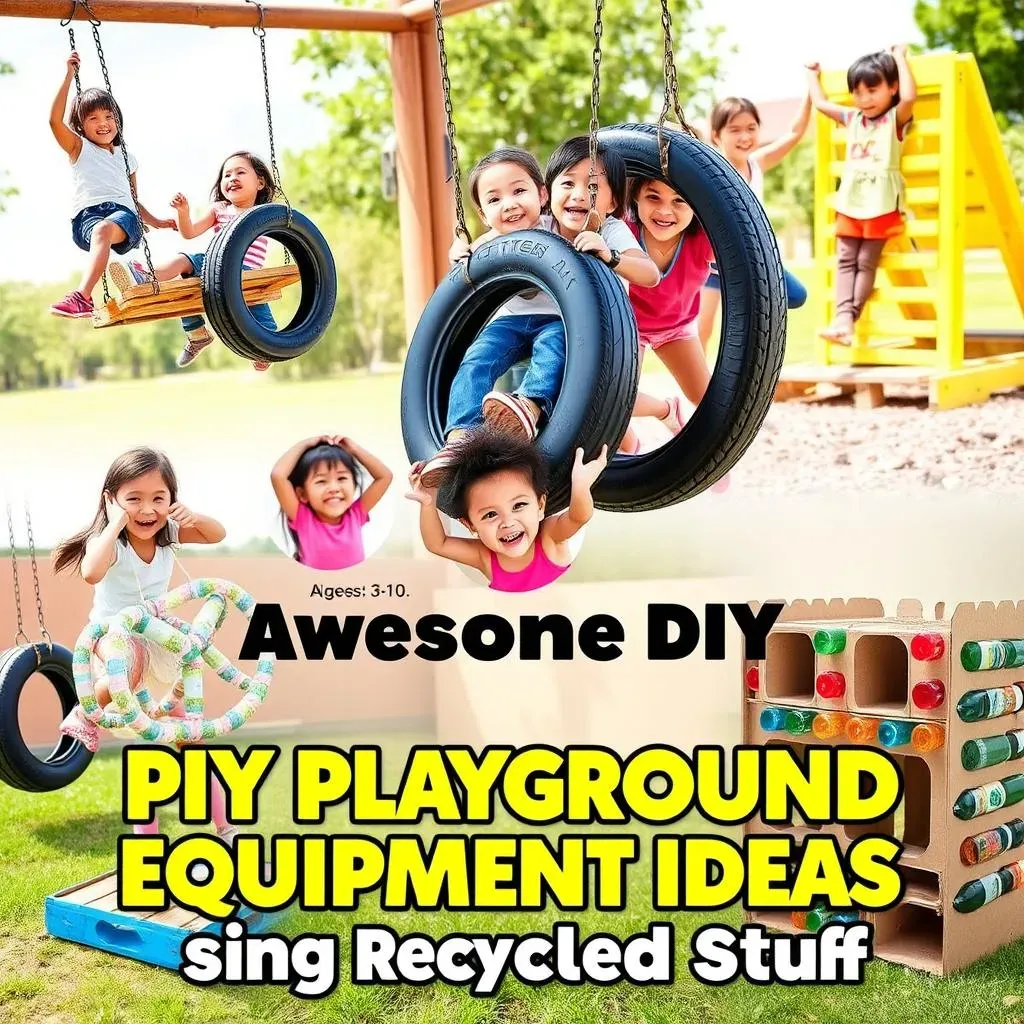
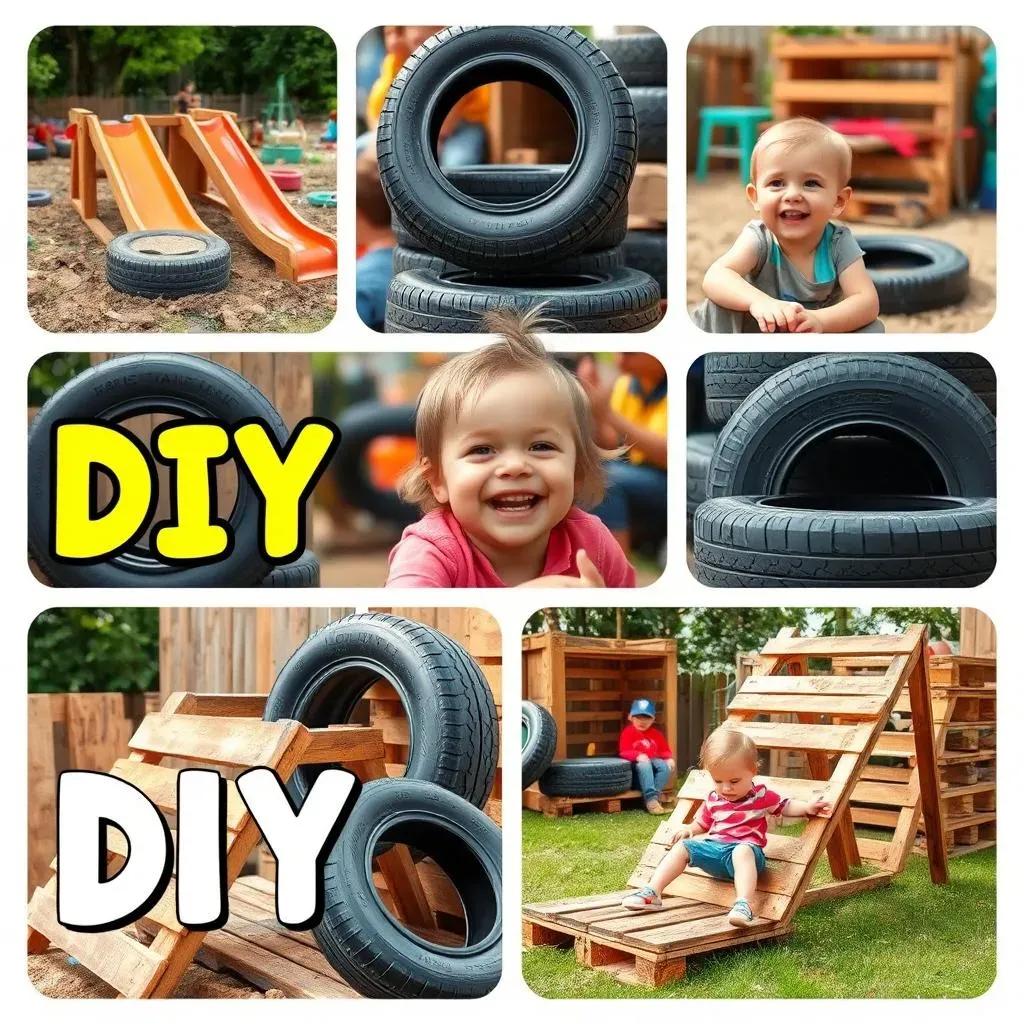
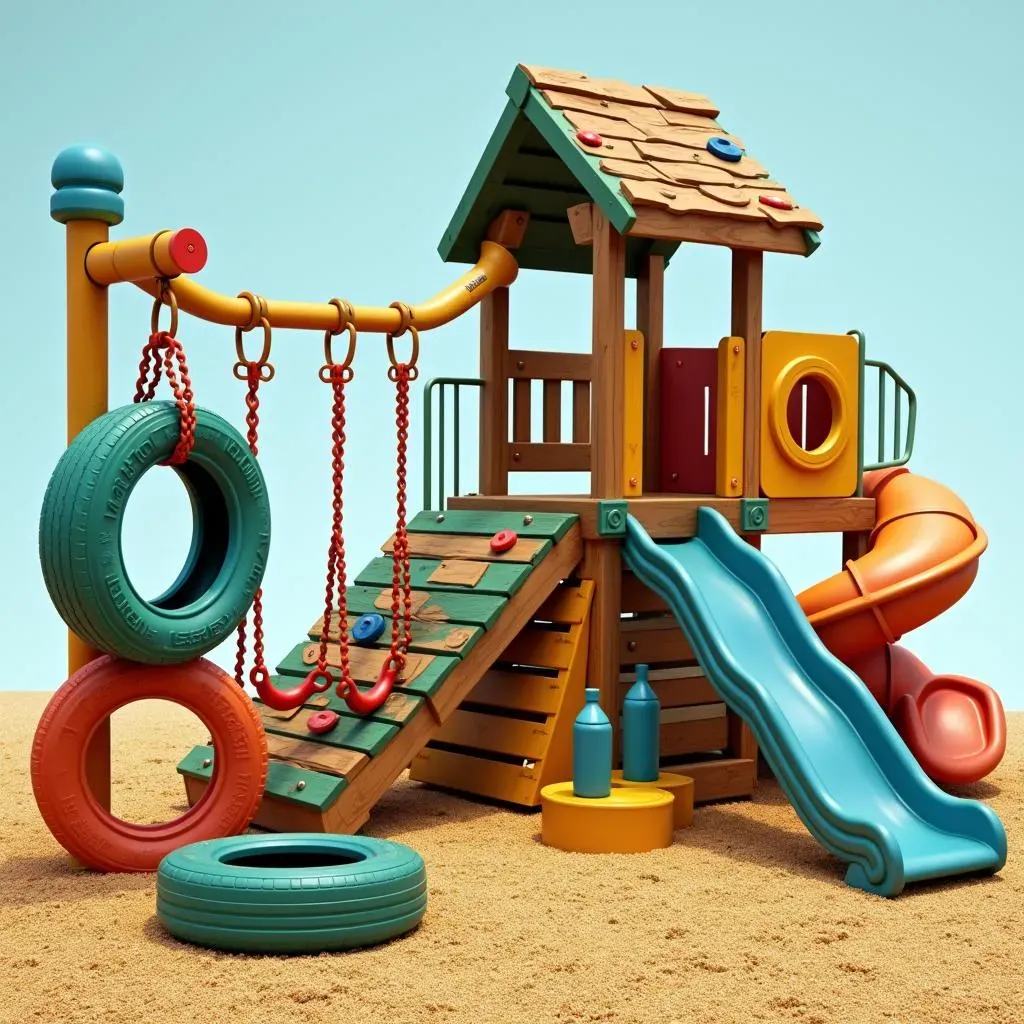
Okay, let's talk tires. Seriously, they're like the superheroes of recycled playground equipment. An old tire can become a swing with just a rope and a sturdy branch. Or, stack a bunch of them to create a mini-climbing wall. You can paint them in bright colors, cut them into fun shapes, or even bury them partially in the ground to make a cool obstacle course. The possibilities are endless. I remember when I was a kid, we had a tire swing in our backyard, it was the best thing ever, we used to spend hours on it. And the best part? You can often get old tires for free from local tire shops. Just make sure they're clean and in good condition before using them.
Pallet Paradise
Wooden pallets are another fantastic material that can be transformed into all sorts of playground structures. They're super sturdy and can be used to build everything from playhouses and sandboxes to climbing frames and bridges. You can stack them, connect them, and get as creative as you want. When I built a small fort for my niece, we used pallets, it was like building a real house, just on a smaller scale. Just remember to sand down any rough edges and use non-toxic paint or sealant to protect the wood and little hands.
Material | Playground Idea |
|---|---|
Tires | Swings, climbing walls, obstacle courses |
Wooden Pallets | Playhouses, sandboxes, climbing frames |
Plastic Bottles | Colorful walls, planters, musical instruments |
Cardboard Boxes | Tunnels, forts, building blocks |
Bottle Bonanza
Don't toss those plastic bottles! They can be used to create all sorts of colorful and interesting features. You can fill them with sand or water and use them as building blocks for a play wall. Or you can string them together to make a wind chime or a fun sensory element. You can also cut the bottles into different shapes to make decorations or mosaics. Plastic bottles are really versatile and can add a lot of visual appeal to your playground. I once saw a playground where they made a whole maze with plastic bottles, it looked amazing!
Cardboard Creations
Cardboard boxes are a very underrated resource. They may not be weather-resistant, but they're perfect for indoor fun or temporary outdoor structures. You can use them to build tunnels, forts, or even a mini-city for kids to play in. They are easy to cut and shape, making them ideal for little hands to get involved in building. Plus, they’re free! Just remember that cardboard won’t last long outside, so use them for short-term projects or indoor play.
Building Your DIY Playground: Tips and Tricks

Building Your DIY Playground: Tips and Tricks
Planning is Key
Before you start hauling tires and pallets, take a moment to plan. Think about the space you have available and what kind of play structures you want to create. Sketch out a rough design and involve the kids in the process. It's also a good idea to check your local regulations to make sure you're not breaking any rules about building structures in your yard. Don’t skip this part; a little planning can save you a lot of headaches later. It helps to know what kind of recycled materials you need, and how much space you will need to bring your playground dream to life.
Gathering Your Materials
Once you have a plan, it's time to start gathering your materials. Ask friends and family if they have any old tires, pallets, or plastic bottles they're willing to donate. Check with local tire shops, construction sites, and recycling centers. You might be surprised at what you can find. Make sure all materials are clean and in good condition before using them. It’s important to be resourceful, but safety should always come first. Remember to always wear gloves and protective eyewear when handling materials, and make sure to wash your hands thoroughly when you're done.
Step | Description |
|---|---|
Plan | Sketch out your design and consider local regulations. |
Gather | Collect clean and safe recycled materials. |
Prep | Clean, sand, and prepare materials for building. |
Build | Assemble your playground following your plan. |
Building Safely
Safety is the most important thing when building a playground. Make sure all structures are stable and secure. Use sturdy screws and bolts, and avoid using any materials that are damaged or cracked. Always supervise kids while they're playing, especially when they're using new equipment. When in doubt, add extra support or padding. Remember, a safe playground is a fun playground. It also helps to have a friend help you with the project, two people is always better than one. Plus, it's more fun that way!
Safety First: Ensuring Your DIY Recycled Playground is Safe

Safety First: Ensuring Your DIY Recycled Playground is Safe
The Importance of a Safe Play Space
Okay, so you're building an awesome playground, that’s fantastic! But before the kids start swinging and sliding, let’s talk about safety, because that’s the most important thing. It doesn’t matter how cool your playground looks if it's not safe for kids to play on. We need to make sure that all structures are stable, secure, and free from any hazards. Think of it like this: you're not just building a playground, you're building a safe place for kids to have fun, learn, and grow. It's a responsibility that we should take very seriously, and it's not hard to do if you take a little extra time to think about it. A few extra steps can make all the difference.
Checking for Hazards and Securing Structures
When using recycled materials, there are some things that you need to be extra careful about. Always inspect tires for any exposed wires or sharp edges. Make sure wooden pallets are sanded down and free from splinters. Check plastic bottles for any broken or cracked pieces. Use sturdy screws and bolts to secure all structures, and make sure that they are firmly anchored in the ground. It also helps to use soft materials for the ground in case someone falls. Remember, it’s better to be safe than sorry. If you're unsure about the safety of a structure, don't use it. There are always other ways to be creative and make a fun playground that is safe for everyone.
Safety Check | Action |
|---|---|
Tires | Inspect for wires, sharp edges, clean thoroughly. |
Pallets | Sand down rough edges, secure with sturdy fasteners. |
Plastic Bottles | Check for cracks or broken pieces, secure tightly. |
Ground | Use soft materials like mulch or rubber. |