Table of Contents
Tired of the same old boring backyard? I get it. I was too. Then, I thought, why not build something awesome? That’s how my journey into DIY playground equipment with wood started. Forget those pricey, pre-made sets; we're talking about creating a personalized play haven that's way more fun and budget-friendly. This isn't just about throwing some wood together; it's about crafting a space where kids can laugh, explore, and make memories. We'll explore why choosing wood for your DIY playground is a great move, how to design and build your own unique structure, and the crucial safety steps to keep those little adventurers safe. I'll even share some ideas to customize your project, so it fits your backyard perfectly. Ready to ditch the store-bought stuff and get building? Let’s get started and create some amazing diy playground equipment with wood!
Why Build DIY Playground Equipment with Wood?

Why Build DIY Playground Equipment with Wood?
Okay, so you're thinking about a backyard playground, right? Awesome! But why go the DIY route with wood? Well, let me tell you, it's not just about saving a few bucks, though that's a nice perk. It’s about creating something that’s genuinely unique and tailored to your space and kids. Wood is fantastic because it's durable; I’ve seen wooden structures withstand years of roughhousing and still look great. Plus, it just feels more natural and inviting than cold metal or plastic. It blends into your backyard rather than sticking out like a sore thumb. And honestly, there's something really rewarding about building something with your own hands, you know? It's a project that involves the whole family and gives you a sense of pride every time you see your kids playing on it.
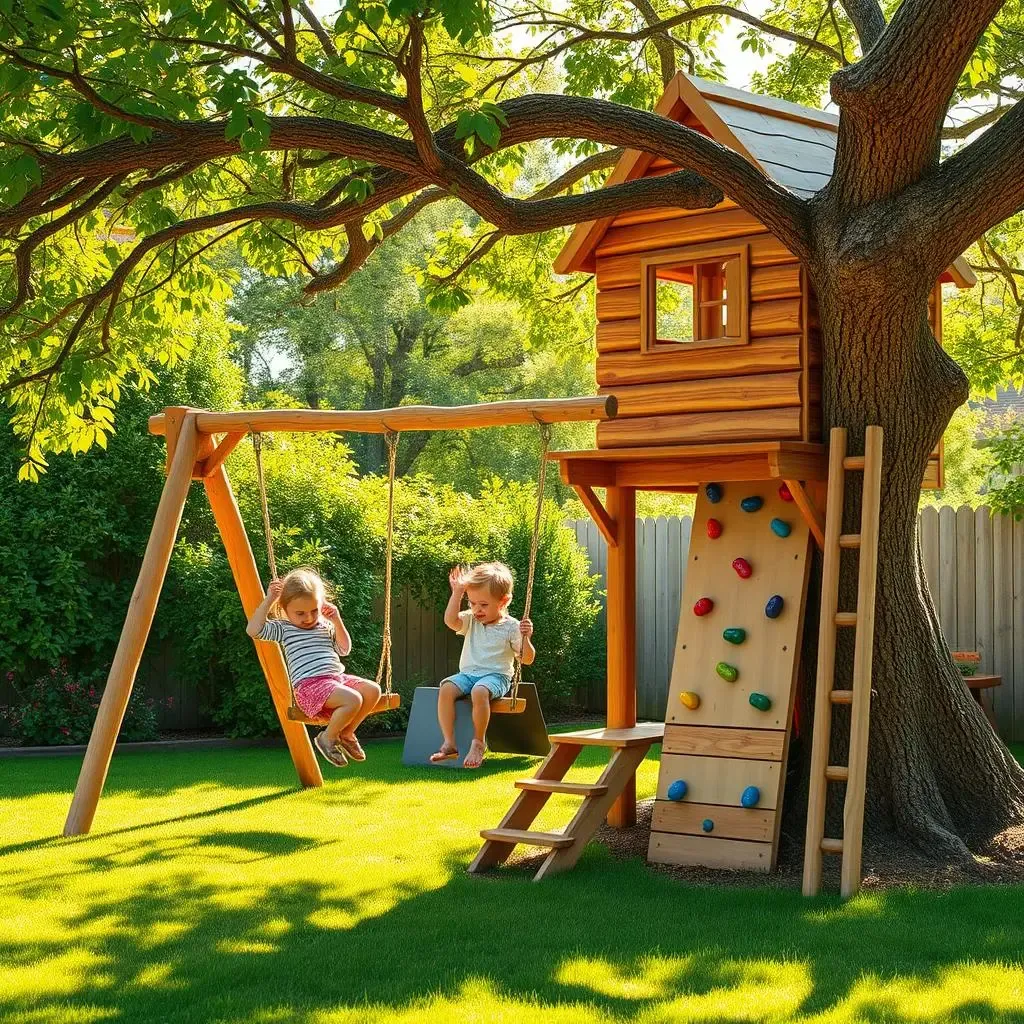
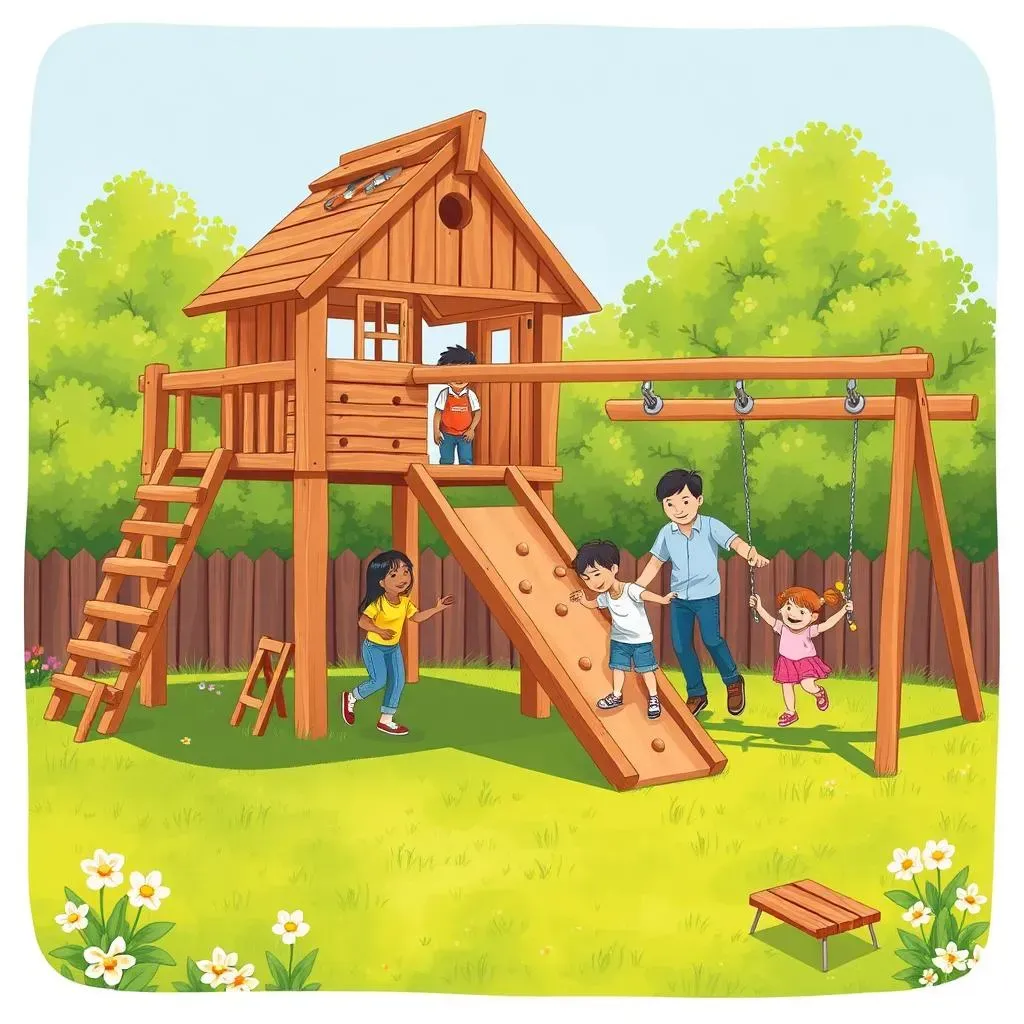
Think about the possibilities: a climbing wall that's exactly the right size, a swing set that fits perfectly in that corner, or a fort that looks like it came straight out of a storybook. You’re not limited by what’s available in stores; you get to be the architect of your kids’ fun. And that's a pretty cool feeling. Finally, wood is also just a pretty sustainable choice. If you use reclaimed wood you're doing something good for the environment. When you choose wood, you're choosing a material that can be sourced responsibly and will last for ages. Plus, if something breaks, you can often fix it yourself, rather than needing to replace the whole thing.
Benefit | Description |
|---|---|
Customization | Create a unique playground tailored to your space and kids' needs. |
Durability | Wood is long-lasting and can withstand years of use and weather. |
Aesthetics | Wood blends naturally into the backyard and looks more inviting. |
Cost-Effective | Building your own can be cheaper than buying a pre-made set. |
Sustainability | Wood is a sustainable material, especially when reclaimed. |
Designing and Constructing Your Wooden DIY Playground

Designing and Constructing Your Wooden DIY Playground
Planning Your Playground
Alright, so you’re ready to get building? First things first: let’s plan this thing out. Don’t just grab some wood and start hammering away. Think about your space. What’s the size of your yard? What kind of play equipment do your kids love? My kids, for example, are obsessed with climbing, so I knew a rock wall was a must. Sketch out a few ideas, even if it’s just on a napkin. It'll help you visualize the final product. Consider the flow of the playground: how will the kids move from one feature to another? You want it to be fun and engaging, not a chaotic obstacle course.
Also, don't forget to think about the age of your kids. A toddler-friendly playground will look different from one designed for older children. Little ones might need lower platforms and smaller steps, while older kids will be craving those challenging climbs and big swings. Start with the basics: the main structure, like a fort or a climbing frame, and then add on the fun stuff like slides, swings, or sandboxes. It's like building with Lego, but way more fun when it’s done.
Choosing Your Materials and Tools
Now, let’s talk materials. You'll need to choose the right type of wood. Pressure-treated lumber is your best friend for outdoor projects, it’s designed to withstand the elements and resist rot and pests. I'd recommend using cedar or redwood too, they are also naturally resistant to decay, but these can be a bit pricier. Make sure you measure twice and cut once—that’s a saying for a reason. It's better to be safe than sorry. You’ll also need the right tools. A good cordless drill is essential, as well as a miter saw for making clean cuts. A level is also a must to make sure everything is straight. Don't forget your safety gear, like safety glasses and gloves. You want to build a playground, not visit the ER.
Think about the fixings you will use. I opted for exterior-grade screws and bolts because they hold up better than nails in the long run. Using the correct hardware will keep your playground solid and safe for years to come. I always like to over-engineer things a bit, I'd rather have it be too strong than too flimsy. It's also a good idea to get a good wood sealant or stain. This will give your project a nice finish and protect it from the weather. Remember, planning and preparation are key to a successful project.
Tool | Use |
|---|---|
Cordless Drill | For drilling pilot holes and driving screws. |
Miter Saw | For making precise cuts in lumber. |
Level | To ensure all surfaces are even and straight. |
Measuring Tape | For accurate measurements before cutting. |
Safety Glasses & Gloves | For personal protection during construction. |
Step-by-Step Construction
Okay, so you have your plans and your materials, now it's time to build. Start with the main support structure, like the posts for a fort or swing set. Make sure they are firmly planted in the ground, you might need to use concrete to secure them. Then, start adding the platforms, walls, and other features, I'd recommend building one section at a time, and then adding the next. Follow your plans closely, but don't be afraid to make adjustments as you go. I found that sometimes, the best ideas come when you’re in the middle of the project.
Remember, this isn't a race, so take your time. Double-check every connection, every screw, every bolt. It's much better to do it right the first time than to fix it later. As you build, think about the details: are the edges smooth? Are there any sharp corners that need to be rounded off? A well-built playground is not just about the big pieces but also the small details. And, most importantly, involve the kids! They can help with smaller tasks, like sanding or painting. This will make them feel part of the project and make the playground even more special.
Safety and Customization of Your Wood Playground Equipment

Safety and Customization of Your Wood Playground Equipment
Prioritizing Safety
Okay, so you've got this amazing wooden playground taking shape, which is fantastic! But hold on a sec – let's talk safety. This is the most crucial part of the whole project. You want your kids to have fun, but you also want them to be safe. Start by making sure that all the wood is smooth and free of splinters. Sand down any rough edges or sharp corners. You can even use a router to round them off nicely. Check all the bolts and screws regularly, because they can loosen over time, especially with all that jumping and climbing. It's a good idea to do a quick check before they play each time.
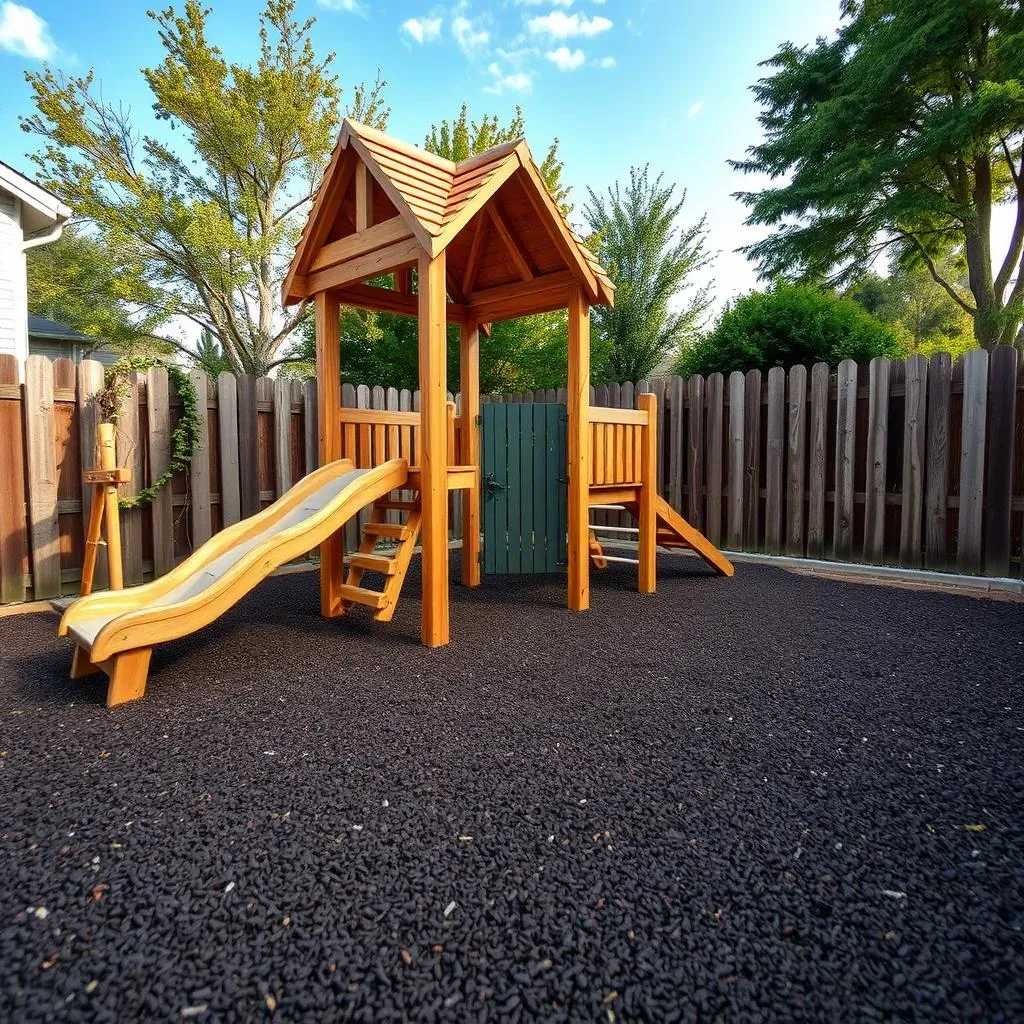
Also, think about the ground underneath the playground. You need a soft landing surface, just in case of falls. I used rubber mulch, which is great because it's springy and doesn't attract bugs. You could also use wood chips, sand, or even rubber tiles. Just make sure it's thick enough to cushion any impact. And, of course, make sure that the playground is stable. It needs to be anchored properly in the ground, so it doesn’t wobble or tip over. Safety first, fun second – that’s my motto. I remember when I was a kid, we had a swing set that wasn't very stable and I fell off it more than once, so I'm extra careful when building my own.
Customizing Your Playground
Now for the fun part: customization! Once you have the basic structure in place, you can add all kinds of cool features. Think about what your kids love to do. Do they enjoy climbing? Add a rock wall or a rope ladder. Are they into sliding? A slide is a must! You could even add a sandbox underneath the main structure, providing a shaded area for digging and playing. And don’t forget about swings! They’re always a hit. You can add a traditional swing, a tire swing, or even a trapeze bar for those adventurous kids. I added a small telescope to the top of my fort, and my kids love pretending they are pirates.
The beauty of DIY is that you’re not limited by what's available in a store. You can let your imagination run wild and create something truly unique. Consider adding some decorative touches, like painting the wood in bright colors or adding flags or banners. This makes the playground even more inviting and fun. You can also add things like a chalkboard, a steering wheel, or even a bell. The possibilities are endless. And remember, this is an evolving project. You can always add or change things as your kids grow and their interests change. It's not a one-and-done thing, it's a playground that grows with your family.
Customization Idea | Description |
|---|---|
Rock Wall | Add climbing holds for a fun challenge. |
Slide | A must-have for any playground. |
Sandbox | Great for digging and imaginative play. |
Swings | Classic fun for all ages. |
Decorative Touches | Paint, flags, and banners add personality. |
Maintenance and Long-Term Care
So, you've built this awesome playground, and the kids are loving it. But don't think you're done just yet! Like anything that lives outside, your wooden playground needs a bit of TLC to keep it safe and in good shape. Regular maintenance is key. I usually give the whole thing a good once-over every couple of months. I check for any loose screws, any wood that might be starting to rot, and any areas where the finish might be wearing thin. It's like a regular health check-up for your playground.
If you see any signs of rot or damage, it's best to address it right away. You might need to replace a piece of wood, or tighten up some hardware. It's much easier to fix small issues than to let them become big problems. And don't forget to reapply your sealant or stain every year or two. This will protect the wood from the weather and keep it looking good for years to come. A little bit of maintenance goes a long way in making sure your DIY playground lasts for generations of fun. It's like taking care of a favorite old car; if you look after it, it'll keep on going.