Table of Contents
Ever looked at your backyard and thought, "This needs monkey bars!"? I did. My kids were bouncing off the walls, and let's be honest, so was I. Living in West Virginia, we've got space, and I figured, why not build something awesome? So, I embarked on a mission to create some seriously sturdy DIY playground monkey bars. This wasn't just about making a play area; it was about a fun project and maybe, just maybe, reliving my own childhood a little. Before you grab your tools, we'll cover some important safety steps, like making sure you don't accidentally dig into a gas line – trust me, that's a bad day. Then, I'll show you how to gather all the stuff you'll need, from lumber to concrete. The real test? Digging those post holes. It's a workout, but we’ll get through it. Finally, we'll get to the fun part: putting it all together. This guide will walk you through each step of building your very own DIY playground monkey bars, so you can have a fun, functional and safe structure for kids of all ages (including the big kids at heart). Get ready to build!
Safety First When Building DIY Playground Monkey Bars

Safety First When Building DIY Playground Monkey Bars
Before You Dig:
Call Before You Dig
Okay, so you're pumped to build some awesome monkey bars, I get it. But hold up a sec, before you start digging like a gopher on caffeine, we need to talk safety, seriously. This ain't just about not getting splinters (though, we'll try to avoid those too). First things first, call 811. Yep, that's the "Call Before You Dig" number. It's not just a suggestion; it's the law in most places, and for a good reason. There are all sorts of crazy things buried underground – gas lines, electrical cables, you name it. Hitting one of those could turn your DIY project into a disaster movie. So, make the call, wait for them to mark the area, and then you can start digging without the risk of blowing up your backyard.
And while we're on the topic of safety, let's chat about local regulations. I know, I know, it's not as thrilling as swinging from bar to bar, but it's crucial. Building codes and permits can vary wildly depending on where you live. Some areas might have rules about how high your structure can be, how far it needs to be from property lines, or even what materials you can use. It's way better to spend a few minutes checking with your local building authority than to have to tear down your hard work later because it doesn’t meet code. So, do your homework and play it safe.
Safety Checklist:
Essential Steps Before Construction
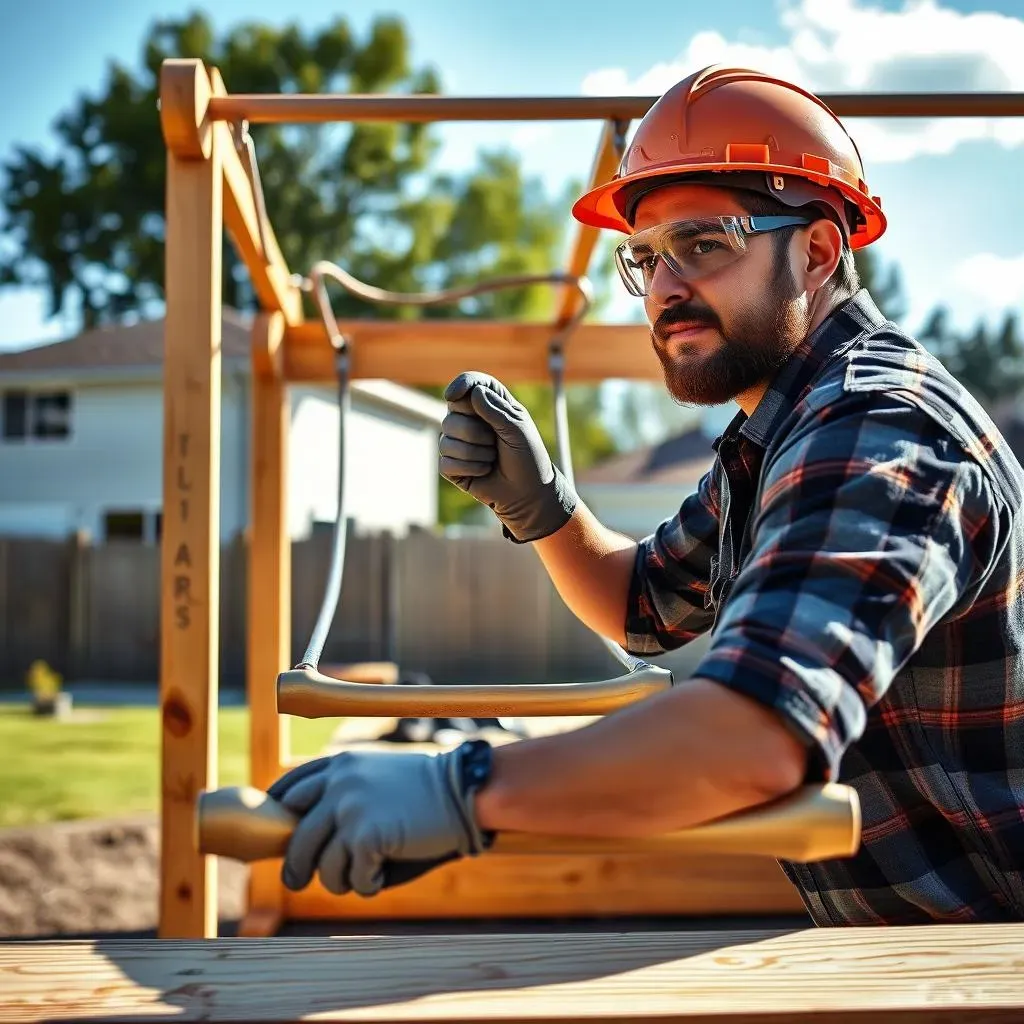
Alright, now that we've got the serious stuff out of the way, let's break down some more practical safety tips. Think of this as your pre-flight checklist before launching into construction. Make sure you have a clear area to work in, get rid of any rocks, branches, or rogue garden gnomes. You don't want to trip over anything while wielding a shovel or carrying lumber. Wear safety glasses, gloves, and sturdy shoes. I know, I know, you're not a construction worker, but trust me, these things will save you from a lot of pain. And if you're using power tools, make sure you know how to use them safely, or maybe find a friend who does. Don’t be a hero, safety first!
Also, take a look at your workspace. Is it level? Are there any hidden dangers, like a wasp nest or a patch of poison ivy? It's way easier to deal with these things before you start building. And remember, when you're handling lumber, especially the heavier pieces, get some help or use a hand truck. It’s no fun getting a back injury before you even start swinging on those bars. And lastly, keep kids and pets at a safe distance while you’re working, curious eyes and wagging tails can be hazardous near a construction site. We want everyone to enjoy the monkey bars, but let's build them safely, first.
Safety Step | Description | Why It Matters |
|---|---|---|
Call 811 | Contact before digging to locate underground utilities. | Prevents damage to utilities and ensures safety. |
Check Local Codes | Consult local building authorities for regulations. | Ensures compliance and avoids future problems. |
Clear Work Area | Remove obstacles and hazards from the building site. | Prevents accidents and injuries. |
Wear Protective Gear | Use safety glasses, gloves, and sturdy shoes. | Protects against injuries during construction. |
Use Tools Safely | Properly operate all tools or seek assistance. | Reduces the risk of accidents and injuries. |
Keep Clear | Keep kids and pets away from the construction area. | Ensures the safety of everyone around the construction site. |
Gathering Supplies and Laying Out Your DIY Monkey Bars

Gathering Supplies and Laying Out Your DIY Monkey Bars
The Shopping List:
What You'll Need
Alright, so you've got the safety stuff sorted, time to hit the hardware store! For my DIY playground monkey bars, I needed a few key things. First up, lumber. I went with pressure-treated 4x4 posts for the uprights because they're going to be buried in the ground and need to handle the elements. Then, I needed some structural steel pipe for the rungs – those are the bars you'll be swinging from. Don't forget the concrete for setting the posts, carriage bolts to hold everything together, and some screws for the smaller bits. It's like a giant construction puzzle, but way more fun. I had to make a trip to the lumberyard, which felt like a mini adventure. Just make sure you have a way to haul all this stuff back home; a truck is your friend here.
Also, think about the tools you'll need. A post hole digger is a must, unless you’re into digging with your bare hands (I'm not judging, but I'm not doing it either). You'll need a spade for some of the finer digging work, a digging bar to break up any stubborn rocks, a level to make sure everything is straight, and a measuring tape. A drill, a socket set, and a wrench are also essential. And don’t forget safety glasses, gloves, and work boots. You don't want any surprise injuries while you're building. It’s good to have a plan for each step, and the right tools will make your life so much easier. So, make sure you have everything on your list before you even start digging.
Planning Your Space:
Measuring and Marking
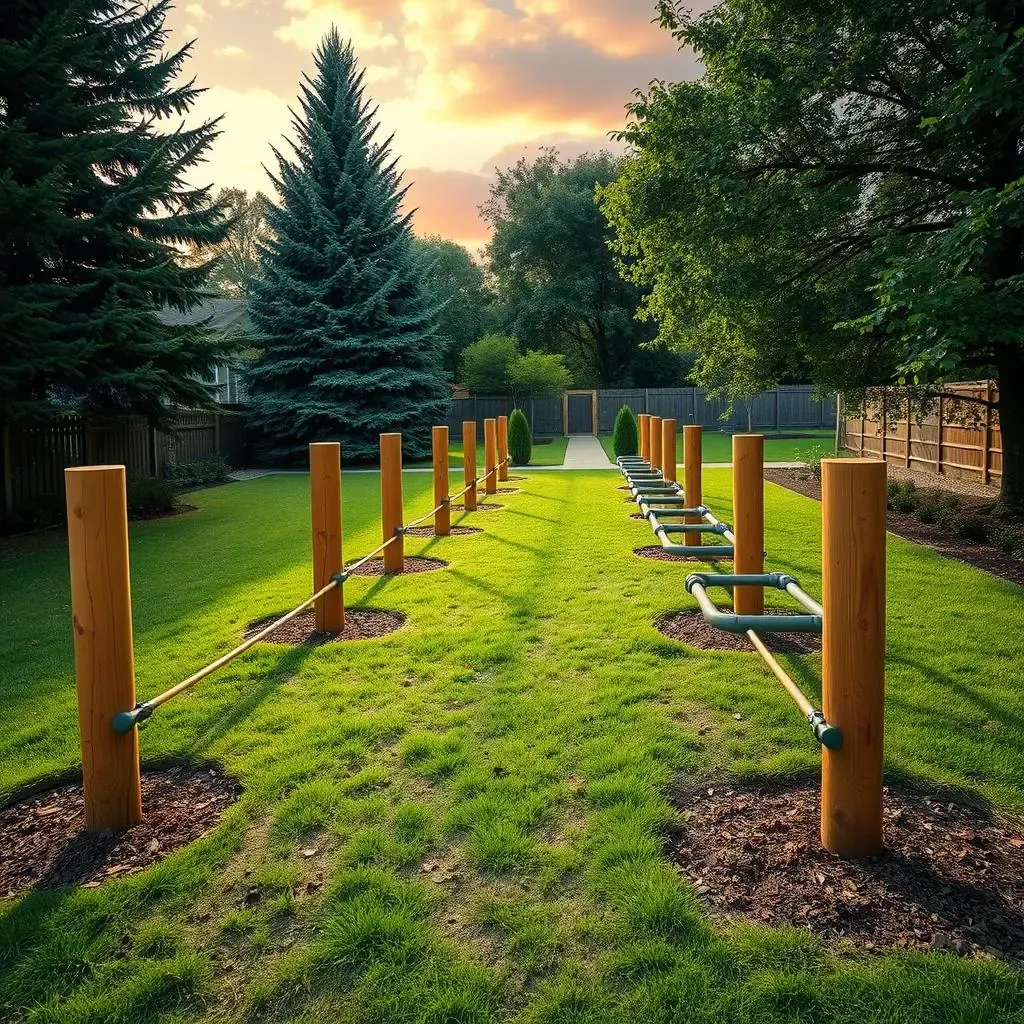
Now that you've got all your gear, it's time to figure out where these monkey bars are going to live in your backyard. I wanted mine to be pretty long, so I made sure I had plenty of space. I used landscaping string and stakes to mark out where the posts were going to go. This helps you see the shape and size of the monkey bars before you start digging. It's like sketching out your project in real life. I used a line level to make sure the lines were tight and level. You don't want your monkey bars to be leaning to one side, trust me. It's like trying to walk on a crooked sidewalk – not fun. You also want to measure and mark the post holes carefully so they are all evenly spaced. It’s like making sure all the pieces of a puzzle fit together properly.
I decided to space my posts 4 feet apart, which felt like a good distance for both kids and adults to swing comfortably. The total length of my monkey bars was about 20 feet, which was plenty of space to get a good swing going. I also made sure there was enough room around the structure for safety. You don’t want any trees, fences or other obstacles nearby where someone could accidentally get hurt. So, double-check your measurements, and adjust your layout as needed. It's much easier to make changes now than after you've dug six giant holes in your yard. Take your time, and get it right.
Material/Tool | Purpose | Quantity Needed |
|---|---|---|
Pressure-Treated 4x4 Posts | Upright supports | 6 |
Structural Steel Pipe | Monkey bar rungs | As needed |
Concrete Mix | Setting posts | Enough to fill holes |
Carriage Bolts | Securing lumber | As needed |
Screws | Fastening smaller parts | As needed |
Post Hole Digger | Digging holes | 1 |
Spade | Fine digging work | 1 |
Digging Bar | Breaking up rocks | 1 |
Level | Ensuring posts are straight | 1 |
Measuring Tape | Measuring and marking | 1 |
Drill, Socket Set, Wrench | Assembly tools | 1 set each |
Safety Glasses, Gloves, Work Boots | Personal protection | 1 set each |
The Details Matter:
Spacing and Alignment
When it comes to laying out your monkey bars, the details really matter. It’s not just about digging holes; it’s about making sure everything is aligned and spaced perfectly. I used my measuring tape to double-check the distances between each post. I also used a carpenter's square to make sure the posts were square to the layout lines. This helps ensure the monkey bars are straight and stable. It’s like building with LEGOs; if one piece is off, the whole thing can look wonky. Trust me, a little extra attention to detail now will save you a lot of headaches later.
Remember, the goal is to create something that's not only fun but also safe. So, take your time, measure twice (or maybe three times), and make sure everything lines up. It’s okay if this part takes a little while. It’s like planning a road trip; you need a good map before you start driving. Once you’re happy with the layout, you can finally start digging those holes. And that's where things get a little bit more exciting (and a lot more sweaty). So, get your plan in place, and get ready to dig!
Digging, Setting Posts, and Adding the Rails and Rungs for Your DIY Playground Monkey Bars

Digging, Setting Posts, and Adding the Rails and Rungs for Your DIY Playground Monkey Bars
The Dig:
Getting Down and Dirty
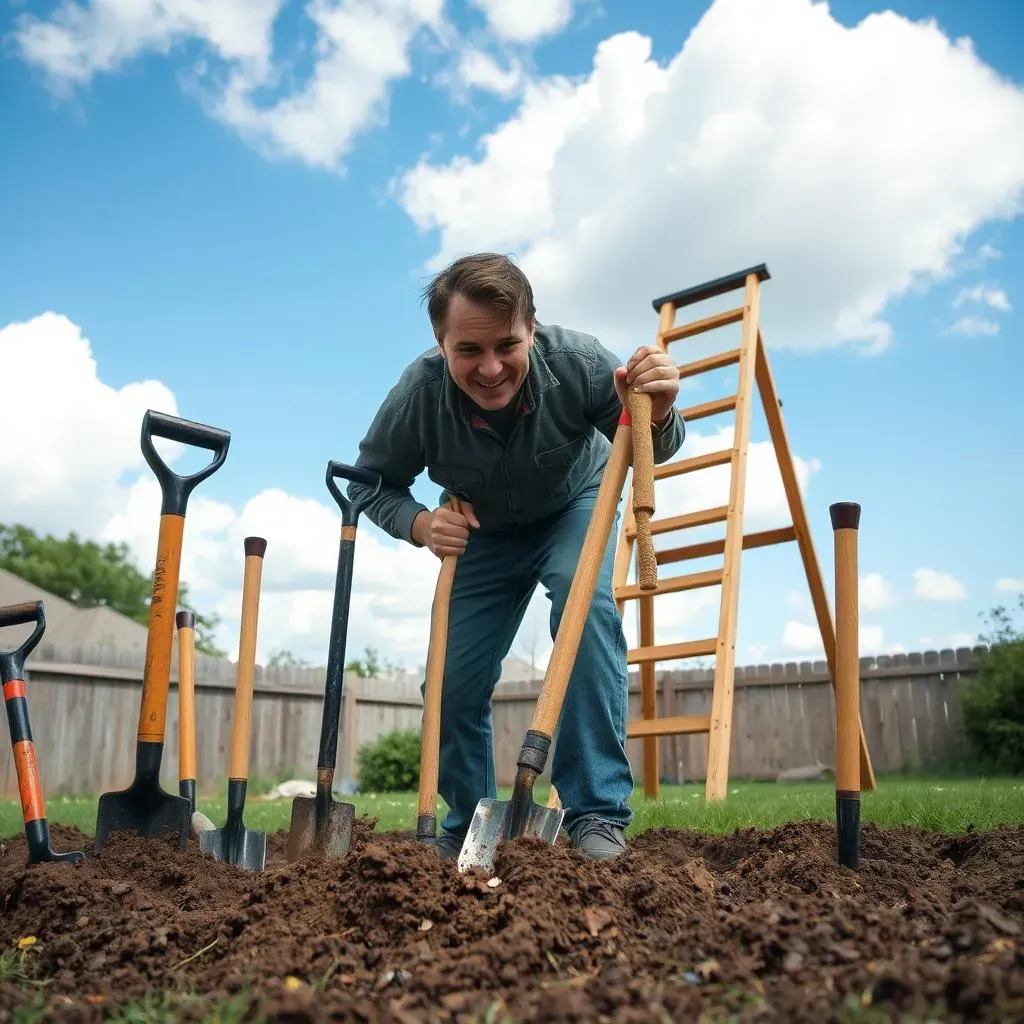
Okay, so the moment of truth has arrived – it's time to dig. This was, hands down, the most challenging part of the whole DIY playground monkey bars project. I needed six holes, each 4 feet deep and about 12 inches wide. Sounds easy, right? Wrong! My backyard is basically a rock quarry disguised as a lawn. I quickly learned that digging is not just about sticking a shovel in the ground; it’s a full-body workout. I developed a system: I'd dig for about an hour or so each day. I used post hole diggers to get the main hole started, then a spade to clean up the sides, and a digging bar to break through any stubborn rocks. It felt like I was on an archaeological dig, except instead of finding ancient artifacts, I found more rocks. But hey, at least it was good exercise, right?
I quickly realized that this wasn’t a race; it was a marathon. Some days, I'd barely make any progress, hitting huge rocks that seemed determined to stay put. Other days, the digging was smooth, and I felt like a pro. The key was to be patient and not try to rush it. I also learned to appreciate the simple things, like a cool breeze or a bird chirping nearby. It's amazing how much you can notice when you're sweating and covered in dirt. I also kept a bucket of water nearby to wash off the tools when they got too muddy. And let's be real, I needed to stay hydrated. So, if you're planning on building your own monkey bars, be prepared to get dirty, and be prepared to take your time. It's a process, but it's worth it.
Tool | Use | Tips |
|---|---|---|
Post Hole Digger | Initial hole digging | Twist and lift to remove dirt |
Spade | Cleaning up the sides of the hole | Use for a clean, even edge |
Digging Bar | Breaking up rocks and hard soil | Use leverage, not brute force |
Water Bucket | Cleaning tools and staying hydrated | Essential for a long day |
Setting the Posts:
Making it Solid
Once those holes were finally dug, it was time to set the posts. I used a laser level to make sure all the 4-foot marks were lined up, so the monkey bars would be level. I put the first post in one of the holes and used a temporary 2x4 support to brace it in place. I poured some concrete mix into the hole, being careful to keep the post as straight as possible. It’s like trying to balance a pencil on its tip. Then, I repeated this process for the other five posts, making sure everything was aligned. I used a level to double-check that each post was plumb, which means straight up and down. You don't want your monkey bars to be leaning like the Tower of Pisa.
I let the concrete set for a couple of days before moving on, which was probably the hardest part of the entire process. I was so excited to keep building, but I knew I had to be patient. It's like waiting for your birthday; the anticipation is real. Once the concrete was set, I removed the temporary supports. Now, those posts weren't going anywhere, and that's exactly what you want. This part of the project was all about precision and patience. It’s easy to get ahead of yourself, but you need a solid foundation before moving on. So, take your time, and make sure those posts are set correctly. It’s the backbone of your project, and you need it to be strong and stable.
Rails and Rungs:
Putting it All Together
With the posts set, it was finally time to add the rails and rungs. I used screws to attach the horizontal rails to the posts and carriage bolts to secure them even more. I used floor flanges to attach the steel rungs and spaced them about 18 inches apart. This spacing felt right for both my kids and me. It's like finding the perfect distance between steps on a staircase, not too close and not too far. I made sure everything was tight and secure, so there wouldn't be any wobbling or shifting when someone was swinging on the bars. It was amazing to see all the pieces finally coming together. It was like watching a puzzle get completed.
I spent a lot of time double-checking each screw and bolt to make sure everything was solid. I also made sure the rungs were level, so it would be easy to swing across. The last step was to give everything a final once-over. I tightened any loose bolts, smoothed out any rough edges, and made sure there weren't any splinters waiting to attack. Then it was finally time for the first test run. My kids were so excited, and honestly, so was I. It was so rewarding to see the monkey bars, that I built, being used and enjoyed. It was a great way to get the kids outside and get some exercise. And hey, I might have had a turn or two myself. So, if you're looking for a fun project that's also good for you, building your own DIY playground monkey bars is definitely worth it.
- Use a level to ensure posts are plumb.
- Use temporary supports while concrete sets.
- Space rungs evenly for comfortable swinging.
- Double-check all connections for safety.