Table of Contents
Want to create a magical play space for your kids without breaking the bank? Forget those expensive, store-bought monstrosities! We're diving into the world of diy playground sandboxes, and trust me, it’s easier than you think. Imagine a place where your little ones can dig, build, and let their imaginations run wild, right in your backyard. This isn’t about complicated construction projects; we're talking simple, fun, and totally doable. In this article, I'll show you why a DIY sandbox is a fantastic idea, guiding you through the process step-by-step. We'll cover everything from choosing the right materials to keeping it clean and safe. You'll discover how to create a sandbox that's not just a pit of sand but a hub for creativity and learning. Get ready to transform your outdoor space into a mini-beach paradise with your very own diy playground sandboxes!
Why DIY Playground Sandboxes are Awesome

Why DIY Playground Sandboxes are Awesome
Okay, so you're thinking about a sandbox, right? But why go DIY? Well, first off, it's way cheaper than buying some fancy plastic thing from the store. You're basically paying for the name when you could build something just as awesome, or even better, yourself. Plus, it's customizable! You're not stuck with some pre-made shape or size. You get to decide exactly how big it is, what it looks like, and where it goes. Think about it: you could make a mini-beach, a desert landscape, or even a construction zone, all tailored to your kid's (or your inner child's) wildest dreams. It's also a fantastic way to get your hands dirty and spend some quality time outdoors, maybe even with the little ones helping (or "helping", as they often do!).
And let's not forget the educational benefits. A sandbox is more than just a place to play; it's a laboratory for learning. Kids develop motor skills, learn about textures, and explore basic physics principles. They can build castles that defy gravity (or crumble hilariously), dig moats that mysteriously fill with water, and experiment with different tools. It’s like a giant, messy, and incredibly fun science experiment. Plus, when they help build it, they feel a sense of ownership and pride. It's their special space, built by their family, for their adventures. Now, tell me, what store-bought sandbox can give you that?
Benefit | Why It's Awesome |
|---|---|
Cost-Effective | Way cheaper than store-bought options |
Customizable | Tailor it to your space and kids' interests |
Educational | Promotes learning and development |
Engaging | Fun for kids and adults alike |
Building Your Own DIY Sandbox: StepbyStep

Building Your Own DIY Sandbox: StepbyStep
Choosing Your Sandbox Base
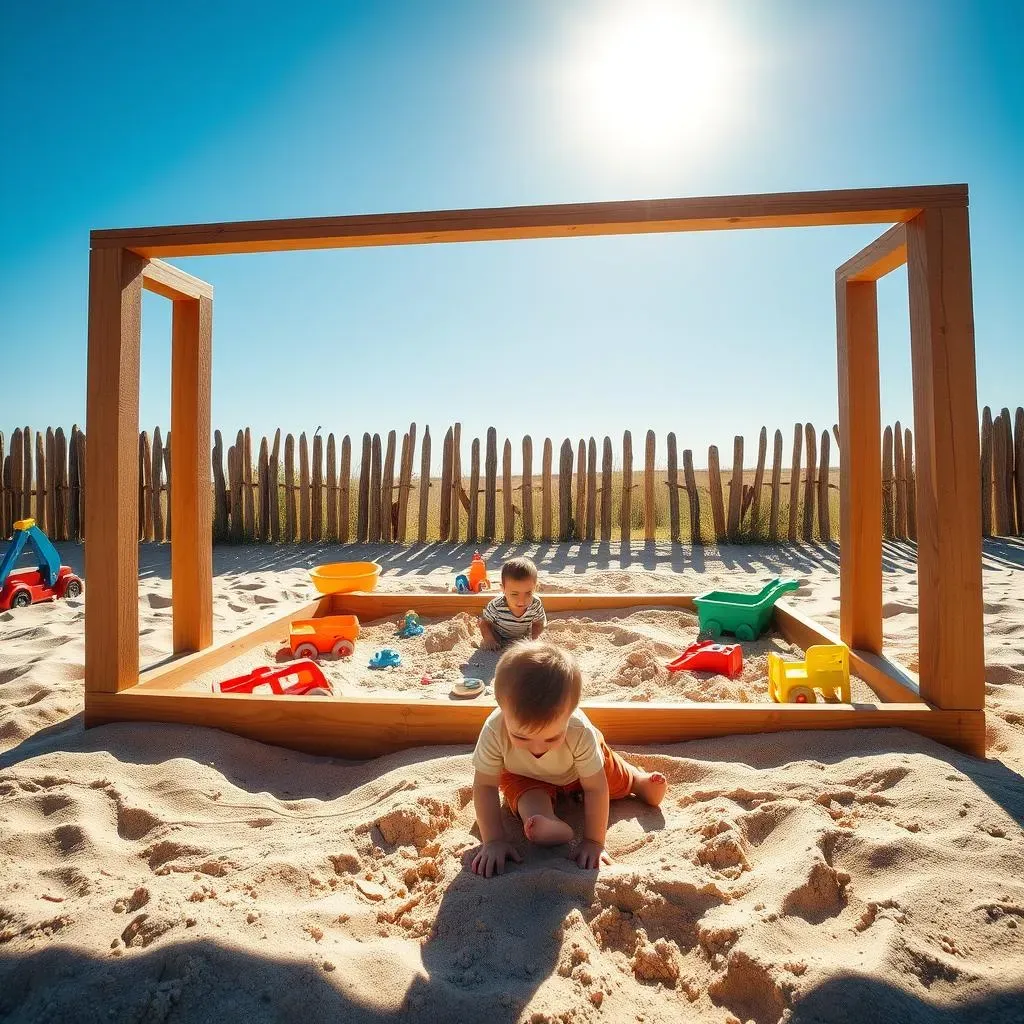
Alright, let's get down to the nitty-gritty. First things first, you need a base. You can go super simple here, like using an old tire, a plastic kiddie pool, or even a sturdy under-bed storage container. The key is to pick something that's durable and can hold a good amount of sand without collapsing. I once saw a sandbox made from an old rowboat – talk about creative! If you're feeling a bit more ambitious, you could build a simple wooden frame. Just make sure you use untreated wood to keep it safe for the kids. The size depends on your space and how many little diggers you've got, but remember, bigger isn't always better. A manageable size makes it easier to clean and move around.
Assembling the Sandbox
Now, if you're using a pre-made base, like a plastic container, you can skip this step. But for those of you building a frame, here's the lowdown. Cut your wood to the desired length and screw it together to form a box. I recommend using corner brackets to make it extra sturdy. Once you’ve got your frame, lay down a tarp or landscaping fabric at the bottom. This will prevent weeds from growing up through the sand and keep the sand from seeping into the ground. Make sure you secure the tarp to the frame, so it doesn't move around when your kids start their excavation projects.
Step | Action |
|---|---|
1 | Choose a durable base (container, tire, wood frame) |
2 | Assemble the frame (if needed) using wood and screws |
3 | Line the base with tarp or landscaping fabric |
4 | Add your play sand |
Filling with Sand and Adding the Fun
The final step, and probably the most exciting, is adding the sand. Grab those bags of play sand and pour them into your base. Don’t skimp on the sand, you want it deep enough for some serious digging. Once you've got the sand in, it's time to add some toys! Think buckets, shovels, molds, and anything else that sparks their imagination. I even like to throw in some small toy cars or dinosaurs for extra fun. Remember, this isn't just a sandbox; it’s a place where stories come to life. So get creative, and let the kids have a blast!
Making Your DIY Playground Sandbox Fun and Safe

Making Your DIY Playground Sandbox Fun and Safe
Keeping the Fun Going
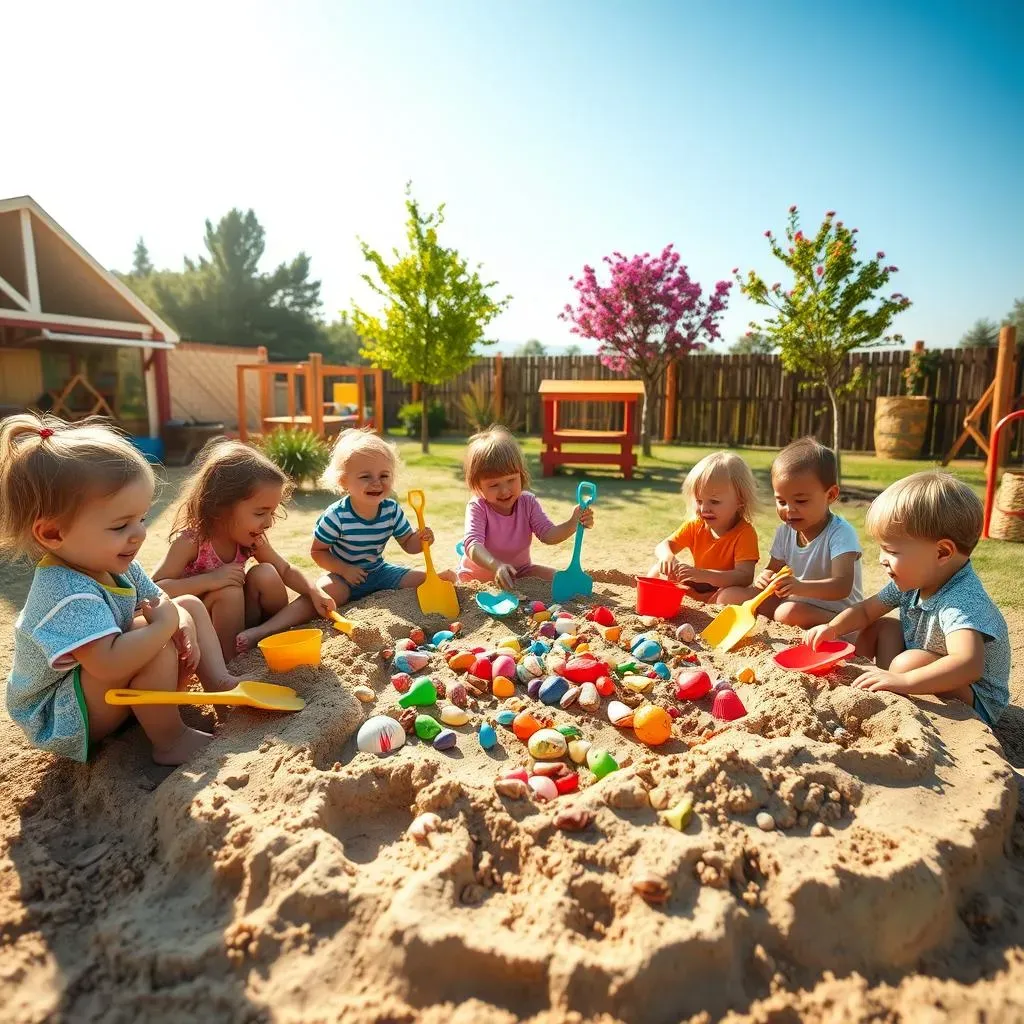
Okay, we've got our sandbox built, now let's make it a blast! Think about adding some themed play elements. One week it could be a pirate ship with buried treasure (plastic coins and jewels, of course), the next it could be a dinosaur dig site with toy skeletons hidden beneath the surface. You can even introduce water play – a small bucket or watering can makes for some awesome mud creations. Another great idea is to add some natural elements like smooth stones, pinecones, or seashells. This adds texture and encourages sensory exploration. It's all about keeping things fresh and exciting so your sandbox doesn't become a forgotten corner of the yard.
Safety First, Always!
Safety is key, my friend. First off, make sure you’re using play sand specifically designed for kids. Avoid using regular construction sand as it can contain harmful substances. Regularly check the sand for any sharp objects or debris. A good way to do this is to use a sand sifter – it's also a fun activity for the kids! If you have pets, consider getting a sandbox cover to keep them out when the sandbox is not in use. Also, supervise younger kids while they are playing, especially when they’re digging deep or experimenting with water. It’s not about being overprotective, it’s about making sure they have fun safely.
Safety Tip | Why It Matters |
|---|---|
Use play sand | Avoids harmful substances |
Regularly check for debris | Keeps kids safe from sharp objects |
Use a sandbox cover | Keeps pets out |
Supervise young children | Ensures safe play |
Maintaining the Sandbox
A little maintenance goes a long way in keeping your sandbox clean and enjoyable. Rake the sand regularly to remove any leaves, twigs, or other debris. If the sand gets wet, let it dry out completely before the next play session to prevent mold and bacteria growth. You can also occasionally replace the sand to keep it fresh and clean. And don’t forget to teach the kids about cleaning up after they play – it’s a good habit to start early! I find that a quick tidy-up session after each play time makes a big difference in keeping the sandbox clean and ready for the next adventure.