Table of Contents
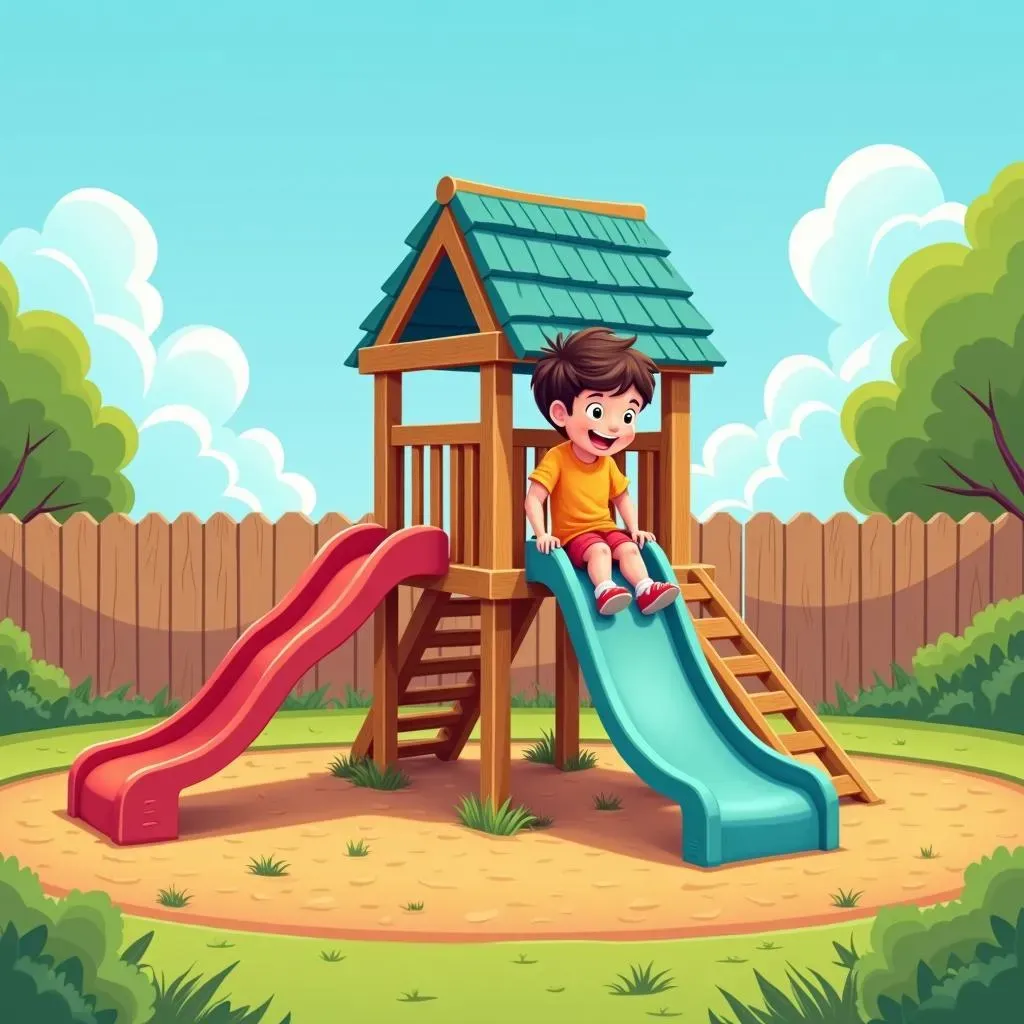
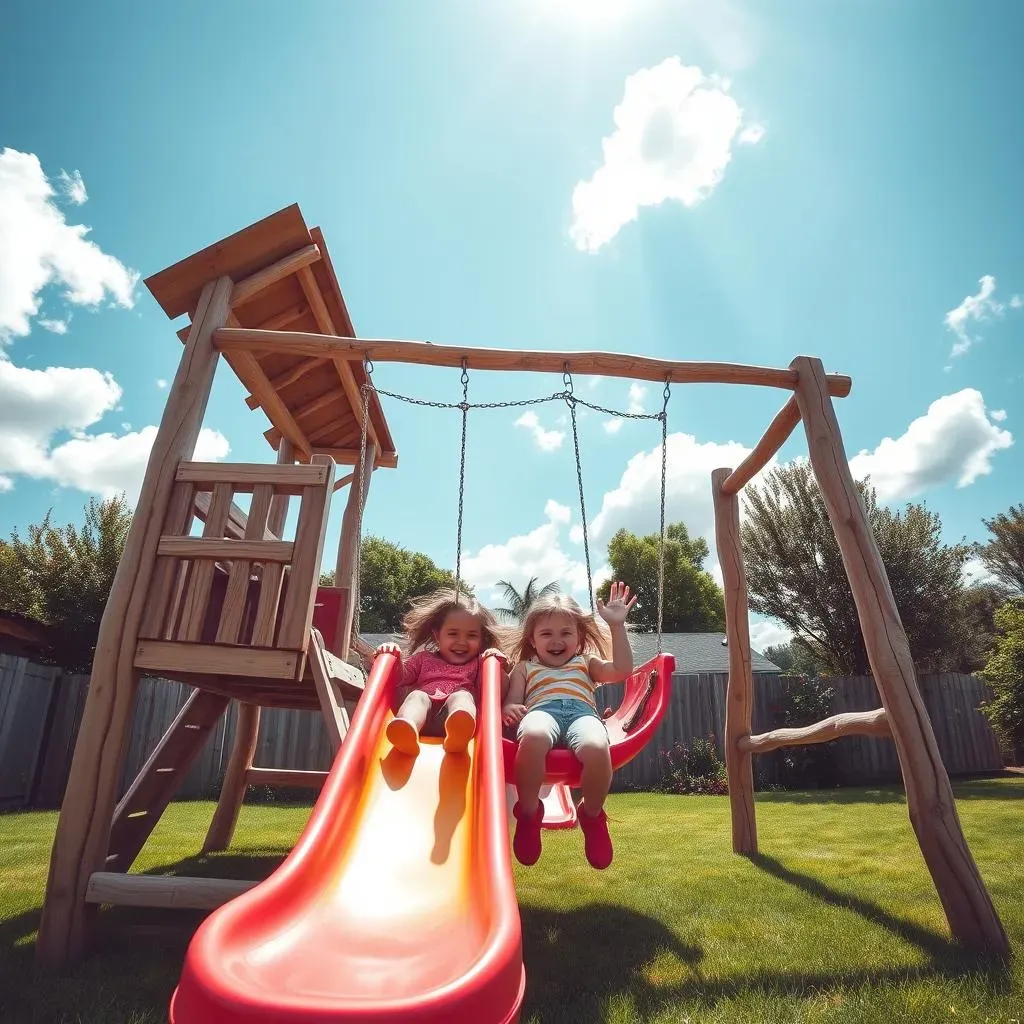
Want to build amazing memories *and* an awesome playground? Then get ready to unleash your inner builder with this complete guide to DIY playground slides! Forget overpriced store-bought options; we're diving headfirst into creating a custom slide that's both safe and super fun. This isn't just about throwing together some wood and hoping for the best. We'll walk you through every step, from careful planning and choosing the right materials to the final, satisfying slide down. You'll learn how to prioritize safety, ensuring your DIY playground slides meet or exceed safety standards. We'll cover everything from the perfect angle for a thrilling ride to incorporating creative touches that make your slide truly unique. Get ready to transform your backyard into a haven of fun with your own custom-built DIY playground slides. Let’s get started!
Planning Your DIY Playground Slides: Safety First

Planning Your DIY Playground Slides: Safety First
Location, Location, Location!
Before you even think about hammering a nail, carefully scout the perfect spot for your DIY playground slides. Think level ground, away from any obstacles like trees, fences, or those pesky underground sprinkler heads. You want a clear landing zone at the bottom of the slide, too. A soft surface like mulch or pea gravel is key to cushioning any tumbles. Hard surfaces like concrete or pavement are a big no-no!
Also, check local building codes and regulations. Some areas have specific guidelines regarding playground safety and construction. It's better to be safe than sorry, right? Ignoring these rules could lead to some serious headaches later (or worse!). A little research can save you a whole lot of hassle.
Ideal Location Features | Things to Avoid |
|---|---|
Level ground | Slopes or uneven terrain |
Clear landing zone | Obstacles (trees, rocks, etc.) |
Soft surface (mulch, pea gravel) | Hard surfaces (concrete, pavement) |
Material Matters: Choosing the Right Stuff
Now let's talk materials. Safety is paramount, so don't skimp on quality. Pressure-treated lumber is your best bet for the frame, ensuring it can withstand the elements and the enthusiastic sliding. For the slide itself, consider using a pre-fabricated plastic slide or stainless steel for durability and easy cleaning. Avoid using materials that splinter easily or might pose a hazard to little ones.
Remember to use galvanized or stainless steel screws and fasteners. These are resistant to rust and will hold up much better than regular hardware, especially outdoors. Think about using child-safe paint if you plan on painting any parts of your DIY playground slides. And always, always, always double-check every single connection to ensure it’s secure. A wobbly slide is a recipe for disaster.
- Pressure-treated lumber for the frame
- Pre-fabricated plastic or stainless steel slide
- Galvanized or stainless steel screws and fasteners
- Child-safe paint (if needed)
Building Your DIY Playground Slides: StepbyStep Guide

Building Your DIY Playground Slides: StepbyStep Guide
Building the Frame: The Foundation of Fun
With your location chosen and materials gathered, it's time to build the frame! This is where your DIY playground slides really start to take shape. Following your chosen plan (plenty of free plans are available online!), begin assembling the frame using pressure-treated lumber. Start by building the platform, ensuring it's sturdy and level. Use strong screws and check connections regularly for stability. Remember, this is the base for everything else, so take your time and make sure it's rock solid.
Once the platform is secure, you can attach the support posts for the slide. These posts need to be firmly anchored into the ground, either using concrete footings or strong ground anchors. The angle of the slide is crucial here – aim for a gentle slope that's both fun and safe. Too steep, and kids might go too fast; too shallow, and the slide won't be much fun. A 30-degree angle is often recommended as a good balance.
Step | Action | Important Note |
|---|---|---|
1 | Build the platform | Ensure it's level and sturdy |
2 | Attach support posts | Firmly anchor to the ground |
3 | Set the slide angle | Aim for approximately 30 degrees |
Attaching the Slide: Smooth Sailing Ahead
Now for the exciting part – attaching the slide itself! Carefully follow the manufacturer's instructions for your chosen slide. Most pre-fabricated slides come with detailed instructions and all the necessary hardware. Double-check that everything is aligned and secure before letting any little ones near it. You'll want to make sure the slide is firmly attached to the support posts, creating a smooth, stable transition from platform to ground.
Take extra care to ensure the slide's connection to the platform is secure and free of any sharp edges or gaps. You should also consider adding safety features like side rails or barriers if your slide doesn't already have them. This will help prevent any accidental falls or tumbles. A little extra effort here goes a long way in ensuring a safe and fun slide for years to come. Remember, safety always comes first!
- Carefully follow manufacturer's instructions
- Ensure secure attachment to support posts
- Check for sharp edges or gaps
- Consider adding side rails or barriers
Finishing Your DIY Playground Slides: Adding the Fun Touches

Finishing Your DIY Playground Slides: Adding the Fun Touches
Safety First, Fun Second (But Still Fun!)
Okay, the slide's up and running, but let's not forget the finishing touches! Think about adding some extra safety features. A layer of soft mulch or pea gravel under and around the slide is a must. This will help cushion any falls and prevent injuries. You might also want to consider adding handrails or side supports, especially if your slide is taller or has a steeper incline. These can give kids extra stability and confidence as they slide down. And remember, regular inspections are key! Look for loose screws, damaged wood, or anything that could become a hazard. Safety should always be your top priority.
Beyond safety, it’s time to personalize your creation! Think about adding a splash of color with child-safe paint. You could even let your little ones help with the painting process, making it even more special. Consider adding some fun decorations, too. You could use stencils to create fun patterns, or even let the kids get creative and paint their own designs on the slide. Just make sure any paint you use is non-toxic and specifically designed for outdoor use. A little creativity can go a long way in making your DIY playground slides a true masterpiece!
Safety Feature | Benefit |
|---|---|
Soft ground cover (mulch, pea gravel) | Cushions falls, prevents injuries |
Handrails or side supports | Provides stability, boosts confidence |
Regular inspections | Identifies and addresses potential hazards |
The Finishing Touches: Making it Special
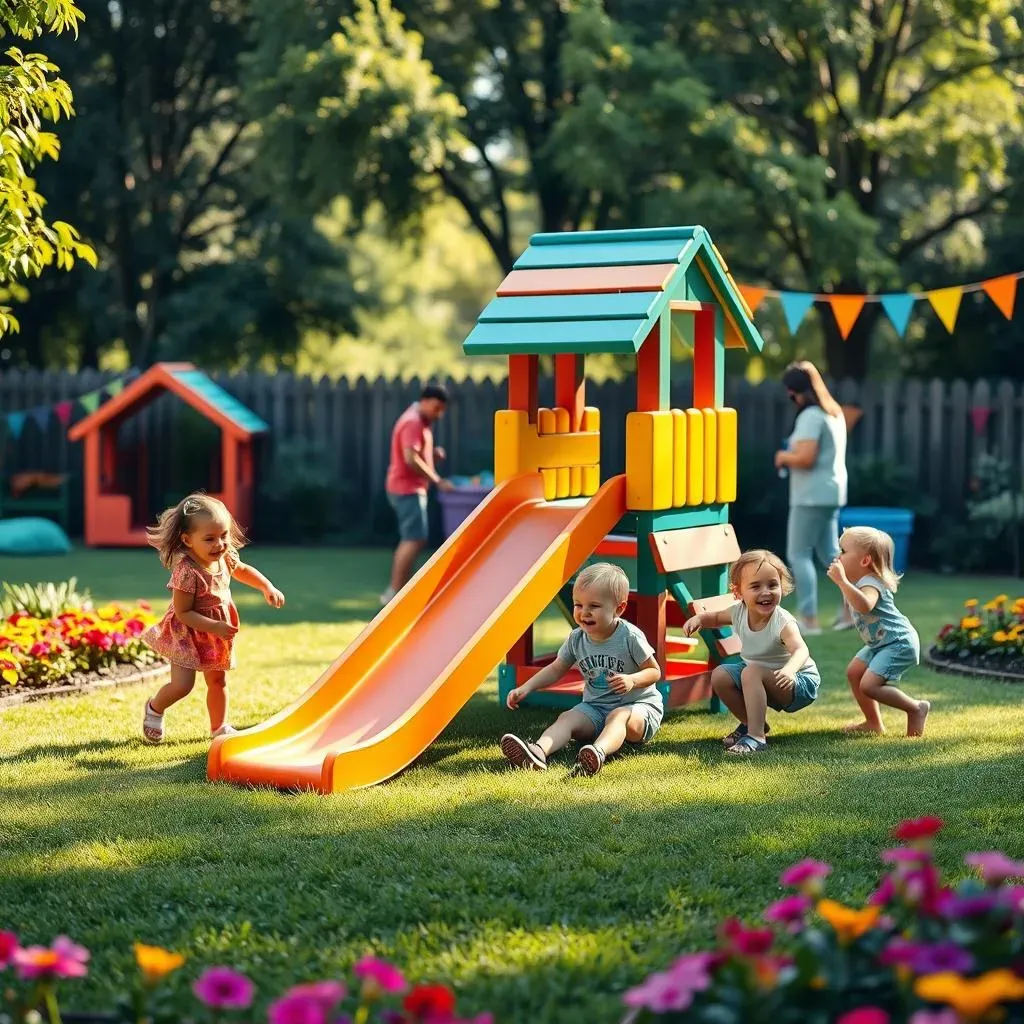
Now for the fun part – adding those personal touches that truly make your DIY playground slides unique! Think about adding a little shade. A small canopy or even a strategically planted tree can offer respite from the sun on hot days. You could also create a small play area around the slide, with things like colorful benches for resting or a sandbox for extra fun. This extends the play area and makes the slide part of a larger, more engaging play space. Remember, the goal is to create a fun and inviting space where kids can play for hours.
Don't be afraid to get creative! Consider adding a small climbing wall near the slide, or even building a little fort nearby. The possibilities are endless! You can find inspiration online, in magazines, or even by simply looking around your own backyard. The key is to let your imagination run wild and create a playground that is as unique as your child. Remember to involve your kids in the design process. Their input will not only make the playground more fun but also teach them valuable lessons about planning, creativity, and teamwork.
- Add a small canopy or shade tree
- Create a small play area around the slide
- Incorporate a climbing wall or fort
- Get creative and add unique personal touches