Table of Contents
Want to give your kids the ultimate backyard fun without breaking the bank? Forget those pricey store-bought swing sets. I'm going to show you how to build your own awesome diy playground swings, and trust me, it's way easier than you think! I did it, and I’m no master builder. This wasn't some crazy, complicated project either. We're talking simple materials, a few hours of your time, and a whole lot of happy kids. I’ll walk you through exactly what you need, from the wood to the bolts, and then step-by-step how to put it all together. We'll also tackle some common questions, and if you're feeling extra ambitious, I'll throw in some ideas for other cool outdoor projects. So, if you are ready to create a fun haven in your backyard, let’s get started on this adventure to build your very own diy playground swings!
Gather Your Supplies for DIY Playground Swings

Gather Your Supplies for DIY Playground Swings
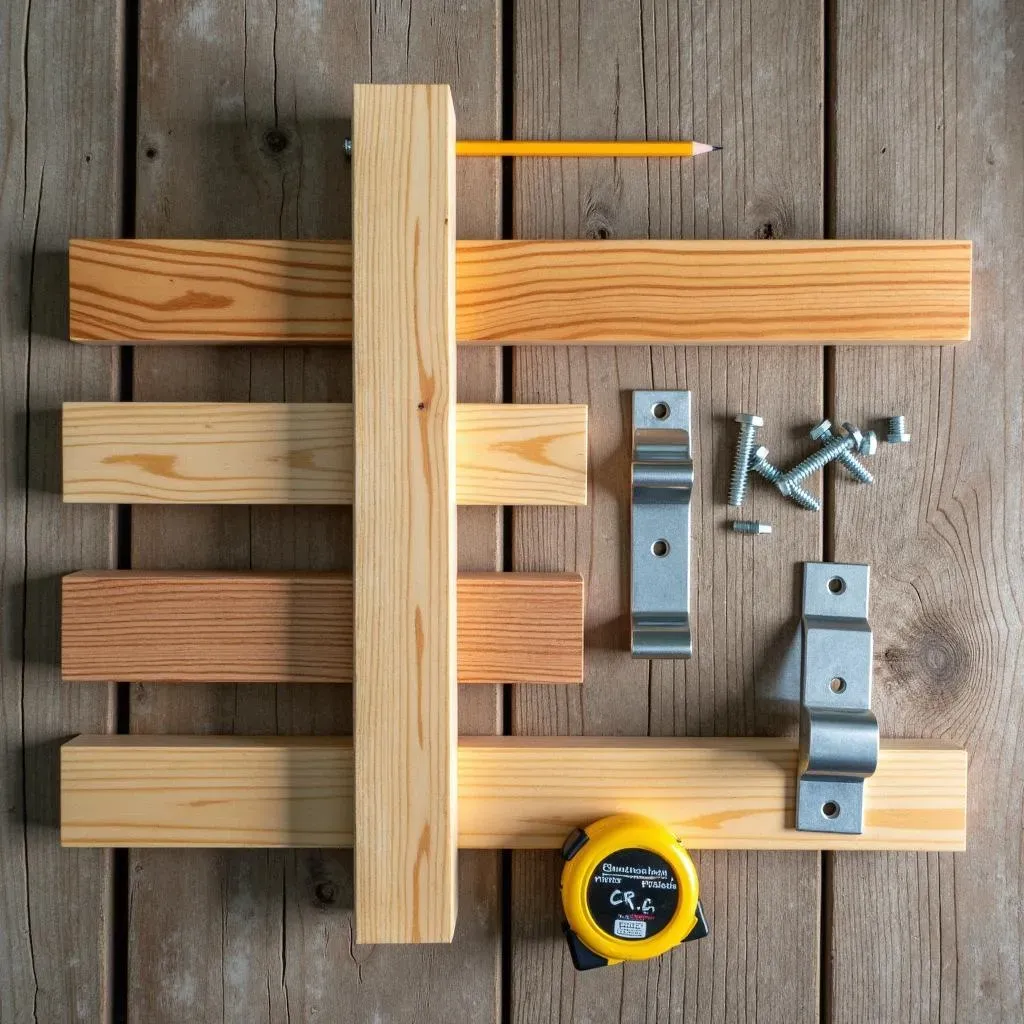
Okay, so you're ready to start this diy playground swings project, awesome! First things first, let’s talk about what you’ll need. This is where you gather all your goodies before the fun begins, so you don't get halfway through and realize you're missing something. I learned that the hard way once, let me tell you. You’re going to need lumber, and I went with pressure-treated wood because it holds up against weather and rot. I used a 4x6 for the top beam, that’s the part that holds all the swings, and 4x4 posts for the legs. You'll also need a set of swing set brackets – these are the real heroes that make this whole project so easy. They're like magic, no crazy cuts needed. Don’t forget the hardware: galvanized bolts and screws are a must, trust me, you don't want rust. And, of course, you'll need your swings, I went with three, but you can do however many you like.
Here's a list to make sure you’re all set:
- 4x6 pressure-treated wood (for the top beam)
- 4x4 pressure-treated wood (for the legs)
- Swing set brackets (the right size for your wood)
- Galvanized bolts
- Galvanized screws
- Swings (as many as you want)
- Water-repellent sealer
StepbyStep Guide to Building Your DIY Playground Swings

StepbyStep Guide to Building Your DIY Playground Swings
Getting Started: Assembling the Frame
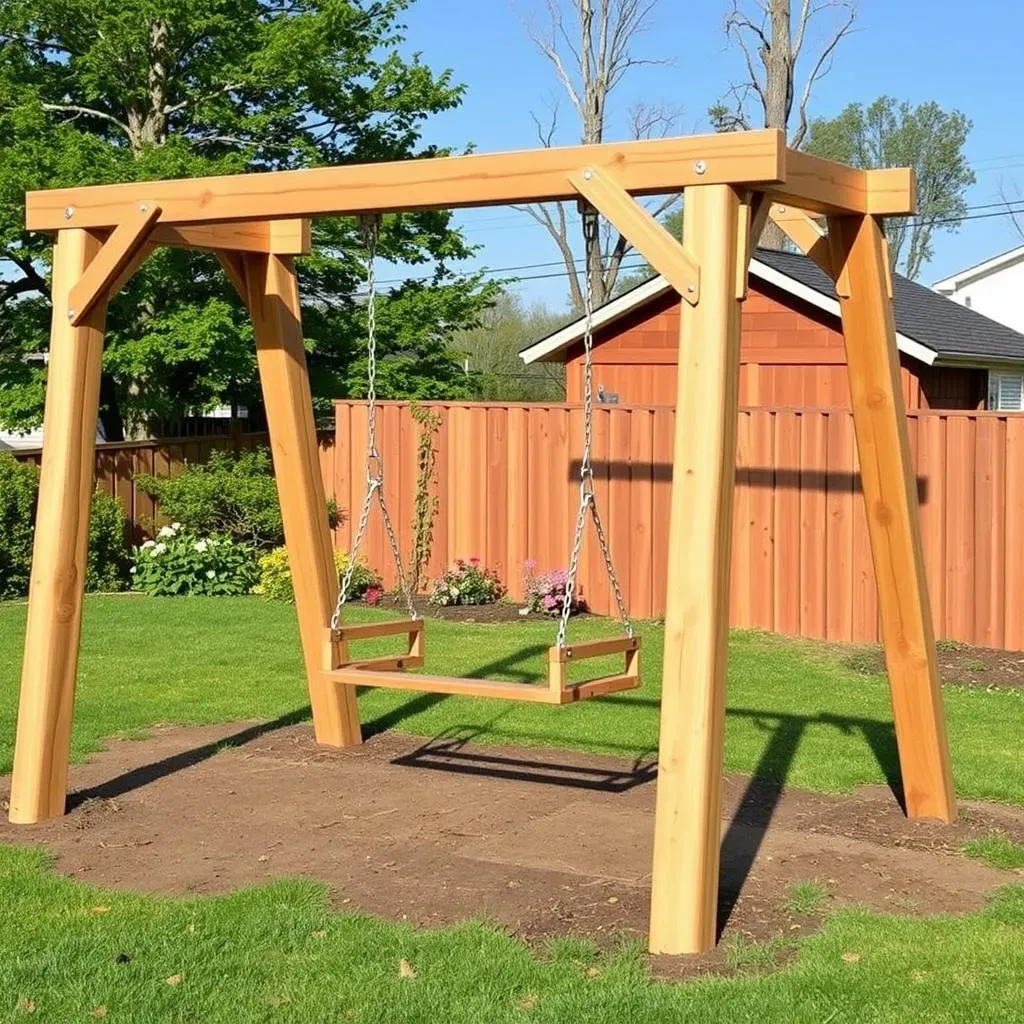
Alright, let's get to the fun part: building your diy playground swings! First, we're going to start with the frame. Grab your 4x6 top beam and your 4x4 legs. This is where those swing set brackets come in handy. Slide the 4x4 legs into the brackets, and then attach those brackets to the 4x6 beam. It’s like putting together a giant Lego set, but with wood! Make sure everything is square and level, because you don't want a crooked swing set. Use those galvanized bolts and screws to secure everything tightly. I like to double-check all the connections at this stage, just to make sure we’re good to go. Remember, safety is key here, so no cutting corners! Once the frame is up, it’s starting to look like something, right? That’s the best part!
Now that the frame is up, it’s time to think about placement. I spaced my swings about 16 inches from each edge to the first bracket and 20 inches between each swing. This gives enough space for the kids to swing without bumping into each other. It also keeps everything balanced. Once you have the spacing you like, use those galvanized bolts and screws to attach the brackets tightly to the beam, making sure everything is secure. Remember, a little extra effort here means a lot of extra safety later on. With the brackets in place, you're ready for the next steps!
Step | Action | Notes |
|---|---|---|
1 | Attach legs to brackets | Ensure they are square and level |
2 | Secure brackets to the top beam | Use galvanized bolts and screws |
3 | Double-check connections | For safety and stability |
Hanging the Swings and Finishing Touches
Okay, the frame is solid, now let's hang those swings! Attach your swings to the brackets. Most swing sets come with their own instructions for this part, so follow those closely. Make sure the swings are hanging at a good height. You want the kids to be able to get on and off easily, but not so low that they drag on the ground. This part is pretty straightforward, but it’s always good to double-check that everything is secure before letting anyone swing. Once the swings are up, it's time for the final touch!
To protect your new diy playground swings from the elements, apply a water-repellent sealer to the wood. This will help prevent cracking and splitting, keeping your swing set in good shape for years. I did this after everything was assembled, but you can do it before, too. It just takes a little bit of time, but it's totally worth it. And that's it, folks! You've built your very own swing set. I know it seems like a lot, but if I can do it, so can you! The best part is seeing the kids enjoy all your hard work. Now, step back, admire your handiwork, and get ready for some serious fun!
- Attach swings to brackets following instructions
- Ensure swings are at a good height
- Apply water-repellent sealer
- Stand back and admire!
DIY Playground Swings: Frequently Asked Questions

DIY Playground Swings: Frequently Asked Questions
Is this DIY swing set really safe?
That's a great question, and honestly, the most important one! I get it, you're building something that your kids will be playing on, so safety is the top priority. I am not an expert or an engineer, so I can only share my experience. I made sure to use good quality, pressure-treated wood, and I double-checked every connection. I also used galvanized bolts and screws, so there is no rust. The swing set brackets are really the key here, they make the whole structure stable and secure. But if you're not sure, please consult an expert. I would also recommend that you research and check other sources for safety and stability concerns. I know some people like to add concrete footings for extra stability.
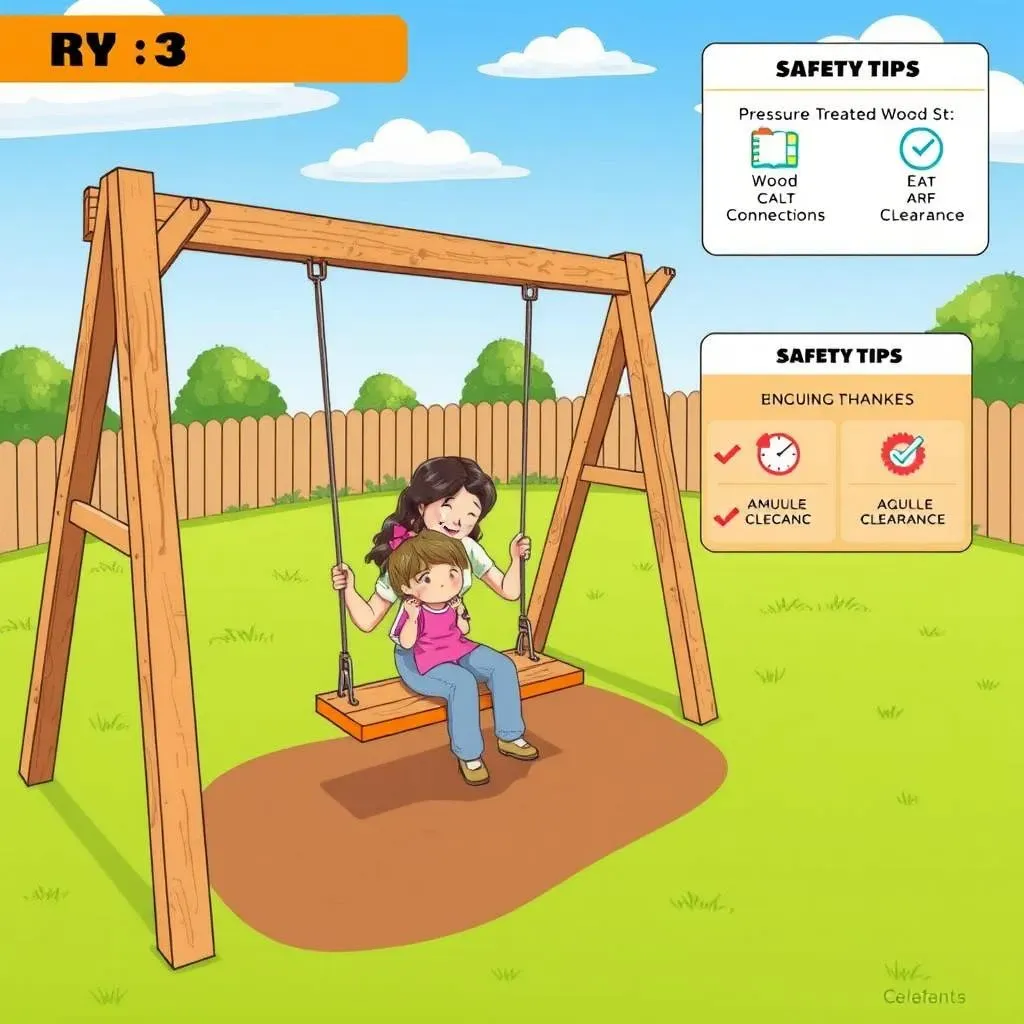
Remember, the most important thing is to take your time and follow the steps carefully. I’ve had this swing set up for six years, and it's still solid and sturdy. I also made sure to regularly check it for any loose bolts or damage, this is something that you should do too. I think it's a safe structure when you do it right, but it’s always better to be extra cautious, especially with our little ones. It's also a good idea to make sure there's enough clearance around the swing set to avoid any accidents. And of course, adult supervision is a must when the kids are playing.
Safety Check | Action |
|---|---|
Wood Quality | Use pressure-treated wood |
Connections | Double-check all bolts and screws |
Regular Checks | Inspect for loose parts or damage |
Clearance | Ensure sufficient space around the swing set |
How much did this project cost?
Okay, let's talk budget. I know that's always on everyone's mind. The total cost for my diy playground swings was around $300. The most expensive part was the wood, but it’s also the most important, so I didn’t want to skimp. The swing set brackets were not too pricey, and I bought them online. The galvanized hardware and swings were also not that expensive. I saved a ton of money by building it myself instead of buying a pre-made swing set. Those can be crazy expensive!
Also, keep in mind that prices can vary depending on where you live and where you buy your materials. You might even be able to find some of the stuff second hand. I also did not have to pay for labor, so that saved me some money too. The best part is that I had control over the quality of the materials and the design of the swing set. I think $300 is a fair price for a swing set that will last for years and provide so much fun. It was worth every penny, and it’s way more solid than some of the store-bought ones I’ve seen.
- Total cost: Approximately $300
- Wood: Most expensive part
- Brackets: Affordable and essential
- Savings: DIY is cheaper than buying pre-made
More Fun Outdoor Ideas After Your DIY Playground Swings

More Fun Outdoor Ideas After Your DIY Playground Swings
Building a Sand Pit
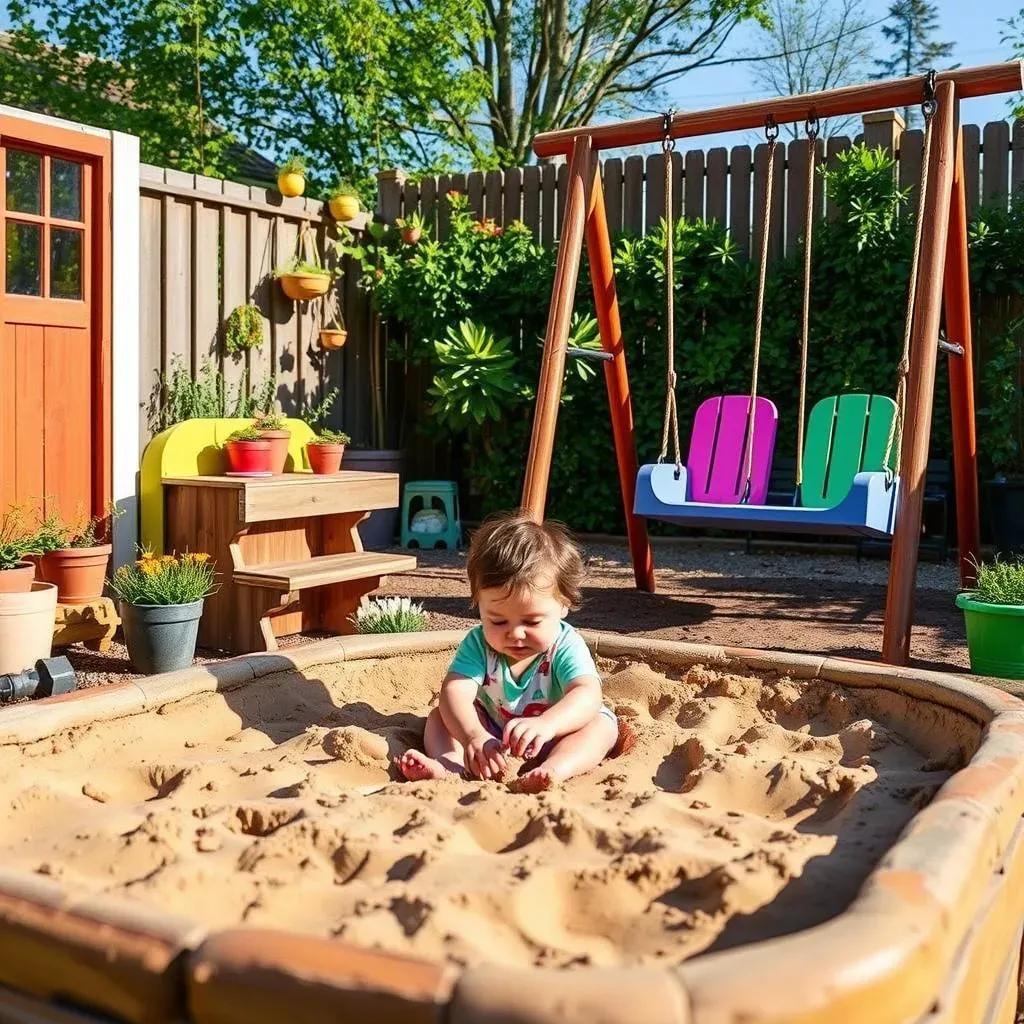
So, you've got your awesome diy playground swings, and the kids are loving it. What's next? Well, how about adding a sand pit? It's another great way to keep them entertained and get their imaginations going. I mean, who doesn't love digging in the sand? I built a simple one using some extra lumber I had from the swing set project. You can make it any size you want, just make sure to use some landscape fabric underneath to keep the weeds out. Fill it up with play sand, and you’ve got yourself a mini beach in your backyard! It's an easy project and the kids will spend hours building castles and digging tunnels.
You could even add some fun toys and accessories, like buckets, shovels, and molds. It's amazing how much fun kids can have with just a pile of sand. Plus, it’s another way to get them outside and away from screens. I find that the sand pit is a great way to keep the kids busy while I’m working in the garden, it’s a win-win for everyone. And just like the swing set, it’s a project that can grow with your kids. You can even add a cover to it to keep the cats out.
Creating a Mud Kitchen
Okay, if your kids love getting messy, you absolutely need to build a mud kitchen! This is one of my favorite additions to our backyard. It’s basically an outdoor play area where kids can mix mud, water, and whatever else they can find to make “delicious” concoctions. I used an old pallet and some scrap wood to make mine. I also added some old pots, pans, and utensils to make it more realistic. You can get as creative as you want with this. My kids love making mud pies and potions, and it’s a great way for them to experiment and get creative.
The best part is that it’s super low-cost and easy to put together. It doesn’t have to be fancy, just functional and fun. You can even add a water source nearby, like a hose or a bucket, for easy mud-making. It's amazing how much entertainment kids can get from just some dirt and water. It’s also a good way to get them to learn about nature and the environment. And let’s be honest, it’s way better for them to get messy outside than inside the house!
Outdoor Project | Description | Materials |
|---|---|---|
Sand Pit | Mini beach in your backyard | Lumber, landscape fabric, play sand |
Mud Kitchen | Outdoor play area for messy fun | Old pallet, scrap wood, pots, pans |
Planting a Garden
Once you've got the swing set, sand pit, and mud kitchen sorted, why not add a garden? I’m not talking about a big, fancy garden, just a small patch where the kids can plant flowers or vegetables. This is a great way to teach them about where food comes from and get them involved in the process. I built a raised garden bed using some extra wood, but you can also use pots or containers. Let the kids choose what they want to plant, and help them take care of it. It's a fun and educational project that the whole family can enjoy.
Watching the plants grow is a great way for kids to learn about patience and responsibility. Plus, they get to enjoy the fruits (or vegetables) of their labor. My kids love picking the tomatoes and cucumbers that we grow, and it’s a great way to get them to eat healthy. It's also a good opportunity to talk about nature and the importance of taking care of our planet. And, let’s be honest, it’s pretty cool to see something grow from a tiny seed. So, there you have it, three more fun ideas to keep the outdoor fun going long after your diy playground swings are built!
- Plant flowers or vegetables
- Teach kids about where food comes from
- Encourage patience and responsibility
- Enjoy the fruits (or vegetables) of your labor