Table of Contents
Tired of dragging the kids to crowded parks, only to find the swings occupied and the slide covered in questionable sticky stuff? Maybe the old playset is looking a bit...sad. Or perhaps you just like the idea of creating something cool for your kids right outside your back door. Whatever the reason, building a homemade backyard playground isn't some mythical quest reserved for master carpenters. It's a project that's surprisingly achievable, offering a unique space tailored exactly to your kids' wild imaginations and energy levels.
Why Build a Homemade Backyard Playground?
Why Build a Homemade Backyard Playground?
Escaping the Generic and Saving Some Cash
Let's be honest, store-bought playsets often look like they were designed by someone who’s never actually met a child. They're expensive, made of questionable plastic that fades in the sun, and everyone on the block ends up with the exact same setup. Building a Why Build a Homemade Backyard Playground? becomes a rebellion against the beige uniformity. You decide what goes into it. Need a climbing wall but not a sandbox? Done. Want a slide that actually has some speed? You got it. You control the materials, which means you can often build something sturdier and more unique for less money than buying pre-fab junk.
Think about the lumber yard instead of the big box store playset aisle. You pick the sturdy wood, you design the layout to fit that weird corner of your yard, and you build it piece by piece. This isn't just assembly; it's creation. You avoid paying for labor and brand names, funneling those dollars into better materials or extra features your kids will actually use.
Creating a Truly Personal Play Space
A homemade backyard playground is more than just wood and bolts; it's a canvas for your kids' imagination. You can build in secret hiding spots, add unconventional climbing elements, or integrate it with existing trees or landscape features. This isn't just a structure; it's *their* structure, built with your hands and tailored to their specific interests. My neighbor built a small stage into their playset because their daughter loved putting on shows. You don't get that kind of personalization off a truck.
It also offers a level of quality control you simply don't get with mass-produced items. You know how every joint is secured, the quality of the wood, and that it's built to withstand more than just a gentle breeze. Plus, the process of building it together, or having the kids watch and help with small tasks, creates a sense of ownership and pride in their play space. It becomes a family project with a tangible, fun outcome.
So, aside from the obvious cost savings and customization, what's the biggest draw?
- Complete control over safety features and materials.
- The ability to adapt the design as your kids grow.
- A unique play space that fits your yard perfectly.
- The satisfaction of building something durable and fun yourself.
- More spontaneous outdoor play opportunities.
Planning Your Homemade Backyard Playground Adventure
Planning Your Homemade Backyard Playground Adventure
Scouting the Perfect Spot and Sizing Things Up
Alright, so you're sold on the idea of a homemade backyard playground. First step? Staring at your yard like you're planning a military operation. Where's this thing going to live? You need a relatively flat area, ideally with good drainage. Think about sun exposure – nobody wants a slide that could melt plastic in July, but too much shade can lead to moss and slippery surfaces. Also, consider proximity to the house for easy supervision and bathroom breaks (because they *always* wait until they're halfway up the climbing wall). Measure your space. Seriously, get out the tape measure. Knowing the dimensions is crucial before you start sketching anything or buying lumber. Don't forget to factor in safety zones around the equipment – you need room for swings to swing and kids to bail off slides without landing in the petunias or, worse, the fence.
Assessing your kids' ages and interests is also key during this initial scouting phase. A toddler needs very different features than a ten-year-old daredevil. Are they climbers? Swingset enthusiasts? Future ninjas? This helps you prioritize what elements are essential for your homemade backyard playground.
Crunching Numbers and Picking Your Materials
Budget isn't the most exciting part of Planning Your Homemade Backyard Playground Adventure, but it's non-negotiable unless you've got a money tree out back. Decide how much you're realistically willing to spend. This will heavily influence your design and material choices. Pressure-treated pine is a common, relatively affordable option, but cedar or redwood offer better rot resistance and longevity, albeit at a higher price. Hardware adds up quickly – bolts, screws, hangers for swings, anchors. Don't skimp here; cheap hardware rusts and fails. Surfacing material is another big cost – mulch, sand, or rubber tiles. You need enough depth to cushion falls, and that requires a surprising volume.
Think about sourcing materials. Local lumber yards might offer better quality wood than big box stores. Look for sales or discounts on bulk purchases. Remember, building it yourself saves on labor, but materials are still the main expense. Get quotes for different types of wood and surfacing options before you commit.
So, what kind of material is right for you?
- Pressure-Treated Pine: Budget-friendly, widely available, requires sealing.
- Cedar/Redwood: More expensive, naturally resistant to rot and insects, looks fantastic.
- Recycled Plastic Lumber: Durable, low maintenance, can be pricey upfront.
- Metal (for swingsets): Sturdy, requires rust treatment, can get hot in the sun.
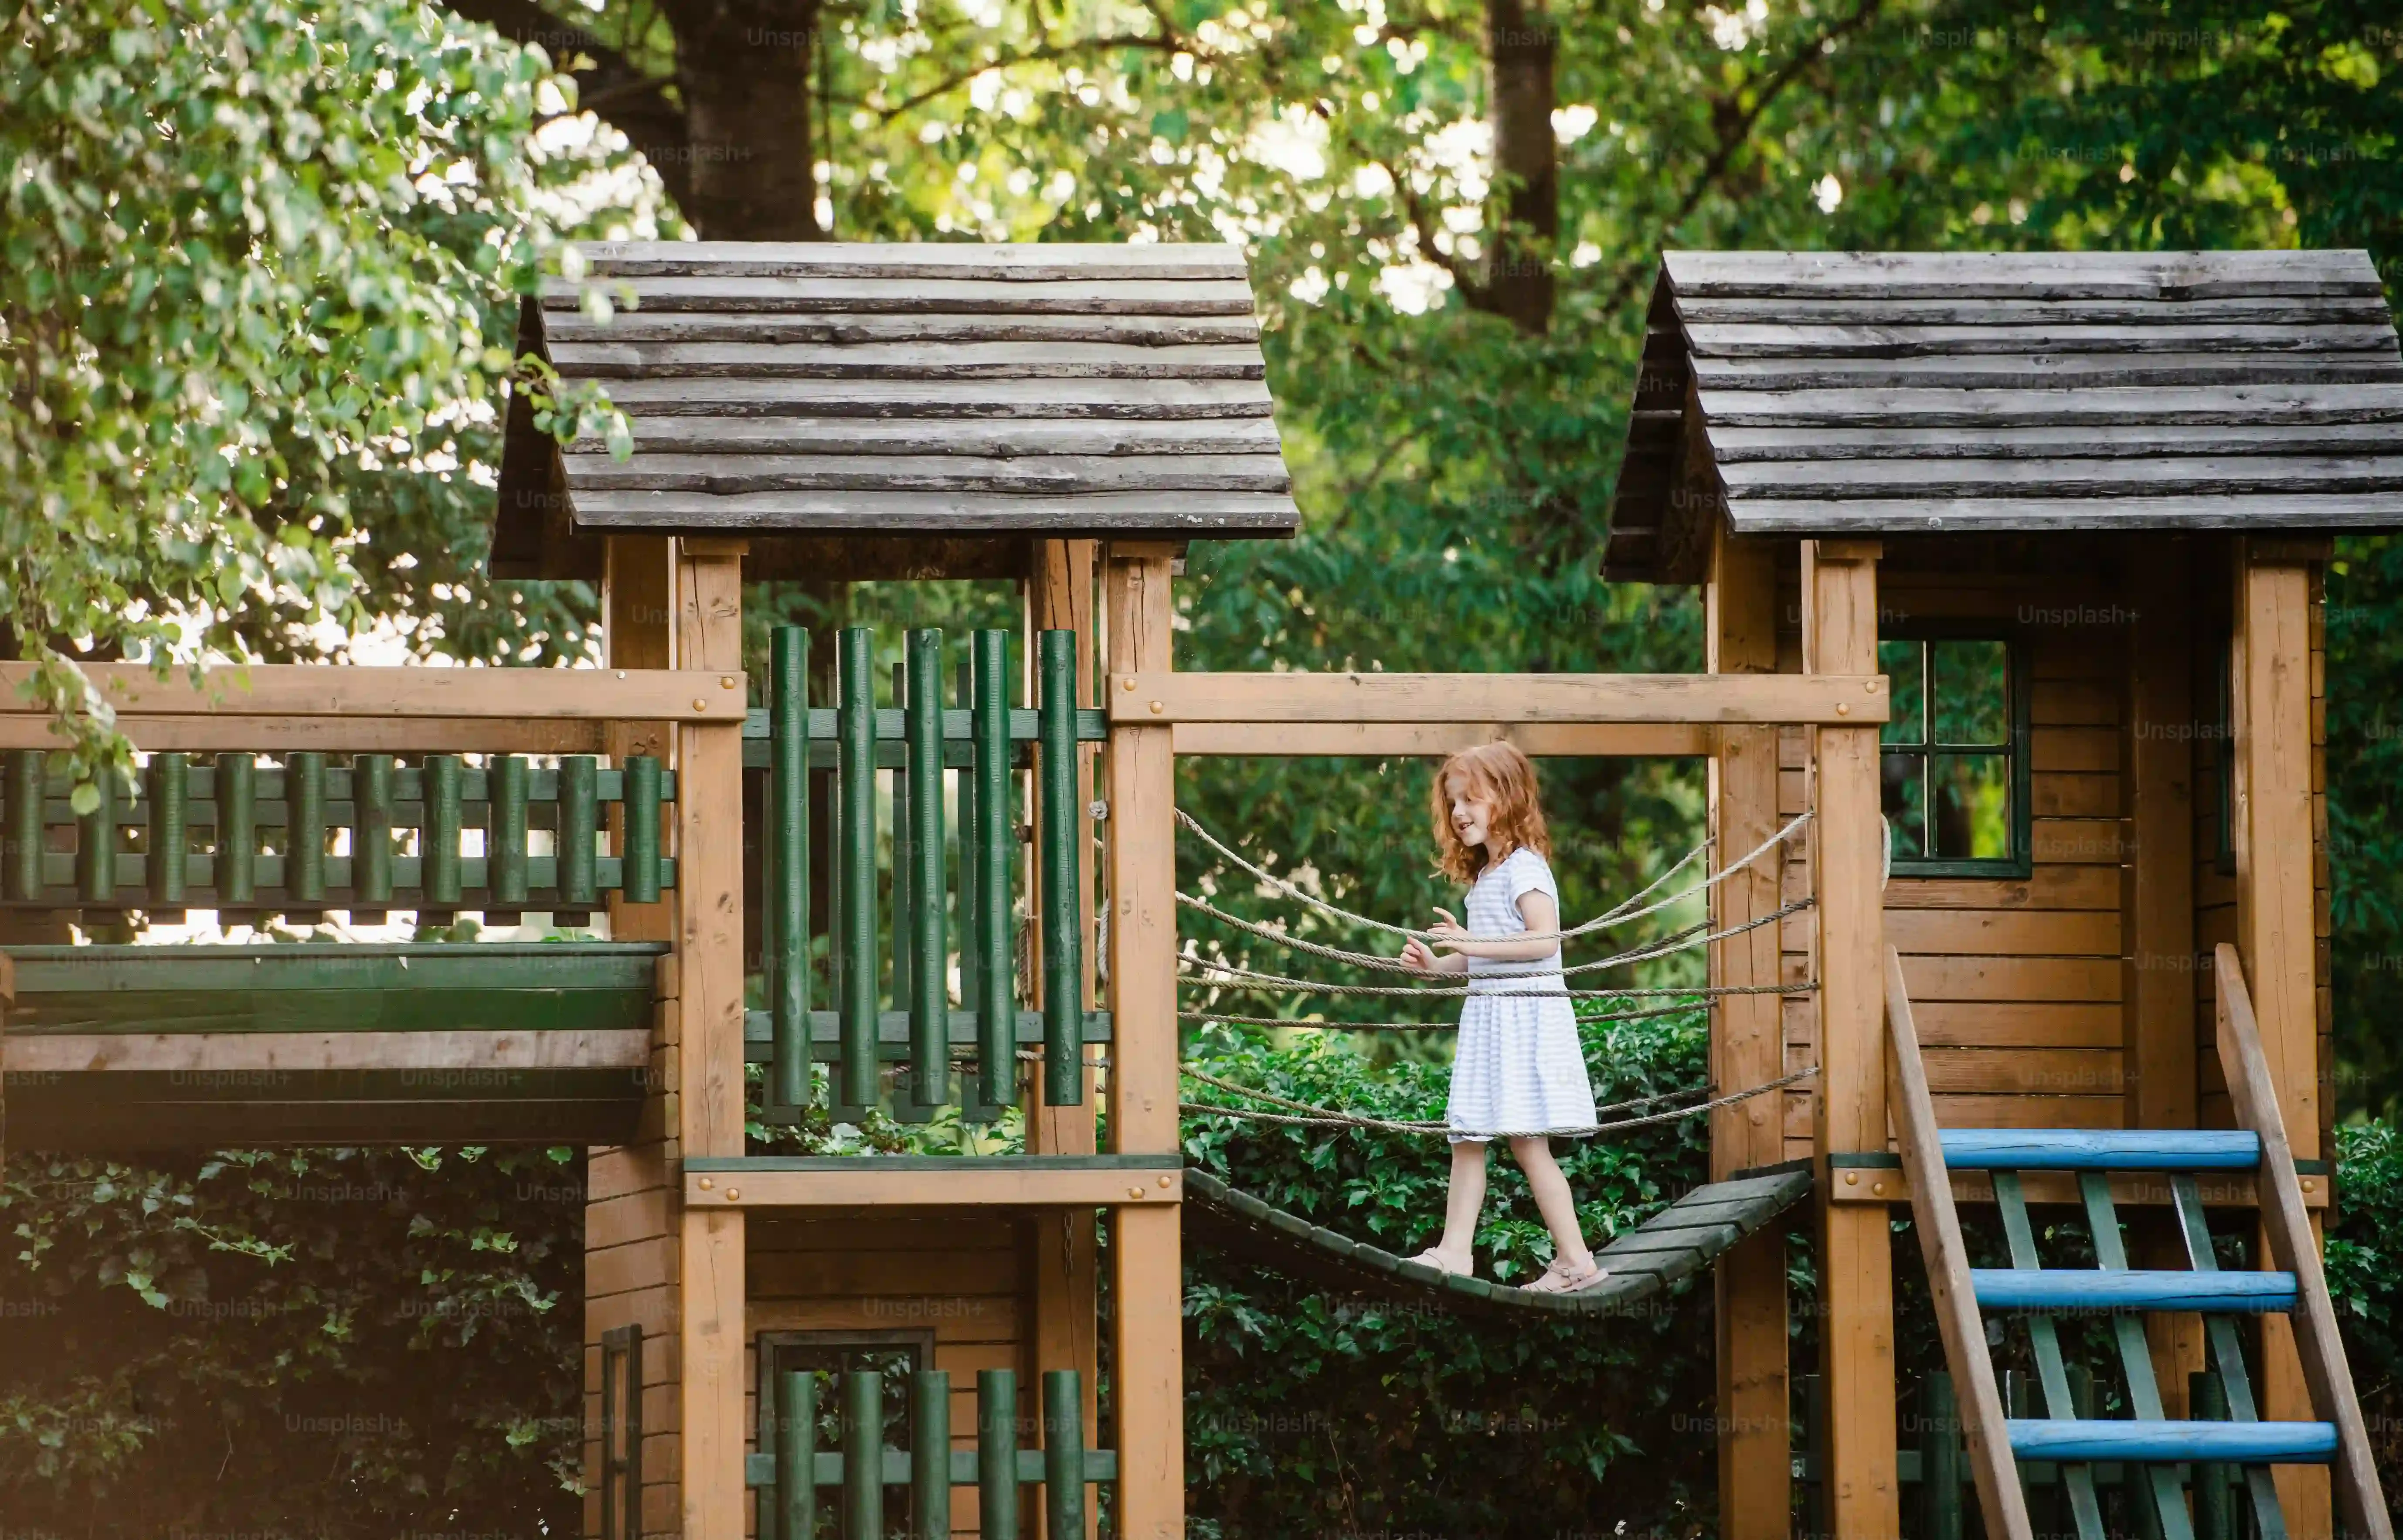
Designing for Fun and Thinking Safety First
Now for the fun part: design! Sketch out your ideas based on your space, budget, and your kids' preferences. Don't be afraid to get creative. Look at existing playsets online or in parks for inspiration, but adapt them to your needs. Think about flow – how do kids move from one element to another? Is there a natural path? Safety needs to be baked into the design from the start, not added as an afterthought. Avoid pinch points, ensure railings are high enough, and space swings properly. Rounded edges are your friend.
Consider future expansion. Maybe you build the basic structure now and add a climbing wall or monkey bars later as your kids grow. Planning for this makes future upgrades much easier. Get your kids involved in the design process; they often have the most insightful (and sometimes outlandish) ideas. Their input ensures the final product is something they'll actually use and love.
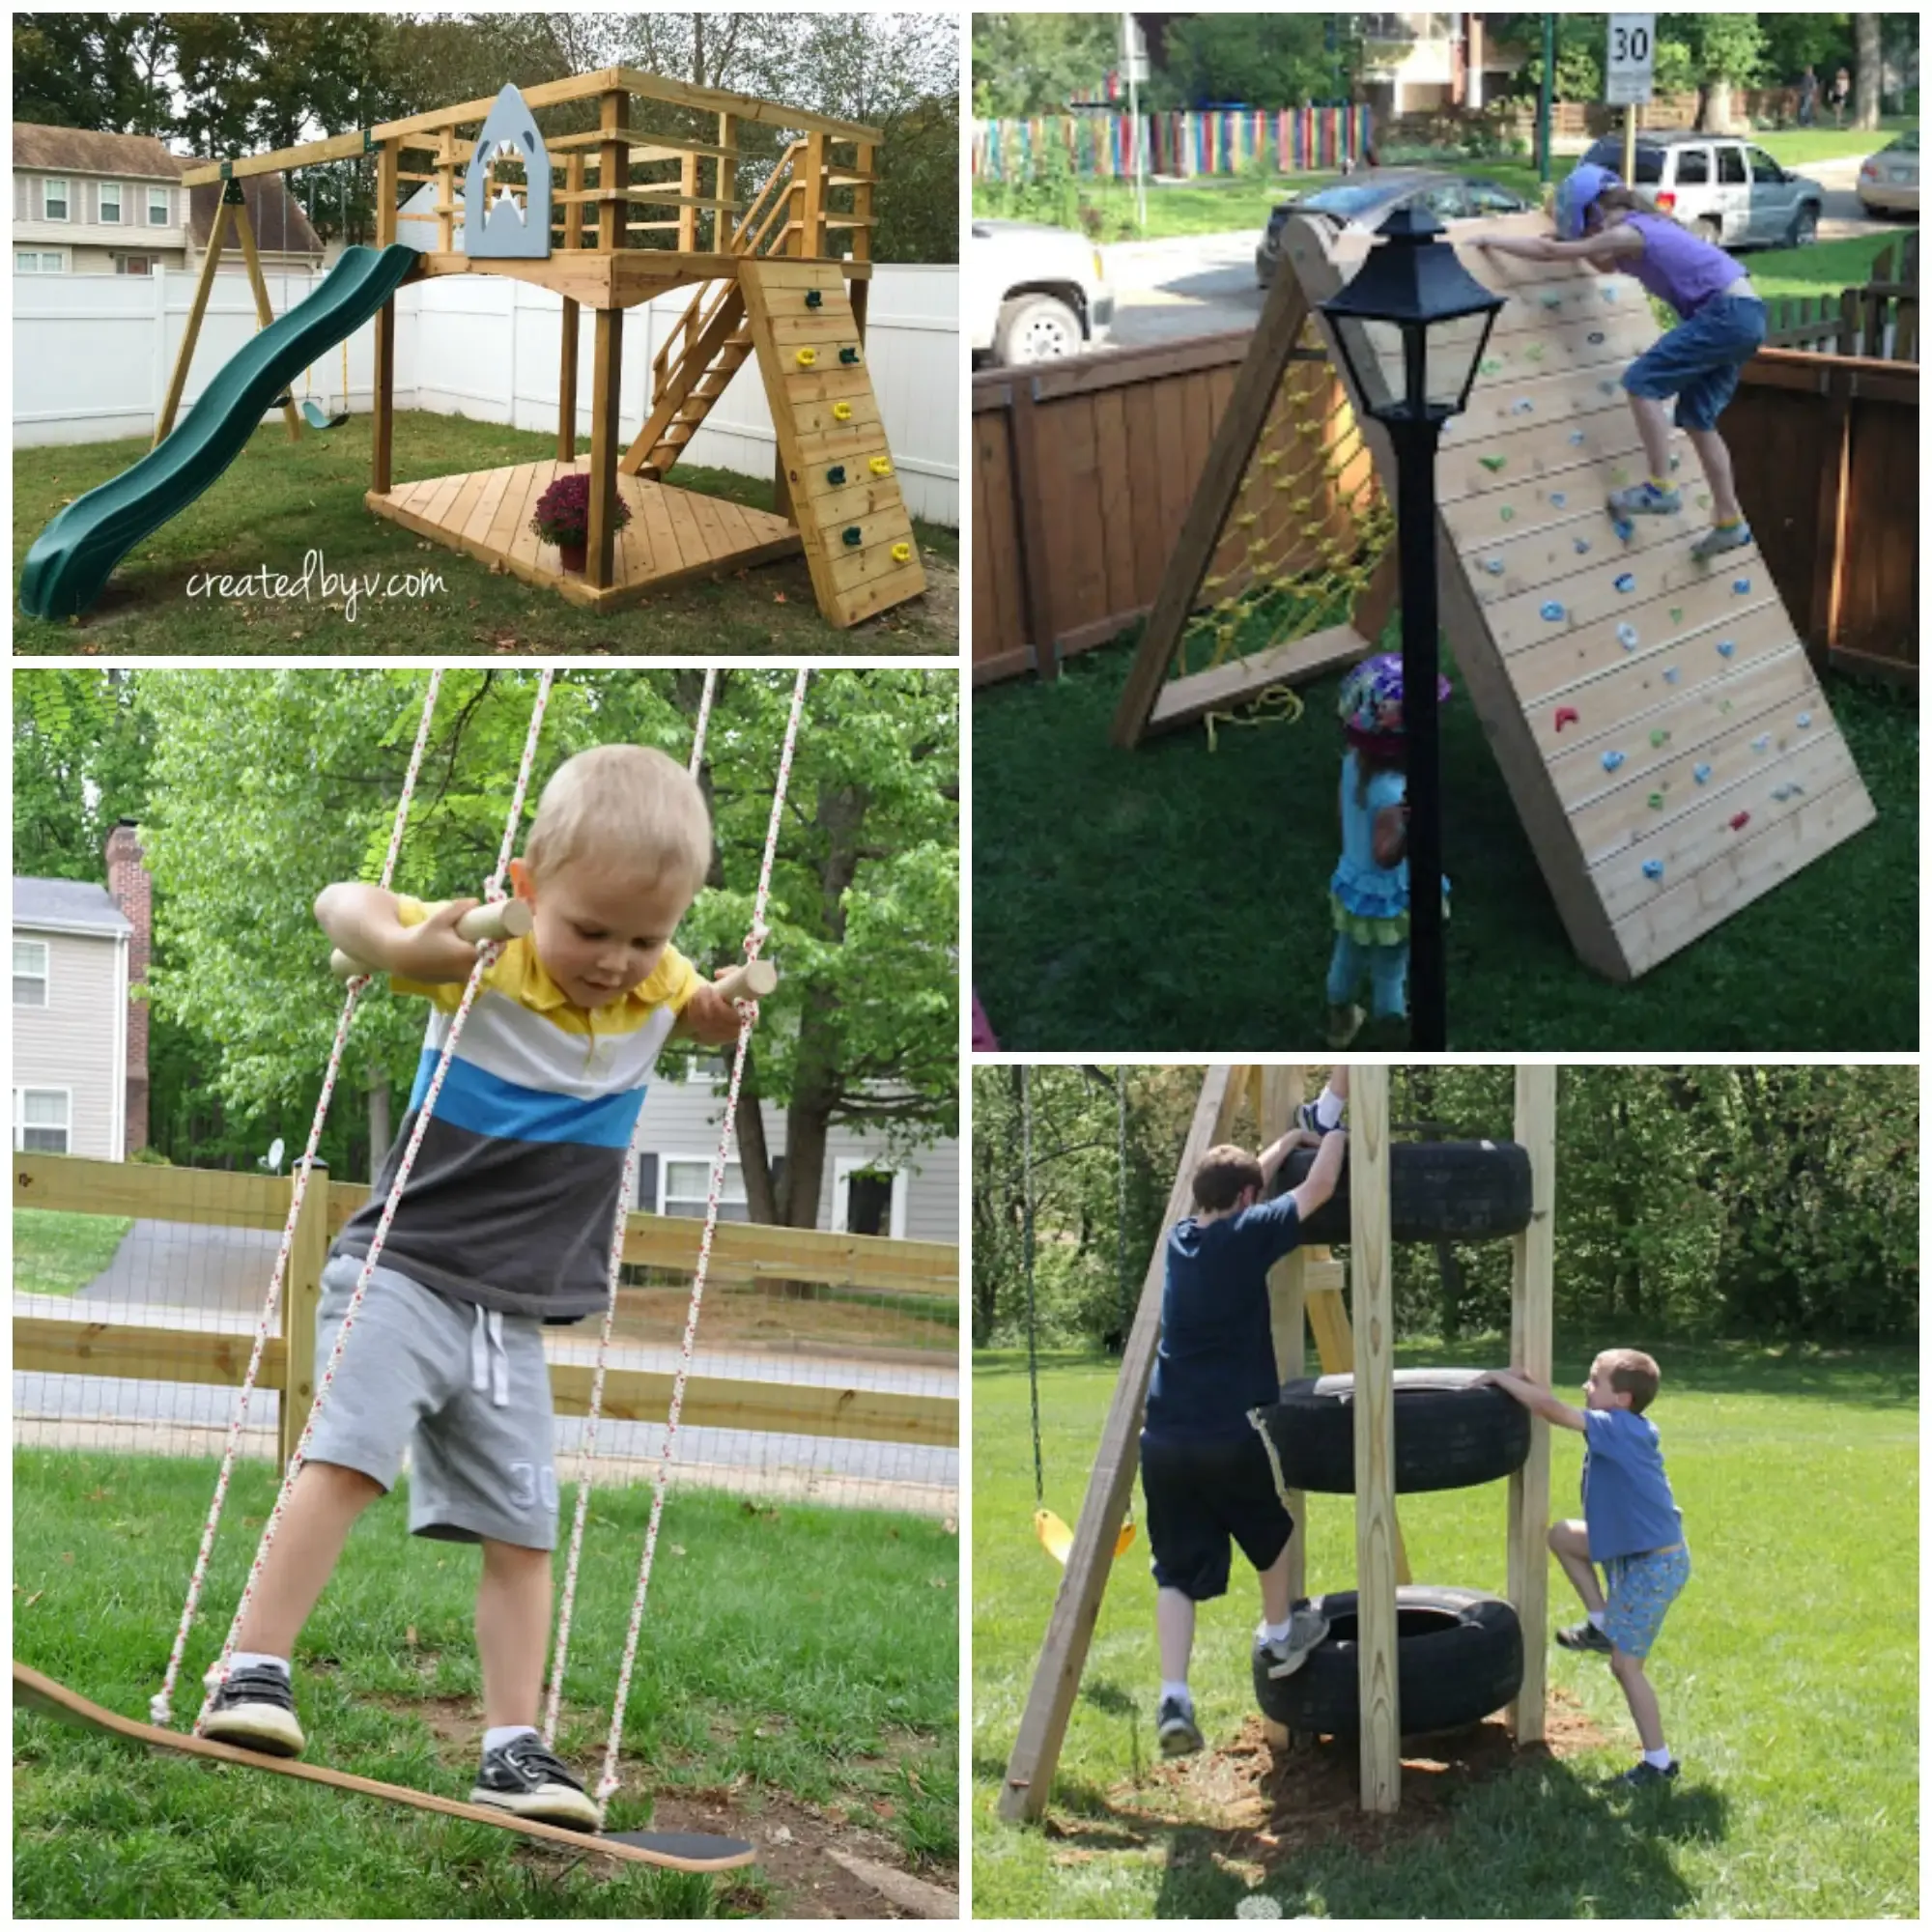
Adding the Fun: Features for Your Homemade Backyard Playground
Adding the Fun: Features for Your Homemade Backyard Playground
Adding the Fun: Features for Your Homemade Backyard Playground
you've got the spot picked out, the measurements taken, and a rough budget in mind for your homemade backyard playground structure. Now comes the exciting part – decking it out with the stuff that actually makes kids squeal with delight (and maybe a little terror, depending on the element). This is where you go beyond the basic tower and slide. Think about swings – classic belt swings, tire swings, maybe even a disc swing for spinning until they're dizzy. Climbing is key: a rock wall section, a cargo net, monkey bars if you have the space and height. Don't forget the ground-level fun: a built-in sandbox under the deck, a small water play area, or even a simple bench for taking a breather (or plotting their next move).
Keeping Your Homemade Backyard Playground Safe and Sound
Keeping Your Homemade Backyard Playground Safe and Sound
Building Safety In From the Ground Up
Alright, you've got the frame up and the slide attached. Before you unleash the little adventurers, let's talk brass tacks on safety. This isn't the fun part, but it's the non-negotiable part of your homemade backyard playground. Safety starts in the design phase, remember? You need that proper fall zone around everything – swings, slides, climbing areas. We're talking a minimum of six feet in all directions from the edge of the equipment, and more for swings (double the height of the top bar is a good rule of thumb). Fill that zone with something soft: wood mulch, engineered wood fiber, sand, or rubber mulch. Concrete, asphalt, or bare dirt? Absolutely not. A fall from even a few feet onto hard ground can cause serious injury. Ensure bolts are countersunk or capped so no sharp edges are sticking out. Check for pinch points where little fingers or clothing could get caught.
Think about the height of platforms and railings. The International Playground Safety Institute has guidelines, but generally, guardrails on platforms over 30 inches high are a must, and they should be close enough together that a child's head can't fit through. My neighbor used old tires for a climbing feature, which looked cool, but figuring out how to secure them without exposed bolts took some careful planning. It’s the small details that prevent big problems.
Ongoing Checks: Your Safety Patrol Duty
Building it safe is step one. Keeping Your Homemade Backyard Playground Safe and Sound over time is step two, and it's a continuous job. Wood weathers, bolts loosen, ropes fray. You need to get into a routine of inspecting the structure regularly. Check all the connections – are the bolts tight? Are the screws still holding? Look for splinters or cracks in the wood. Sand down rough spots immediately. Check the swing hangers and chains for wear and tear. Ropes on climbing nets or other features can degrade from sun and rain.
The surfacing material needs attention too. Does it need topping up to maintain the proper depth? Rake it around to break up compacted areas, especially under high-traffic spots like the bottom of the slide or under swings. Remove any debris, rocks, or roots that might work their way to the surface. It's not glamorous work, but catching a loose bolt or a worn swing chain early is a lot easier (and safer) than dealing with an accident later. Think of it as your homeowner's equivalent of a pre-flight check.
Here's a quick checklist for your ongoing safety patrols:
- Tighten all bolts and screws.
- Check wood for splinters, cracks, or rot.
- Inspect swing hangers, chains, and seats for wear.
- Ensure all caps and covers on hardware are intact.
- Rake and maintain the depth of the fall zone surfacing.
- Look for exposed concrete footings or roots.
- Check railings and barriers for stability and spacing.
- Remove any debris or sharp objects from the play area.
Your Homemade Backyard Playground Awaits
So there you have it. Building a homemade backyard playground isn't just about slapping some wood together; it's about creating a custom-built slice of childhood magic right where you live. You've navigated the planning, figured out the fun stuff, and locked down the safety checks. It might involve a few trips to the hardware store and maybe a minor carpentry mishap or two (it happens), but the payoff is a unique space that the kids will actually use, probably until they're too cool for slides. No more circling for a parking spot at the park. Just open the back door and let the adventure begin. Now go build something awesome.