Table of Contents
Ever looked at those pricey playground sets and thought, "I could totally make that"? You're not alone! Building your own homemade playground equipment isn't just about saving money, it’s about creating a unique space where your kids can unleash their imaginations. This article will be your guide, showing you why DIY is the way to go, what tools and materials you'll need, and how to put it all together. We'll walk through some easy projects, ensuring every swing, slide, and climbing frame is safe and sound. From picking the right wood to making sure those bolts are tight, you'll learn everything you need to know to craft a play area that's as fun as it is safe. Get ready to transform your backyard into a kid's dream come true with your own two hands!
Why Build Your Own Homemade Playground Equipment?

Why Build Your Own Homemade Playground Equipment?
Save Money, Seriously!
Okay, let's be real, those pre-made playground sets can cost a small fortune. I mean, we're talking about the price of a used car sometimes! But here's the thing: you can build something equally awesome, if not more so, for a fraction of the cost. Think about it, instead of paying for fancy branding and mass production, you're just paying for the raw materials. That leaves you with more cash for other things, like maybe that bouncy castle you've always wanted.
Plus, when you build it yourself, you get to customize it to your exact space and the needs of your kids. No more settling for a cookie-cutter design that doesn't quite fit your yard or your kids' play style. It's like getting a custom-made suit, but for your backyard.
Unleash Your Creativity (and the Kids' Too!)
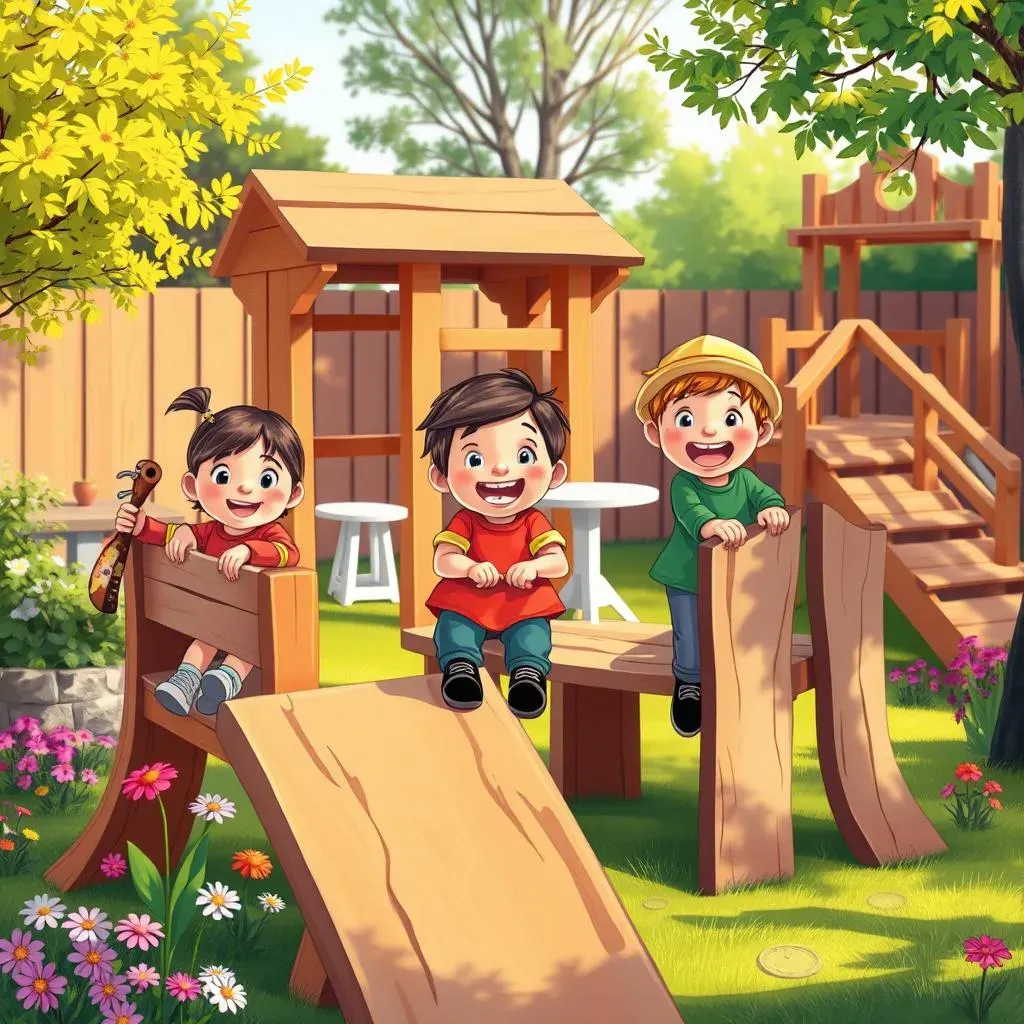
Building a homemade playground is a fantastic way to get creative, both for you and your kids. You're not just following instructions; you're designing and bringing a vision to life. It's like a giant puzzle, but way more fun. You get to decide on the layout, the colors, the types of play structures, everything! This process isn't just about building a play area; it's about creating a space that reflects your family's personality and sparks your kids' imaginations.
And the best part? The kids get to be involved! They can help with the planning, give their opinions, and even get their hands dirty with the building process. It's a fantastic way to teach them about problem-solving, teamwork, and the satisfaction of creating something with their own hands.
Benefit | Pre-Made Playground | Homemade Playground |
|---|---|---|
Cost | High | Low to Moderate |
Customization | Limited | High |
Creativity | Low | High |
Family Involvement | Low | High |
Built to Last (and Love)
When you build something yourself, you tend to build it better. You're not just slapping things together; you're taking the time to ensure that it's sturdy, safe, and built to last. You're selecting the materials, choosing the joinery, and making sure every bolt is tight. This means your homemade playground equipment will withstand the test of time and the endless energy of your kids.
Also, there's something special about a playground that's been built by the hands of the people who will be using it. It's not just a structure; it's a labor of love, a family project, and a testament to your dedication to your kids. It's a space filled with memories and stories that will last for years to come.
Essential Materials and Tools for Your Homemade Playground

Essential Materials and Tools for Your Homemade Playground
Okay, so you're ready to get your hands dirty, that's awesome! Before you start hammering away, let's talk about what you'll actually need. Building a playground isn't just about grabbing some wood and hoping for the best. It's about having the right tools and materials, so your creation is safe, sturdy, and fun. Think of it like baking a cake, you wouldn't just throw in random ingredients, right? You need the right recipe, and in this case, it's having the right gear.
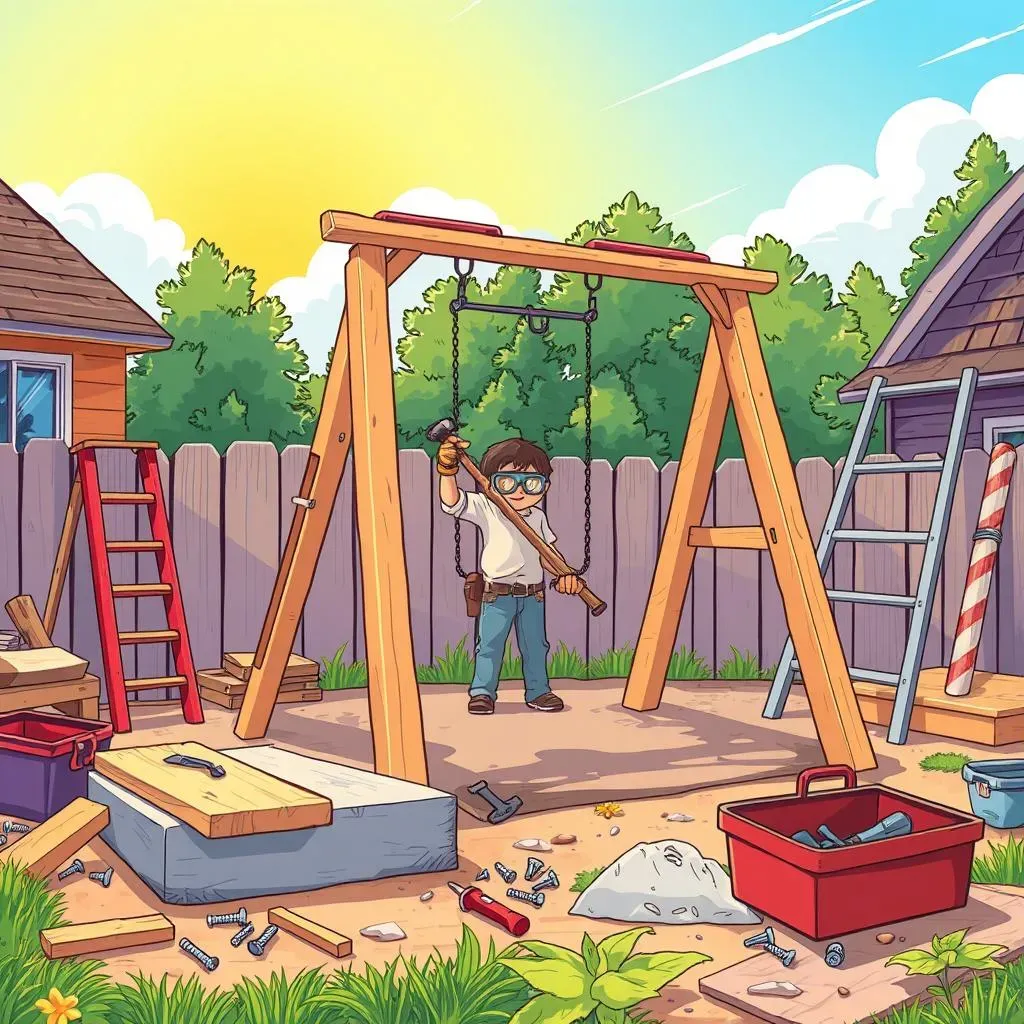
First up, let’s talk wood. Pressure-treated lumber is your friend here, especially if you're building something that's going to be outside, exposed to the elements. It’s designed to resist rot and insect damage, which is a huge plus. You’ll also need some good quality screws, bolts, and nails. Don't skimp on these; they are what hold everything together. Think about it, a shaky swing set isn't exactly a recipe for fun, right? You'll want to consider some concrete for setting posts, especially if you're building something like a swing set or a climbing structure. This will provide the stability you need.
Material/Tool | Why You Need It |
|---|---|
Pressure-treated lumber | Resists rot and insect damage |
Screws, bolts, nails | Holds everything together |
Concrete | Provides stability for posts |
Measuring tape | Ensures accurate cuts and measurements |
Safety glasses & Gloves | Protects your eyes and hands |
Now, let's chat about the tools. You don't need to go all out and buy every tool under the sun, but there are some essentials. A good saw, whether it's a hand saw or a circular saw, is crucial for cutting the wood to the right lengths. A drill is also super handy for making pilot holes and driving screws. And of course, you’ll need a hammer, a wrench, and a level. A measuring tape is a must, because precise measurements are key to making your playground safe and stable. And don’t forget safety glasses and gloves, you only get one pair of eyes and hands, and we need to protect them!
StepbyStep Guide to Creating Simple Homemade Playground Equipment

StepbyStep Guide to Creating Simple Homemade Playground Equipment
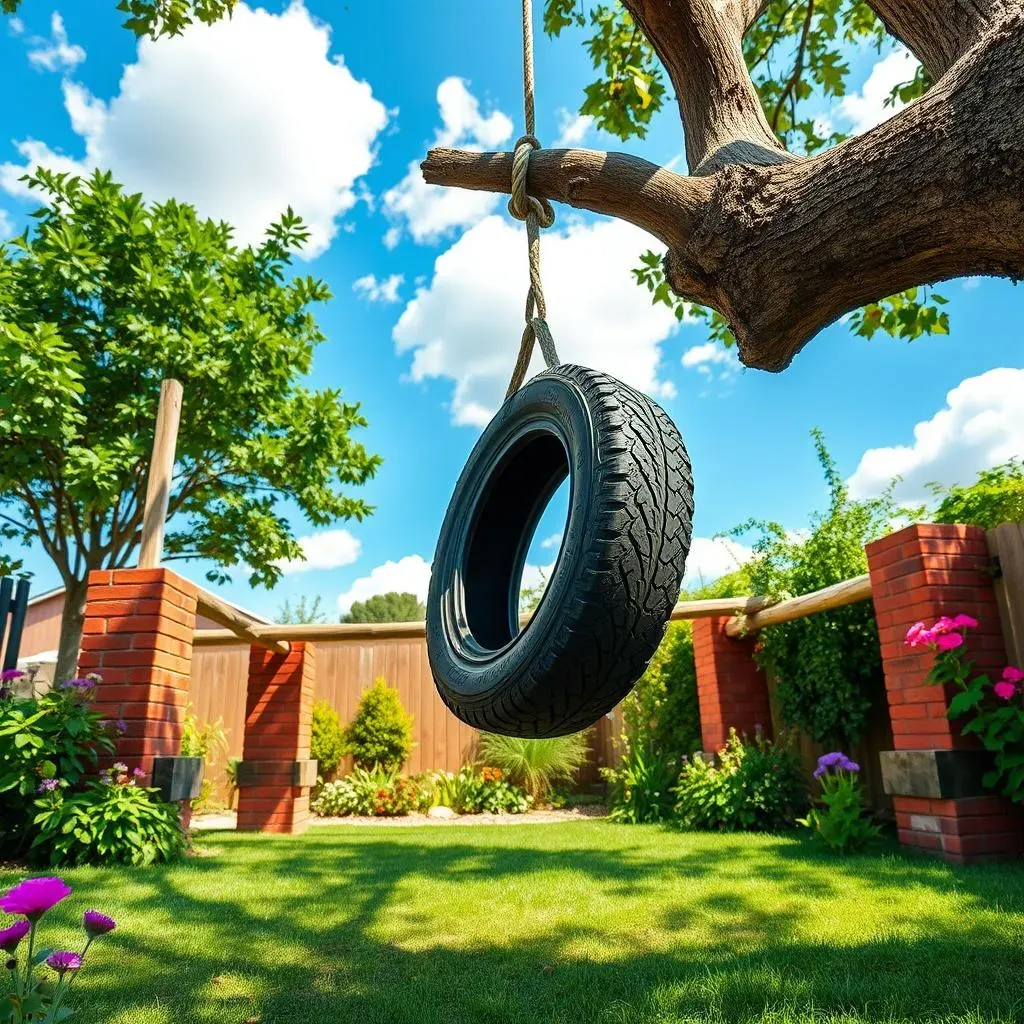
Alright, let's get to the fun part: building! We're going to start with a super simple project – a tire swing. It’s classic, it’s easy, and kids absolutely love it. First things first, you'll need a sturdy tire. You can often find these for free at local tire shops. Just make sure it’s clean and in good condition. Next, grab some strong rope, think the kind used for boating or climbing, something that can handle some serious weight. You'll also need a sturdy branch, preferably from a mature tree that can handle the weight of a swinging kid, or a strong beam if you have one.
Now, for the setup, you’ll want to make sure your rope is nice and secure, and the tire is hanging at a height that’s safe for your kids. This is where a bit of knot-tying knowledge comes in handy. If you're not a knot master, no worries, there are plenty of tutorials online. A good, reliable knot is key for safety. Once the rope is secure, thread it through the tire, making sure it's evenly distributed. You want that tire to hang straight, not at some crazy angle. And there you have it, a simple, fun tire swing, made by you! It's amazing how something so basic can provide hours of entertainment.
Step | Action | Safety Note |
|---|---|---|
1 | Find a sturdy tire | Ensure it's clean and in good condition |
2 | Get strong rope | Use boating or climbing rope for strength |
3 | Secure rope to a strong branch or beam | Use reliable knots |
4 | Thread rope through tire | Ensure tire hangs straight |
Let's move on to another easy project: a balance beam. This one's great for developing coordination and balance, and it's super simple to make. For this, you'll need a long piece of lumber, about 4 inches wide and as long as you want your beam to be. You'll also need some supports to keep it off the ground. You can use some smaller pieces of wood or even some sturdy bricks. The key here is to make sure the beam is stable, so it doesn't wobble or tip when someone's walking on it.
Start by placing your supports on the ground, making sure they're level. Then, carefully lay the lumber across the supports. If you're using wood supports, you can screw them into the beam for extra stability. If you're using bricks, make sure they're firmly in place. And that’s it! A simple balance beam that’s ready for some action. It's a great way to get kids moving and having fun. You can even get creative and paint it with fun colors. Remember, the goal is to make it fun and engaging for them.
Safety First: Ensuring Your Homemade Playground Is Safe for Kids

Safety First: Ensuring Your Homemade Playground Is Safe for Kids
The Ground Rules
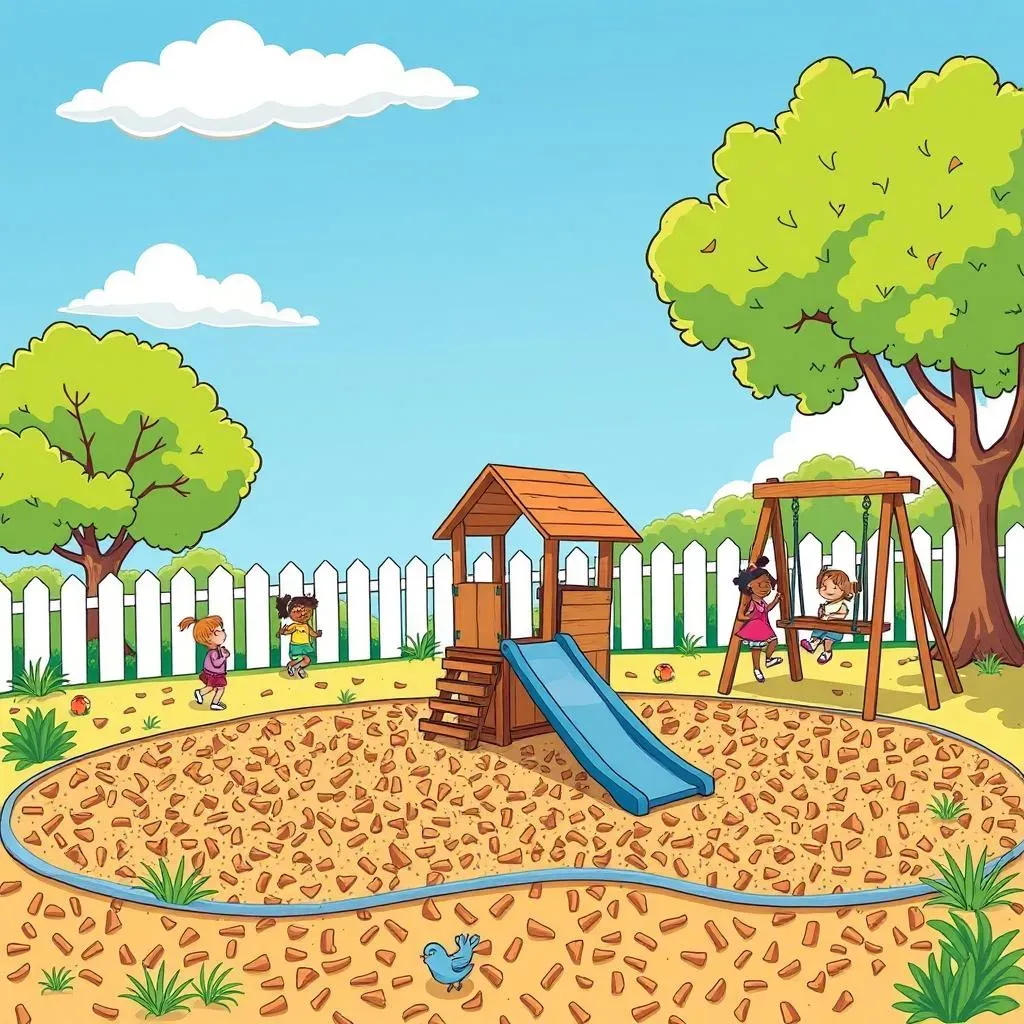
Okay, so you've got your playground built, that's fantastic! But before the kids start running wild, let’s talk safety. This isn’t just about avoiding boo-boos, it’s about creating a space where kids can play freely without you worrying about every move they make. First up, think about the ground. You need a soft landing surface, because let's face it, kids are going to fall. Consider using something like wood chips, rubber mulch, or even sand. These materials can cushion a fall and reduce the risk of serious injury. Remember, concrete or grass are not your friends here; they're too hard and can lead to some nasty scrapes. It's like having a safety net, but for your playground.
Next, let's talk about spacing. You need to make sure there's enough space around each piece of equipment. Kids need room to run, jump, and swing without bumping into things. Think about it like this: you wouldn't want to put all your furniture in a tiny room, right? Same goes for a playground. You need to give each piece of equipment its own breathing room. And don't forget to check for any sharp edges, protruding nails, or loose bolts. These are all potential hazards that need to be addressed before the kids start playing. It's all about making sure the space is as safe as possible.
Safety Check | Action |
|---|---|
Ground Surface | Use soft materials like wood chips or rubber mulch |
Spacing | Ensure enough space around each piece of equipment |
Sharp Edges/Loose Bolts | Check for and fix any hazards |
Regular Inspections
Building a safe playground isn't a one-time thing, it's an ongoing process. Just like you wouldn't skip a car check-up, you shouldn't skip your playground check-ups. You need to make it a habit to inspect your homemade playground regularly. This means checking for any loose bolts, cracked wood, or worn ropes. Think of it like a doctor's visit for your playground, just a simple check-up to make sure everything is in tip-top shape. And if you find something that needs fixing, don't put it off. Fix it right away so it doesn't become a bigger problem. A little maintenance can go a long way in preventing accidents.
Also, think about the weather. If you live in an area with harsh weather conditions, you might need to do more frequent inspections. Rain, snow, and sun can all take a toll on your playground. So, after a big storm or a long winter, make sure to give everything a thorough once over. And it’s not just about the structure itself, it’s about the surroundings. Check for any new hazards like tree branches that might have fallen or anything else that could be dangerous. It’s all about being proactive and making sure that your playground is as safe as possible for your little ones. Remember, a safe playground means happy and healthy kids.
"The best way to predict the future is to create it." - Peter Drucker. When it comes to your kids' safety, it's in your hands to create a secure play environment.
Wrapping Up Your Homemade Playground Adventure
Creating your own homemade playground equipment might seem like a big task, but it's totally doable and incredibly rewarding. You're not just building a structure; you’re crafting memories, encouraging active play, and sparking creativity. Remember, safety is key, so always double-check your work and use sturdy materials. The best part? You've made something unique, tailored to your kids' specific needs, and that’s something no store-bought set can match. So, go ahead, grab your tools and get building. The backyard is calling!