Table of Contents
Ever wished your backyard could transform into a magical play haven? I know I have! Forget those pricey, pre-made playgrounds; we’re talking about building your own awesome space. This is not just about saving money; it's about creating a custom play area that perfectly fits your kids' dreams and your backyard's unique vibe. This article will guide you through the entire process of "how to plan a diy playground", from the initial spark of an idea to the final screw, with all the fun and safety checks in between. We'll explore the essential features, consider the costs, and tackle the nitty-gritty of permits and construction. You will learn how to choose the right materials, ensure a safe play environment, and add those personal touches that make your playground truly special. So, grab your tools (and maybe a snack!), because we’re about to embark on an exciting journey to build a play paradise right in your backyard.
DIY Playground: Dream It, Build It

DIY Playground: Dream It, Build It
The Spark of an Idea
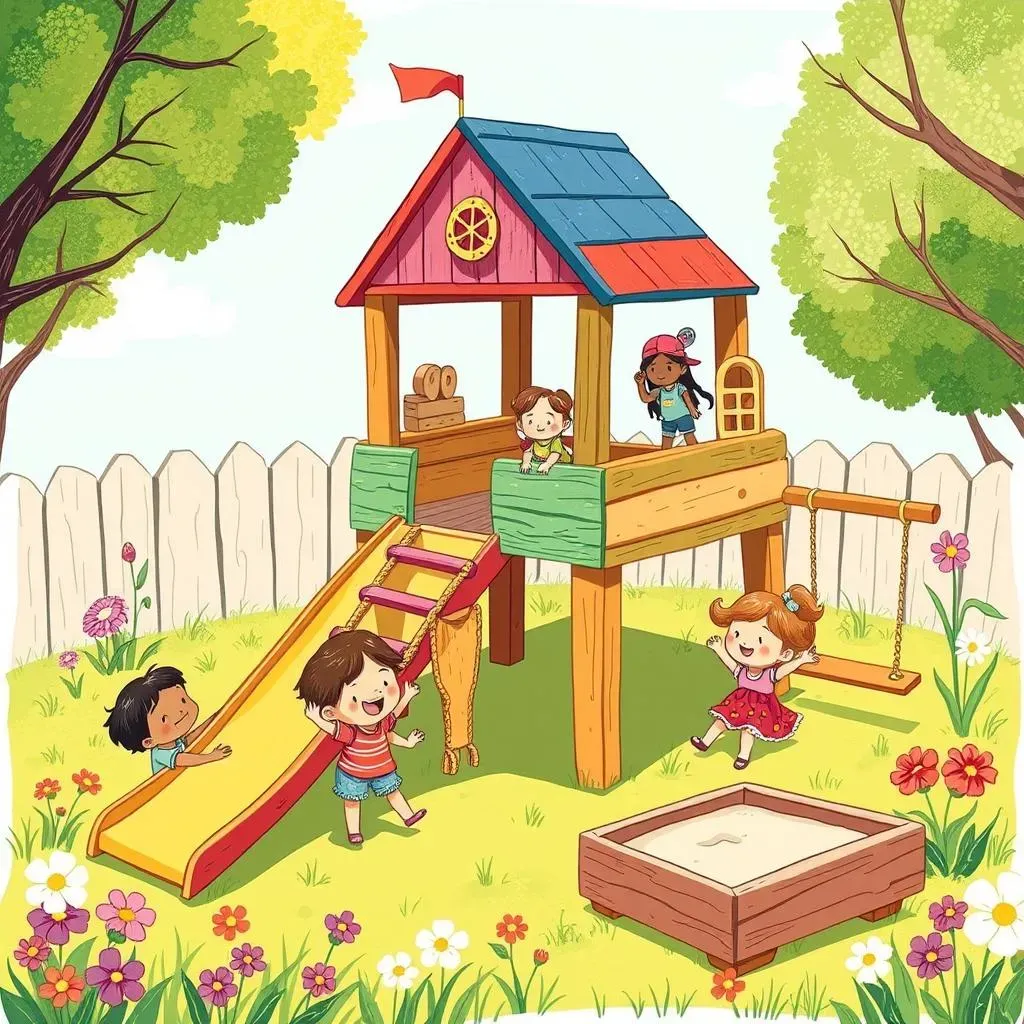
Okay, so you're thinking about a DIY playground, right? That's awesome! It all starts with a little daydreaming. Picture your kids' faces when they see their very own play space, built just for them. I remember when I first thought about it, I was scrolling through Pinterest and thought, "Hey, I can do that!". It wasn't about just having a swing set, but about creating a place where adventures happen every day. Think about what your kids love most. Is it climbing, sliding, or maybe just digging in the sand? This initial vision is the key to getting started.
Turning Dreams into Plans
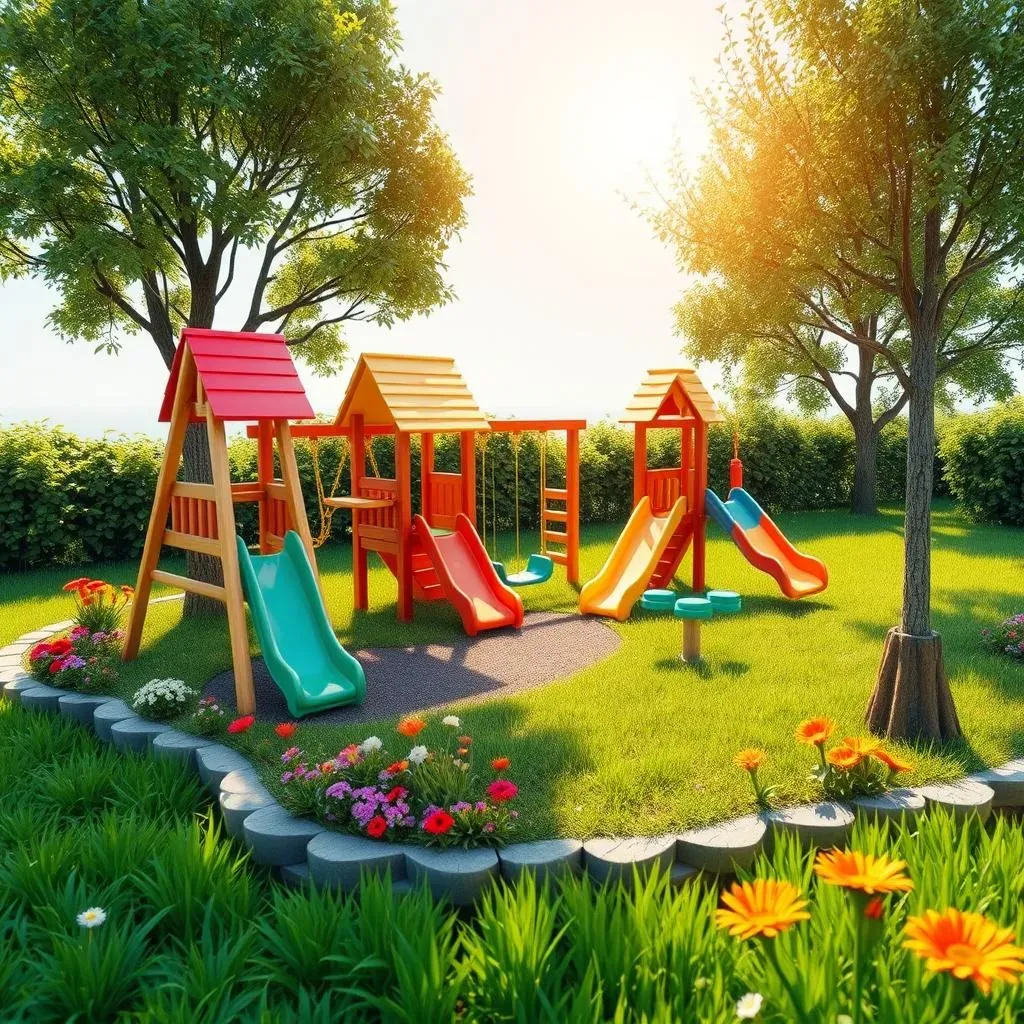
Now, let’s get a little more practical. Once you have a general idea, start sketching! It doesn't have to be a masterpiece, just something to help you visualize the space. Consider the size of your yard and where the sun hits during the day. You don't want a slide that gets scorching hot in the afternoon. Think about the main features you want to include. Maybe a two-story fort with a slide, a rock climbing wall, and a sandbox underneath? Or a simple swing set with a climbing rope? These elements will shape the whole project. I find it helpful to look at pictures of other playgrounds for inspiration, but always keep your own space and your kids' needs in mind.
Feature | Considerations |
|---|---|
Climbing Structure | Height, material, difficulty level |
Slide | Length, material, safety features |
Swings | Type, material, number |
Sandbox | Size, depth, type of sand |
The Why Behind the Build
Building your own playground is more than just a weekend project; it's about creating memories. It’s about the pride you feel when your kids are playing on something you built with your own hands. It’s also about the flexibility of making it exactly what you want, without the constraints of pre-made sets. Plus, let’s be real, the cost of those store-bought playgrounds can be insane! Building it yourself can save a ton of money, and you can use that extra cash for, I don't know, ice cream? So, with a clear vision and a bit of planning, you're well on your way to making a backyard dream a reality.
Planning Your DIY Playground: Space and Safety

Planning Your DIY Playground: Space and Safety
Finding the Perfect Spot
Alright, so you've got the dream, now let's talk location. It's not just about plopping it down anywhere. Think about the space you have available. Is it a big, open area or a more compact corner? Measure out the area and make sure you have enough room for all your planned features, and a bit of extra space for the kids to run around. Consider the ground, is it level or will you need to do some leveling? Also, keep an eye on the surrounding environment. You don't want to build too close to a fence or any other potential hazards. I once built a small swing set too close to a tree and my kid kept bumping into it, lesson learned!
Safety First, Always
Safety is absolutely key. Before you even think about buying lumber, check your local building codes and regulations. Some areas have specific requirements for playground structures. You might need a permit, so it's better to be safe than sorry. Also, think about the surface beneath the playground. Grass is okay, but it doesn't provide much cushioning. Rubber mulch, sand, or rubber tiles are much better options for absorbing impact. I remember seeing a kid fall on hard ground once, and it was not pretty. You need to make sure the area is free of any sharp objects or rocks. A safe play area means happy kids and less stress for you!
Safety Aspect | Considerations |
|---|---|
Surface Material | Rubber mulch, sand, rubber tiles, grass |
Clearance Zones | Space around equipment, free from hazards |
Local Codes | Building permits, safety regulations |
Sun Exposure | Shade options, avoiding hot surfaces |
Thinking Ahead
Finally, let’s think long term. How will the playground hold up over time? Will you need to do maintenance? Using weather-resistant materials is a must to ensure the playground lasts for years. Also, think about how the playground will grow with your kids. Can you add on to it? Can you change the features as they get older? I've seen so many playgrounds that kids outgrow quickly, and that's a waste. By planning carefully, you can create a space that’s safe, fun, and that can adapt to your kids' changing needs. A little forethought now will save you a lot of headaches later. So, measure twice, build once, and keep safety at the forefront of your mind.
DIY Playground: Materials and Construction

DIY Playground: Materials and Construction
Choosing Your Materials: The Building Blocks
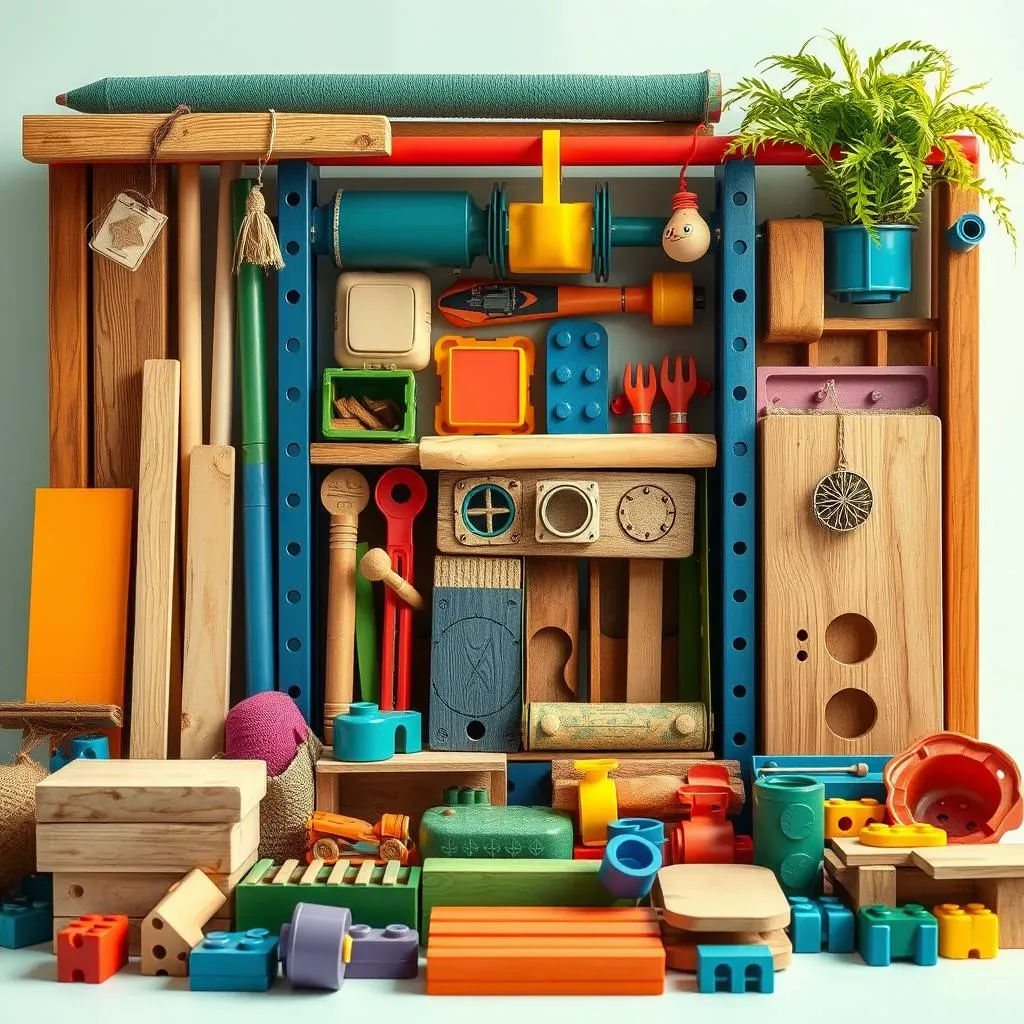
Okay, so you've got the design and the location nailed down, now comes the fun part: picking out the materials! This is where your playground starts to take shape. Think about what you want your playground to look and feel like. Do you want a rustic, wooden structure, or something more modern with metal and plastic? Wood is a classic choice, it's sturdy and looks great, but it does require some maintenance. Pressure-treated lumber is best for outdoor use because it resists rot and insects. Metal is another good option for frames and supports, just make sure it's rust-proof. And don’t forget about the little things like screws, bolts, and connectors. It's better to over-prepare than to run out mid-build.
I always say, it's like building with giant LEGOs, only way more fun.
Construction: Putting It All Together
Now for the construction phase, which is where things get real. Start with the main structure, usually the posts and frame. Make sure everything is level and square. This is super important, or your playground might end up looking a little wonky. Use a level and a measuring tape to be precise. Once the frame is up, you can start adding the other features, like the climbing wall, slide, and swings. Follow your plans closely, but don't be afraid to make some adjustments along the way. Sometimes, you have to be flexible. Remember that safety is the priority, so double-check all your connections and make sure everything is secure. I've had my fair share of "oops" moments, so don't get discouraged if things don't go perfectly the first time. Building is a learning process, and every mistake is a lesson.
Material | Pros | Cons |
|---|---|---|
Pressure-Treated Wood | Durable, resists rot and insects, classic look | Requires maintenance, can splinter |
Metal | Strong, rust-proof, low maintenance | Can get hot in the sun, can be more expensive |
Plastic | Low maintenance, weather-resistant | Can be less durable, not as natural looking |
Finishing Touches: Making Your DIY Playground Awesome

Finishing Touches: Making Your DIY Playground Awesome
Adding the Fun Extras
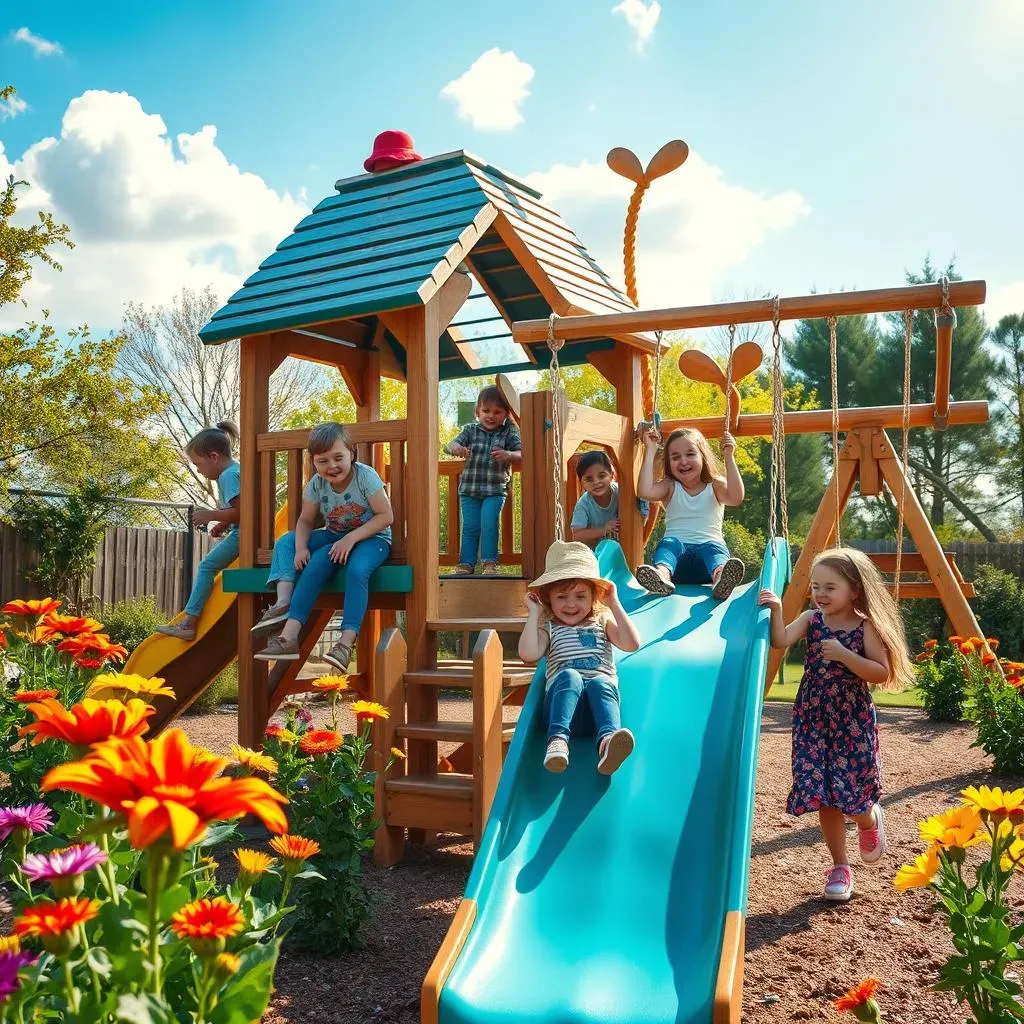
Okay, the bones of your playground are up, but now it’s time to make it truly awesome! This is where you can let your creativity shine. Think about adding some fun extras that will make your kids squeal with delight. A slide is a must for most kids, and you can choose from plastic, metal, or even a slide made from a sturdy tarp. Swings are also a classic, and you can get anything from traditional belt swings to tire swings or even a fun disc swing. And what about a climbing rope or a set of monkey bars? These are great for building strength and coordination. I added a small zip line to mine, and it was a total hit, though maybe a bit too ambitious for my first build! The key is to add elements that are age-appropriate and that your kids will love.
Don’t forget about the little details that make a big difference. Things like adding bright colors with paint or stain can make the playground more inviting. You can also add some fun accessories, like a steering wheel, a telescope, or even a little mailbox. These little touches will encourage imaginative play. I remember when I added a small chalkboard to my playground, my kids spent hours drawing and pretending to be teachers. It’s these small details that can transform a simple structure into a magical play space. And, of course, don’t forget to add some comfy seating for the adults, so you can relax while the kids play. I always say, a happy playground is a playground for everyone!
Fun Extra | Considerations |
|---|---|
Slide | Material, length, safety |
Swings | Type, material, safety |
Climbing Rope | Thickness, length, secure attachment |
Accessories | Steering wheel, telescope, chalkboard |
The Final Safety Check
Before you let the kids loose, you need to do one final safety check. Go over every single bolt, screw, and connection, making sure everything is tight and secure. Check the surfaces for any splinters or rough edges that could cause injury. Make sure the ground surface is soft and free of any hazards. You should also test out the equipment yourself. Climb on the climbing wall, slide down the slide, and swing on the swings. This will help you identify any potential issues before the kids do. I know it’s tempting to rush to the fun part, but this final safety check is crucial for ensuring a safe play environment. I always tell my kids, “Safety first, then fun!”
Once you’ve completed the safety check, it’s time to let the kids enjoy their new playground! Watching them play on something you built with your own hands is an incredibly rewarding experience. This isn't just a playground, it's a place for laughter, adventure, and making memories. And the best part is, you can always add to it as your kids grow. Maybe a bigger climbing structure or a new swing? The possibilities are endless! Remember, building a DIY playground is a journey, not just a destination. Embrace the process, and enjoy the fruits of your labor. I promise you, it’s worth every single bit of effort!