Table of Contents
Ready to transform a space into a wonderland of fun? This indoor playground equipment installation guide is your roadmap to success. Whether you're a seasoned DIY enthusiast or a complete beginner, we'll walk you through every step of the process, from the initial planning stages to the final touches. Forget confusing manuals and frustrating guesswork; this comprehensive guide provides clear, concise instructions and helpful tips for a smooth and safe installation. We’ll cover everything you need to know to create a fantastic play area that kids will adore. Learn how to effectively plan your space, ensuring optimal safety and maximum play value. This guide will equip you with the knowledge and confidence to tackle the installation process, whether you choose to do it yourself or hire professionals. Discover how to troubleshoot potential problems and learn valuable maintenance tips to keep your indoor playground safe and fun for years to come. Let's build an amazing playground together! So, grab your tools, and let’s get started with this essential indoor playground equipment installation guide!
Planning Your Indoor Playground Equipment Installation

Planning Your Indoor Playground Equipment Installation
Assessing Your Space: Size and Shape
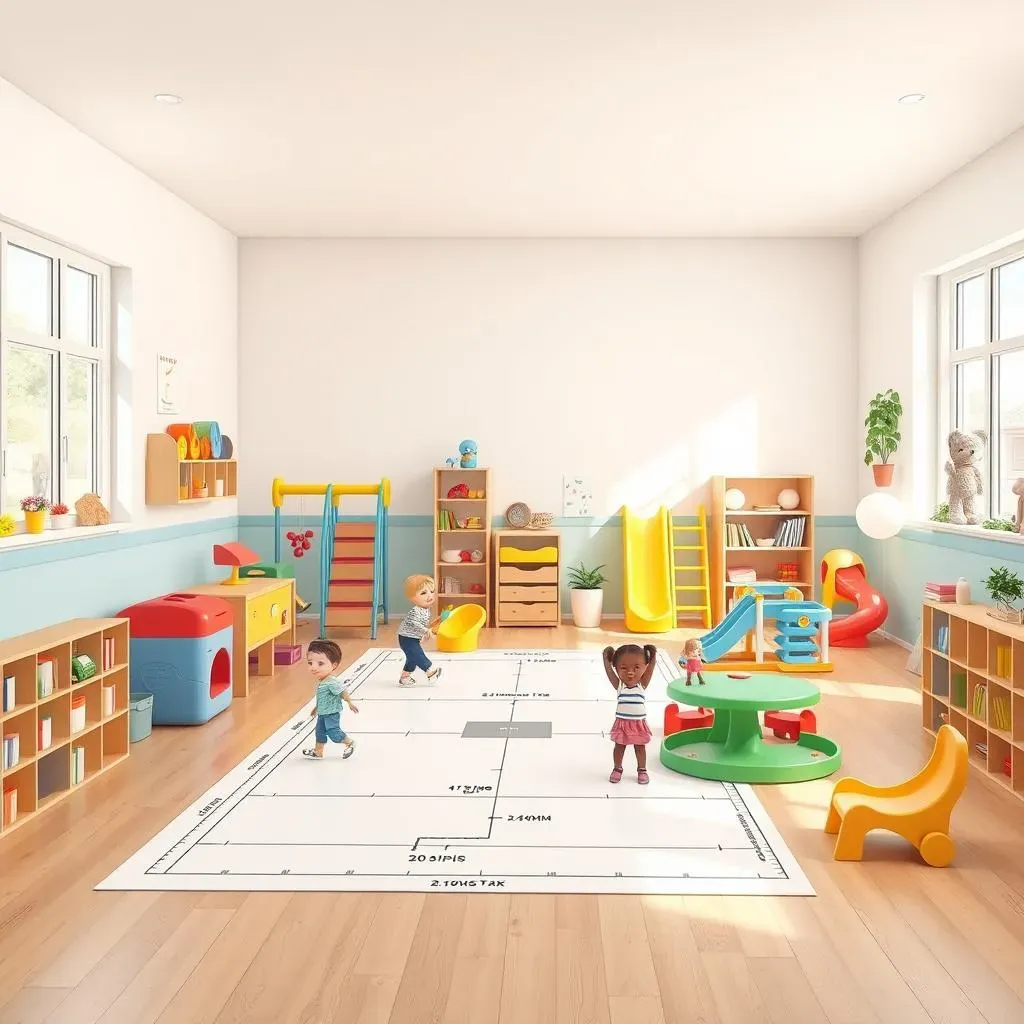
Before you even think about ordering a single slide, grab a measuring tape and get to know your space like the back of your hand! Measure the length, width, and height of the area you've chosen for your indoor playground. Sketch a rough floor plan, noting any existing features like columns, doorways, or heating vents – these are major factors in deciding where everything goes. Don't forget about ceiling height; some equipment has minimum clearance requirements. Think about the flow of the space; you want kids to be able to move easily between different play areas without bumping into each other or getting stuck. A cramped space can feel chaotic, even if it has lots of toys. A well-planned space, on the other hand, will encourage imaginative play and active fun.
Measurement | Importance | Action |
|---|---|---|
Length & Width | Determines overall size and equipment capacity | Measure accurately; use a floor plan to visualize |
Height | Impacts equipment selection (clearance); consider ceiling fixtures | Measure to ceiling; check equipment specs for height restrictions |
Obstacles (columns, doorways) | Impacts layout; determines placement restrictions | Note on floor plan; consider workarounds or adjustments |
Considering Your Target Audience: Age and Abilities
Who are your future playground adventurers? Knowing the age range of the children who will be using the playground is absolutely crucial. A toddler-friendly area will look vastly different from one designed for older kids. Toddlers need smaller, simpler equipment with soft surfaces to prevent injuries. Older children can handle more challenging structures and equipment, and their play activities will be more complex. Think about the developmental stage of the children. What are their physical abilities? What kind of play do they enjoy? Do you have children with special needs? If so, you'll need to ensure the playground is accessible and inclusive, following safety guidelines and best practices for adaptive play. Always prioritize safety; choosing age-appropriate equipment is the first step.
- Toddlers (1-3 years): Soft play areas, smaller slides, simple climbing structures
- Preschoolers (3-5 years): More complex climbing structures, longer slides, interactive panels
- Older Children (5+ years): Challenging climbing walls, rope courses, larger slides, more complex play structures
StepbyStep Indoor Playground Equipment Installation Guide

StepbyStep Indoor Playground Equipment Installation Guide
Preparing for Installation: Tools and Materials
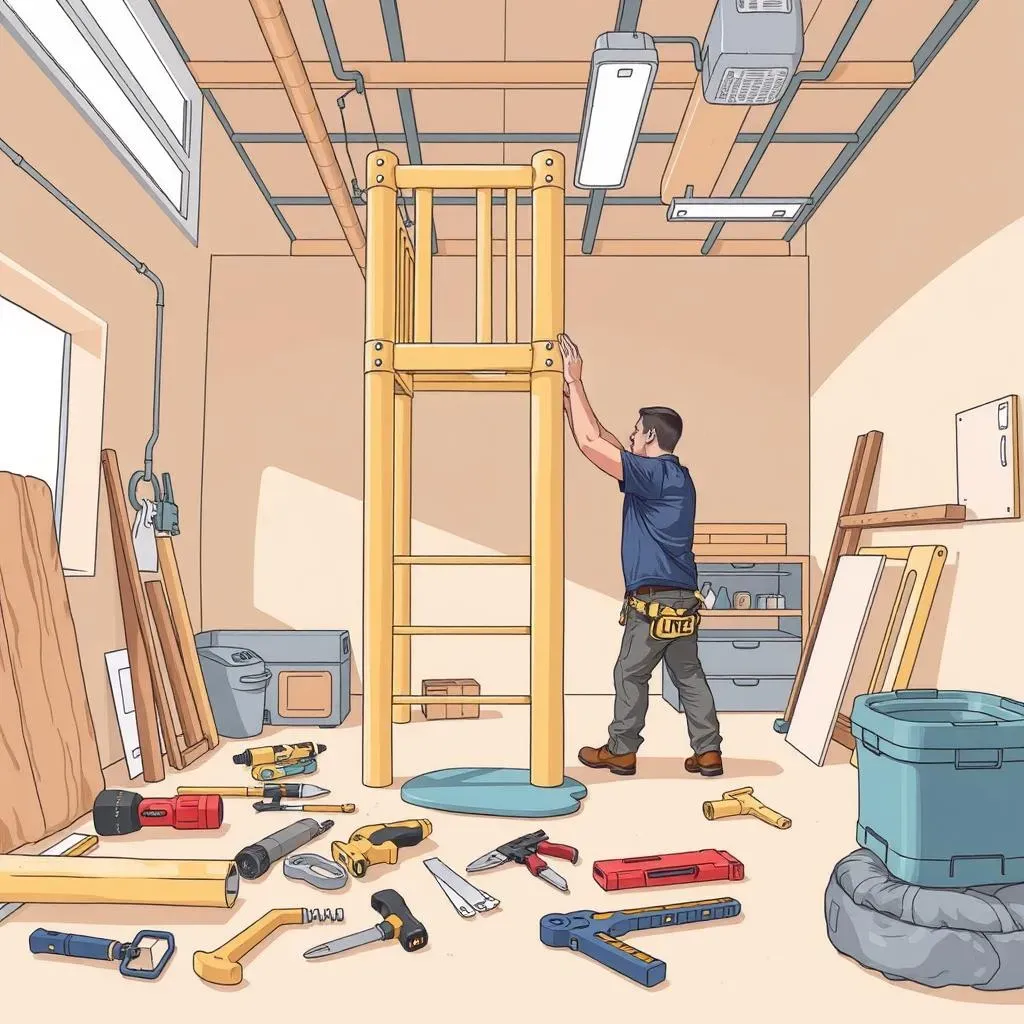
Before you even touch a single piece of equipment, gather your tools and materials. This will make the process much smoother and prevent frustrating delays. You'll need basic tools like screwdrivers (Phillips and flathead), wrenches, a level, and a measuring tape. Depending on the specific equipment, you may also need drills, hammers, and safety goggles. Check your equipment's instruction manual for a complete list of necessary tools. It's also a good idea to have extra screws, bolts, and washers on hand, just in case. Always prioritize safety; wear appropriate safety gear like gloves and eye protection throughout the installation process. Having everything organized beforehand will save you time and headaches later on.
Tool | Use | Importance |
|---|---|---|
Screwdrivers (Phillips & Flathead) | Fastening screws | Essential for most assembly tasks |
Wrenches | Tightening bolts and nuts | Important for secure connections |
Level | Ensuring level surfaces | Crucial for stability and safety |
Measuring Tape | Accurate measurements | Essential for proper spacing and placement |
Following the Manufacturer's Instructions: A Step-by-Step Approach
Once you've got your space prepped and your tools ready, it's time to tackle the actual installation. The most important thing to remember here is to meticulously follow the manufacturer's instructions. These instructions are specifically designed for your particular equipment, and deviating from them can compromise the safety and stability of the playground. Take your time, read each step carefully, and don't move on to the next step until you're sure you've completed the previous one correctly. If you encounter any difficulties, don't hesitate to contact the manufacturer's customer support. They can offer guidance and troubleshoot any problems you may encounter. Remember, patience is key; rushing the process can lead to errors and potential safety hazards.
- Step 1: Lay out the base components according to the instructions.
- Step 2: Attach the main support structures.
- Step 3: Install the climbing features, slides, and other interactive elements.
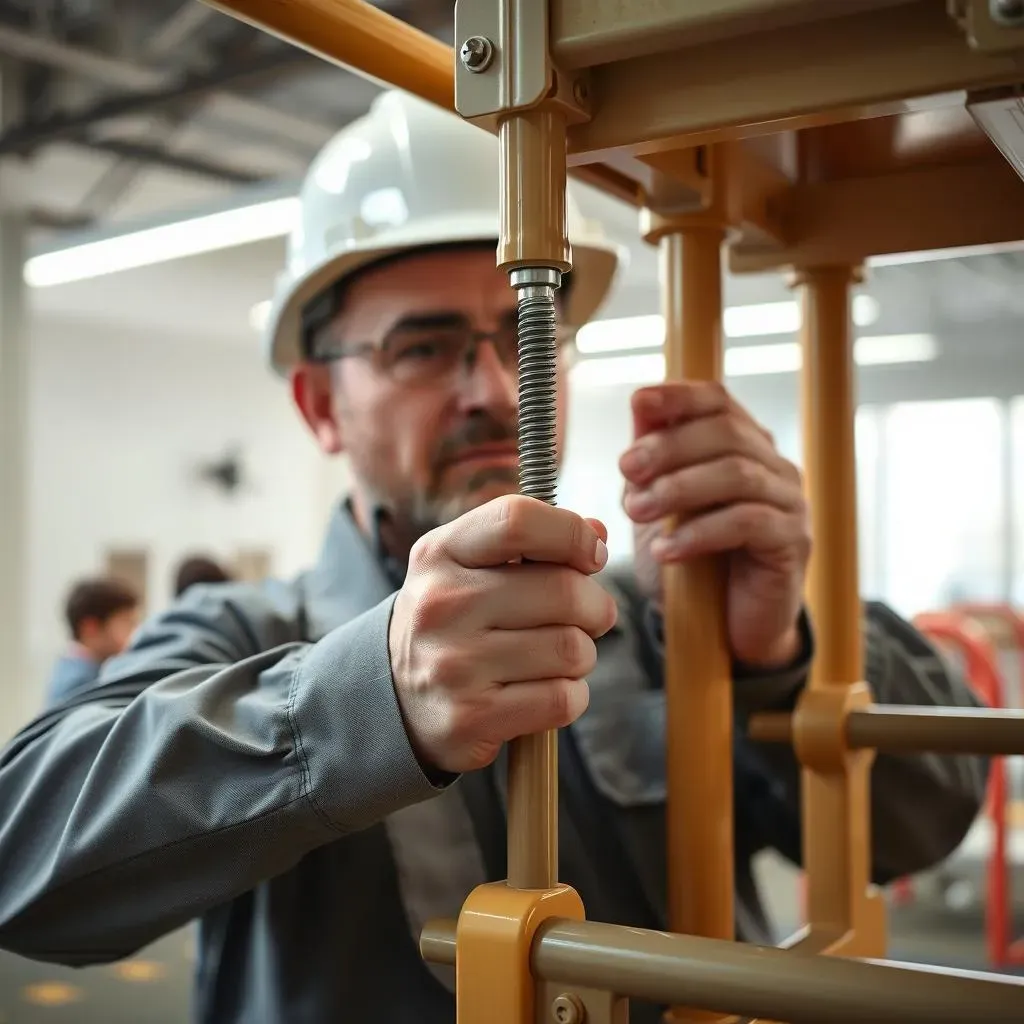
- Step 4: Securely fasten all connections and components.
- Step 5: Double-check all connections for stability and safety.
Troubleshooting and Maintaining Your Indoor Playground Equipment Installation

Troubleshooting and Maintaining Your Indoor Playground Equipment Installation
Identifying and Addressing Common Issues
So, you've followed the instructions, and your amazing indoor playground is finally up and running! But what happens when things don't go exactly as planned? Don't panic! Minor issues are common during installation. Loose screws, wobbly components, or slightly misaligned pieces are all easily fixable. Start by carefully inspecting the entire structure, checking all connections and fasteners. Tighten any loose screws or bolts, and use shims or wedges to correct any misalignments. If a part is damaged, contact the manufacturer immediately; they'll likely have replacement parts available. Remember, it's always better to address minor problems early to prevent them from becoming bigger, more serious issues. A little preventative maintenance goes a long way!
Problem | Solution | Prevention |
|---|---|---|
Loose screws | Tighten with screwdriver | Regularly check and tighten screws |
Wobbly components | Tighten connections; use shims if needed | Ensure proper alignment during installation |
Misaligned pieces | Adjust alignment; use shims or wedges | Double-check alignment during assembly |
Regular Maintenance for a Long-Lasting Playground
Regular maintenance is key to keeping your indoor playground safe and fun for years to come. Think of it like regular car maintenance; small checks and adjustments prevent bigger problems later. Start by visually inspecting the playground regularly, looking for any signs of wear and tear, loose parts, or damage. Check all connections, bolts, and screws to ensure they're still tight. Replace any damaged parts immediately. Clean the playground regularly, using mild soap and water to remove dirt and grime. Avoid harsh chemicals, as these can damage the materials. If you have soft play equipment, check the stuffing regularly and replace any that's torn or lumpy. Remember, a well-maintained playground is a safe playground; regular inspections are essential to minimize the risk of accidents.
- Regular visual inspections (weekly or bi-weekly)
- Tighten loose screws and bolts
- Clean with mild soap and water
- Replace damaged parts promptly
- Check soft play stuffing for wear and tear
Safety First: Addressing Potential Hazards
Safety should always be your top priority. Regularly check for any potential hazards, such as sharp edges, protruding bolts, or broken pieces. Address these issues immediately. Ensure that all safety surfacing is in good condition and provides adequate impact absorption. If you notice any signs of wear or damage, replace it immediately. Keep the area around the playground clear of obstacles to prevent tripping hazards. Consider adding extra padding or safety mats in high-impact areas. Regular safety checks are an investment in your children's well-being; it's far better to address small issues before they become serious safety concerns. Remember, a safe playground is a happy playground.