Table of Contents
Dreaming of a magical outdoor play space for your kids, one that's both fun and naturally engaging? Then you've come to the right place! This comprehensive natural playground equipment installation guide will walk you through every step of creating the perfect natural playground, from initial planning to long-term maintenance. Forget boring, plastic playsets – we're talking about transforming your outdoor area into a wonderland of natural wonders, using elements like wood, rocks, and plants to foster creativity and physical development. Inside, you'll discover how to choose the ideal location for your playground, design a layout that encourages imaginative play, and safely install a variety of natural play elements. We'll cover everything from selecting the right equipment and preparing the ground to ensuring the long-term safety and durability of your creation. This isn't just about building a playground; it's about creating a lasting legacy of outdoor fun and exploration. Let's get started on your journey to building the most amazing natural playground imaginable! Get ready to unleash your inner child (and your child's inner explorer) with this essential natural playground equipment installation guide.
Planning Your Natural Playground: Site Selection & Design

Planning Your Natural Playground: Site Selection & Design
Choosing the Perfect Location
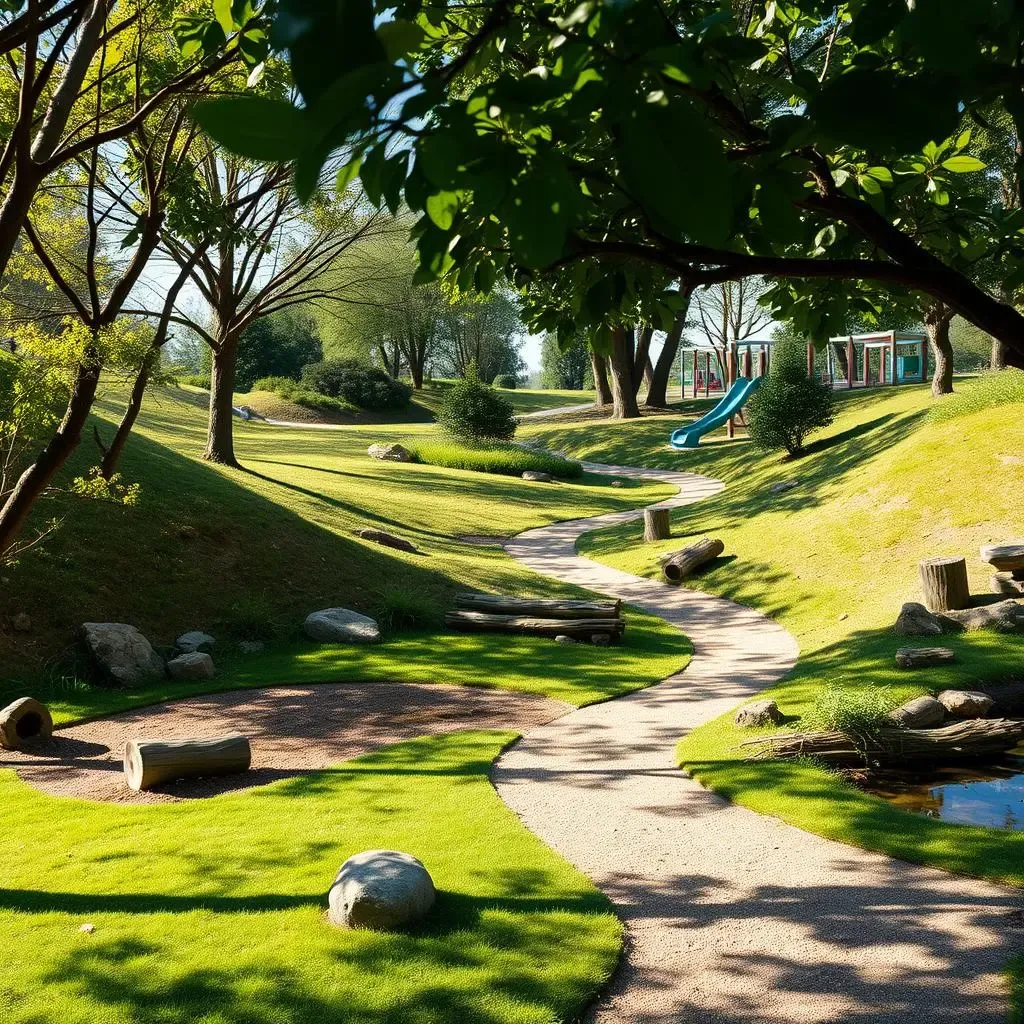
Finding the right spot for your natural playground is crucial. Think about sun exposure – you'll want a balance of shade and sunny areas to keep things comfortable throughout the day. A gently sloping area is ideal for drainage, preventing puddles and muddy messes. Consider proximity to water sources (but make sure it's safe!), as the sound and sight of water can be incredibly calming and engaging for kids. And, of course, safety is paramount. Look for areas free from hazards like busy roads, poisonous plants, or sharp objects. Imagine a space where kids can run, jump, and climb without worry.
Remember to check local regulations and building codes before you start digging. You might need permits or need to avoid certain areas. Also, involve your kids in the decision-making process! Let them explore potential locations and share their ideas. Their input will not only make them more excited about the final product, but also ensure the playground caters to their preferences and play styles. After all, it’s *their* playground!
Factor | Considerations |
|---|---|
Sun Exposure | Balance of shade and sun |
Drainage | Gently sloping area |
Safety | Distance from roads, hazards |
Accessibility | Easy access for kids and adults |
Designing for Imaginative Play
Once you've found the perfect spot, it's time to get creative! Think beyond swings and slides. Natural playgrounds are all about fostering imagination and free play. Incorporate natural elements like trees, rocks, logs, and stumps into your design. These can become climbing structures, balancing beams, or hiding places. Consider creating different zones within the playground, such as a digging area, a climbing area, or a quiet area for imaginative play. Think about pathways winding through the space, encouraging exploration and discovery.
Remember to leave plenty of open space for running and playing games. Don't overcrowd the area with too much equipment. A well-designed natural playground should feel both stimulating and relaxing, offering a variety of play opportunities without feeling cluttered or overwhelming. Consider adding elements that spark curiosity, like a small pond (with appropriate safety measures), a bird feeder, or a bug hotel. These additions can enhance the educational value of the playground and encourage children to connect with nature in new ways. The more you plan, the more fun your kids will have.
- Create distinct play zones (climbing, digging, quiet)
- Incorporate natural elements (trees, rocks, logs)
- Leave open space for running and games
- Add elements that spark curiosity (pond, bird feeder)
- Consider pathways to encourage exploration
Installing Natural Playground Equipment: A StepbyStep Guide

Installing Natural Playground Equipment: A StepbyStep Guide
Preparing the Ground
Before you even think about placing a single log, you need to prep the ground. This isn't just about making things look neat; it's about safety! Clear the area of any debris, rocks, or anything that could cause a trip or injury. Level the ground as much as possible – you don't want any wobbly structures. For larger installations, you might need to bring in some topsoil to create a smooth, even surface. Think of this as laying the foundation for a magnificent castle – you wouldn't want it to crumble, would you?
Depending on the type of equipment, you may need to dig holes for posts or create compacted gravel bases for larger structures. Always follow the manufacturer's instructions carefully. If you’re unsure about any aspect of the groundwork, it's best to consult a professional. Remember, safety should always be your top priority. A poorly prepared site can lead to accidents and costly repairs down the line. A little extra effort at this stage will save you headaches later.
Step | Action |
|---|---|
1 | Clear debris and level ground |
2 | Dig holes (if necessary) |
3 | Compact gravel base (if necessary) |
4 | Check manufacturer's instructions |
Installing the Equipment
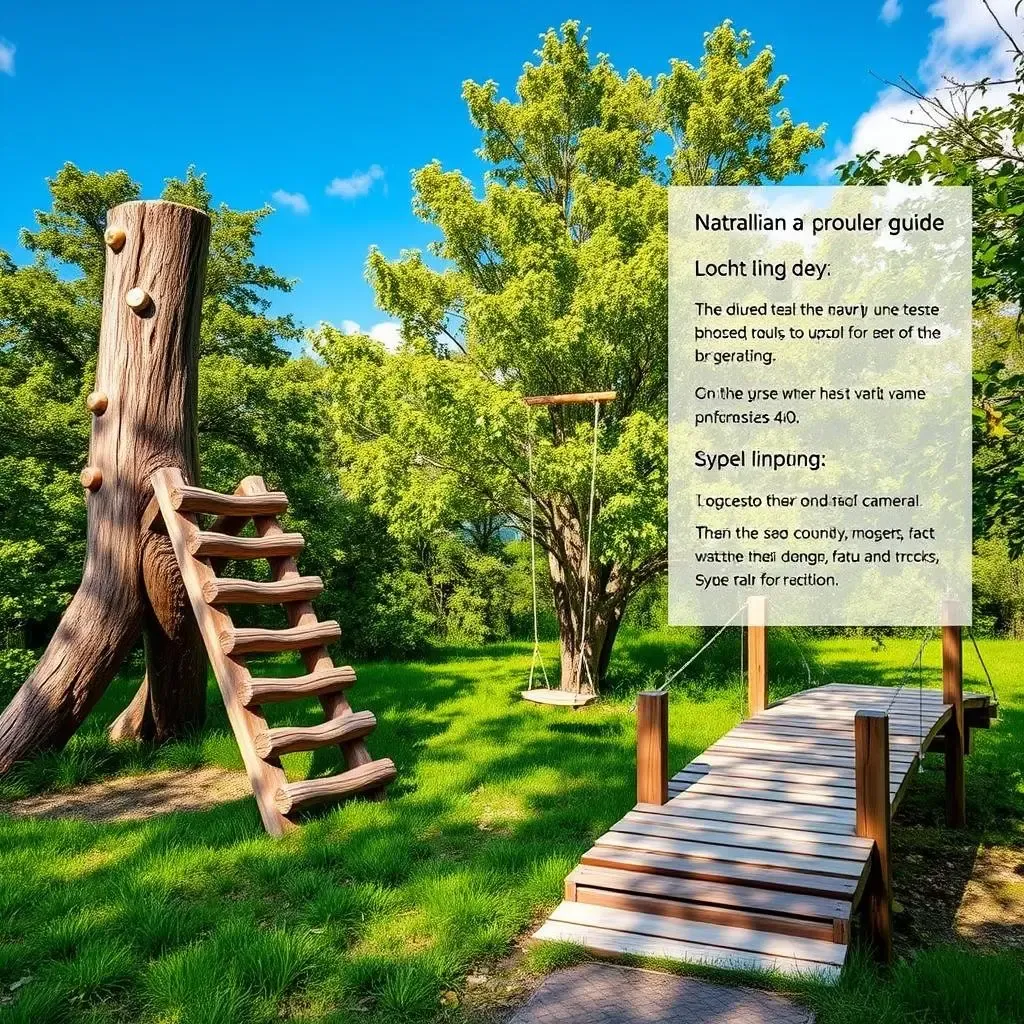
Now for the fun part – actually installing the equipment! Start by assembling any prefabricated components according to the manufacturer's instructions. Take your time and double-check everything. Use appropriate tools and hardware; don't try to improvise! If you're working with large logs or rocks, ensure they are securely anchored to prevent shifting or movement. This might involve using heavy-duty straps, bolts, or even concrete footings, depending on the size and weight of the element. It’s all about creating a stable and safe play environment.
As you install each piece of equipment, step back and assess its stability and safety. Make sure there are no sharp edges or protruding nails or screws. Test the equipment yourself to ensure it's sturdy and secure. Once everything is in place, take a moment to admire your handiwork! You've created a unique and exciting play space that encourages imagination and physical activity. Remember to keep all tools and hardware safely stored away after installation.
- Follow manufacturer's instructions carefully
- Use appropriate tools and hardware
- Securely anchor large elements
- Check for sharp edges or hazards
- Test equipment for stability and safety
Maintaining Your Natural Playground Equipment for Safety and Longevity

Maintaining Your Natural Playground Equipment for Safety and Longevity
Regular Inspections: Your Playground's Health Check
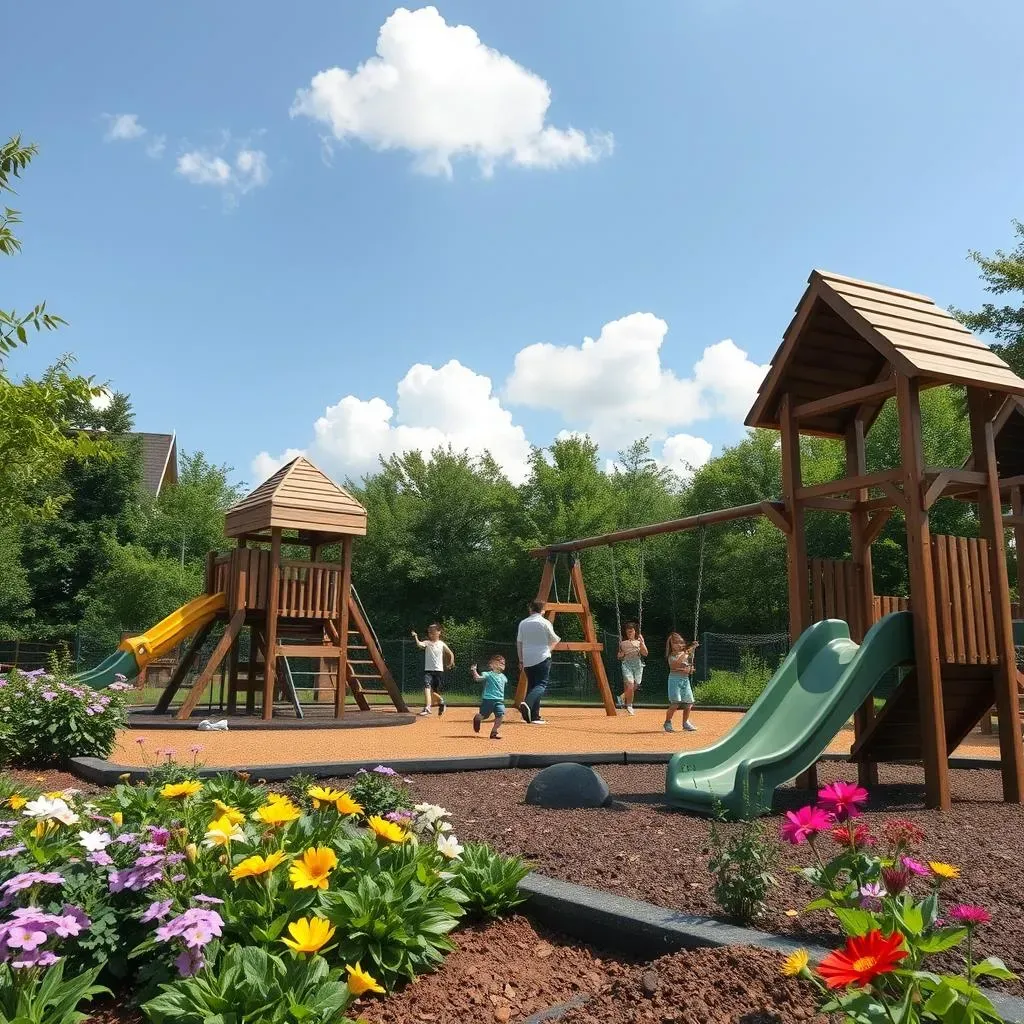
Think of regular inspections as your playground's annual health check-up. At least once a month (more often if your playground is heavily used), walk around your play area, carefully examining each piece of equipment. Look for loose bolts, rotting wood, splinters, or any signs of damage or wear and tear. Check the ground covering for any holes or areas that need replenishing. Pay close attention to climbing structures and balancing elements – these are areas where accidents are most likely to occur. Remember, a little preventative maintenance goes a long way in keeping your playground safe and enjoyable.
Don't be afraid to enlist the help of your kids in these inspections! They're the ones who use the playground most, so they'll be able to spot potential problems you might miss. Turn it into a game, rewarding them for spotting potential hazards. This approach teaches them about safety and responsibility while making the inspection process more fun for everyone. Document your findings – taking photos or keeping a written log can help track problems over time and help you plan for future repairs or replacements.
Inspection Item | What to Look For |
|---|---|
Wood | Rot, splinters, cracks |
Metal | Rust, loose bolts, sharp edges |
Surfacing | Holes, unevenness, inadequate depth |
Fasteners | Loose screws, bolts, or other hardware |
Repair and Replacement: Keeping it Ship Shape
Once you've identified any issues during your inspection, it's time to address them promptly. Minor repairs, like tightening loose bolts or patching small holes, can often be done easily with basic tools. However, for more significant damage, it's best to consult a professional. Attempting complex repairs yourself could compromise the safety of the playground, leading to potentially serious accidents. Remember, safety is always the top priority.
For larger repairs or replacements, consider sourcing sustainable materials whenever possible. This aligns with the overall ethos of a natural playground, minimizing your environmental impact. When replacing damaged wood, opt for treated lumber that's resistant to rot and insects. For surfacing materials, choose options that are both safe and environmentally friendly. Remember, a well-maintained natural playground is not only safer but also more enjoyable and visually appealing. Regular maintenance will extend the life of your playground, providing years of fun and adventure for your children and the community.
- Tighten loose bolts and screws immediately.
- Repair or replace damaged wood promptly.
- Replenish surfacing materials as needed.
- Consult a professional for major repairs.
- Prioritize sustainable and safe materials for replacements.