Table of Contents
Ready to create a backyard paradise for your kids? Proper outdoor play equipment installation is key to ensuring years of safe, fun-filled memories. But let's face it, assembling a swing set or jungle gym can feel like tackling a giant puzzle with vague instructions. That's where we come in. This guide breaks down the entire process into manageable steps, from initial planning to final safety checks. We'll cover everything from site selection and foundation prep to equipment assembly and essential maintenance. Think of this as your friendly, no-nonsense roadmap to a successful playground setup. Whether you're a seasoned DIY enthusiast or a first-time installer, these tips will help you avoid common pitfalls, ensuring a sturdy and secure play area for your little adventurers. So, grab your tools, and let's get started!
Planning and Preparation for Outdoor Play Equipment Installation
Planning and Preparation for Outdoor Play Equipment Installation
Choosing the Perfect Spot
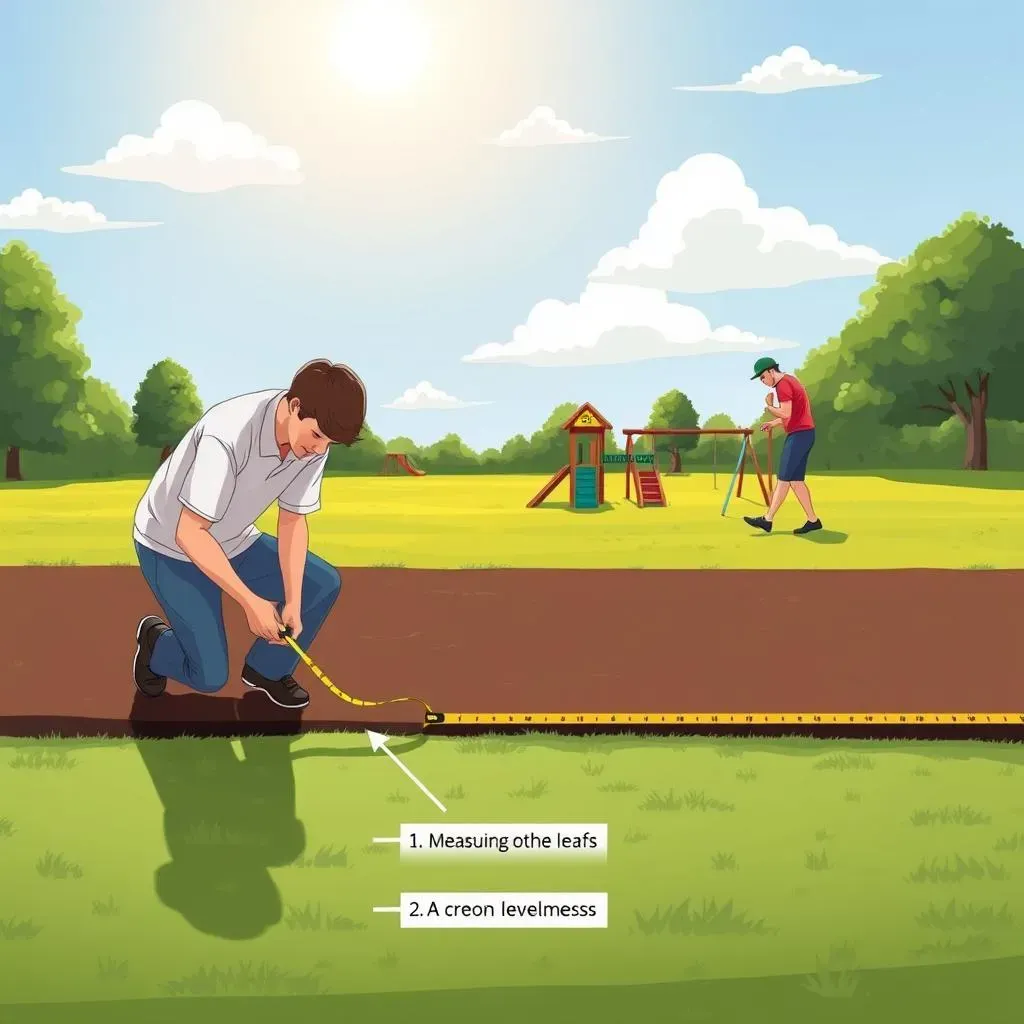
So, you're thinking about outdoor play equipment installation? Awesome! First things first, location, location, location! Don't just plop that swing set down anywhere. Think about sunlight – you want some, but not so much that the kids are roasting in the summer. Also, consider the ground. Is it level? Rocky? Prone to flooding? A little prep work here can save you a ton of headaches later. I remember once helping a friend install a playset only to realize, halfway through, that the ground sloped significantly. We ended up having to dismantle the whole thing and re-level the area. Learn from our mistakes!
Safety First: Checking for Hazards
Before you even think about unboxing that playset, do a thorough safety check of the area. Look for things like underground utilities – you definitely don't want to hit a gas line while digging post holes! Also, be mindful of overhead obstructions like power lines or tree branches. Kids will be kids, and they'll inevitably climb higher than you expect. Clear any potential hazards to minimize the risk of accidents. Trust me, a little bit of caution goes a long way.
Gathering Your Resources and Tools
you've got your spot picked out and you've made sure it's safe. Now it's time to gather your resources. This includes everything from the instruction manual (don't even think about skipping this!) to the tools you'll need. Make a list and double-check that you have everything before you start. There's nothing more frustrating than getting halfway through a project and realizing you're missing a crucial piece of equipment. I usually lay everything out in an organized manner so I can easily grab what I need as I go. It saves time and keeps me from getting too stressed out.
Tool | Purpose | Why it's Important |
|---|---|---|
Measuring Tape | Accurate measurements for layout and assembly | Ensures proper fit and stability |
Level | Ensuring level ground and alignment | Prevents wobbling and instability |
Wrench Set | Tightening bolts and nuts | Secures connections and prevents loosening |
Shovel | Digging holes for posts or anchors | Creates stable foundations |
StepbyStep Guide to Assembling Your Outdoor Play Equipment
StepbyStep Guide to Assembling Your Outdoor Play Equipment
Decoding the Instructions
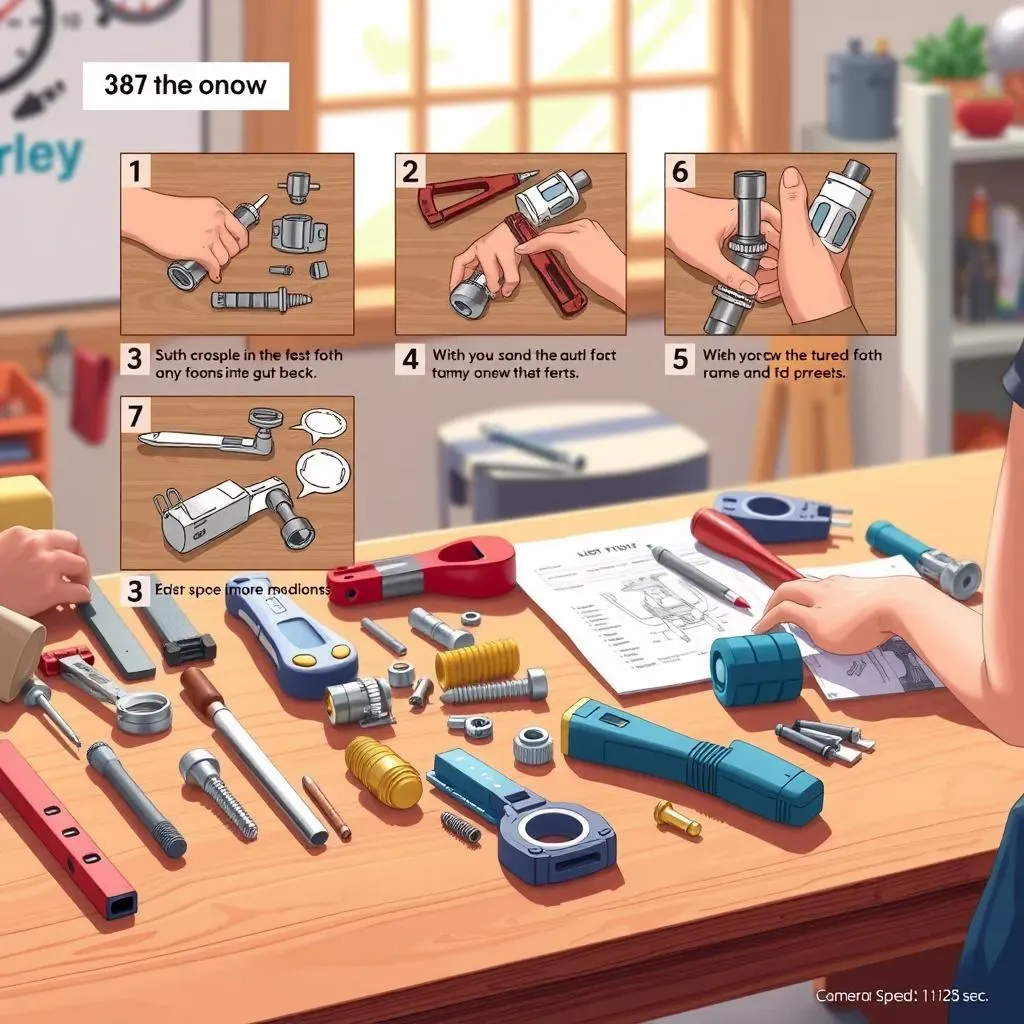
Alright, you've got all the pieces laid out, now comes the moment of truth: deciphering the instruction manual. I know, it can look like a foreign language sometimes, but trust me, it's your best friend during outdoor play equipment installation. Start by identifying all the parts – most manuals have a handy diagram. Then, read through the entire set of instructions before you even pick up a tool. This gives you a sense of the overall process and helps you avoid making mistakes early on. Pay close attention to any warnings or cautions – they're there for a reason!
One trick I've learned is to highlight each step as I complete it. This helps me stay on track and prevents me from accidentally skipping something. Also, don't be afraid to use a pencil to make notes or draw diagrams in the manual. It's your guide, so customize it to fit your needs.
Building the Frame
With the instructions understood, it's time to start building the frame. This is usually the most time-consuming part of the outdoor play equipment installation process, so be patient. Start by connecting the main support beams, making sure everything is square and level. Use a level to check your work frequently – a slightly off-kilter frame can cause problems later on. As you tighten the bolts, don't overtighten them. You want them snug, but not so tight that you strip the threads. I usually tighten them in stages, going around to each bolt a few times until they're all secure.
Also, pay attention to the order in which you assemble the frame. Some pieces may need to be installed before others, so follow the instructions carefully. If you're working with a partner, communicate clearly and coordinate your efforts. Two heads are definitely better than one when it comes to this step.
Attaching the Fun Stuff
Now for the fun part: attaching the swings, slides, and other play features. Before you start, double-check that the frame is stable and secure. You don't want to attach these features to a wobbly frame. Follow the instructions carefully, paying attention to the weight limits and safety guidelines. Make sure all the connections are tight and secure, and that there are no sharp edges or protruding bolts. I like to give everything a good shake test to make sure it's solid.
Once all the play features are attached, take a step back and admire your work. You're almost there! Just a few more steps to go, and your kids will be enjoying their new playground.
Play Feature | Key Installation Check | Safety Consideration |
|---|---|---|
Swings | Secure chain/rope attachment | Proper swing spacing, soft landing zone |
Slides | Smooth, secure slide surface | Adequate run-off space, impact-absorbing surface |
Climbing Structures | Stable anchor points | Fall height, safety surfacing |
Safety Surfacing and Essential Adjustments for Play Equipment

Safety Surfacing and Essential Adjustments for Play Equipment
Laying Down the Soft Stuff
so you've got your play equipment all assembled, but hold up! You're not quite done with the outdoor play equipment installation. One of the most crucial steps is installing safety surfacing. This isn't just about aesthetics; it's about protecting your kids from falls. Think about it: kids are gonna be kids, and spills happen. The right surfacing can significantly reduce the risk of serious injuries. There are several options to choose from, including wood chips, rubber mulch, sand, and poured-in-place rubber. Each has its pros and cons in terms of cost, maintenance, and impact absorption. I personally prefer rubber mulch because it's durable, low-maintenance, and provides excellent cushioning.
Critical Fall Height
When selecting your surfacing material, consider the critical fall height of your play equipment. This is the maximum height from which a child could fall and still be protected by the surfacing. The higher the equipment, the thicker the surfacing needs to be. Check the manufacturer's recommendations for the appropriate surfacing depth. Also, make sure the surfacing extends at least six feet in all directions from the play equipment. This creates a safety zone that minimizes the risk of injury. Remember, it's better to be over-prepared than under-prepared when it comes to safety.
Pro tip: Don't skimp on the amount of surfacing material. It's tempting to save a few bucks by using a thinner layer, but that can compromise its effectiveness. Invest in the right amount of surfacing to ensure maximum protection for your kids.
The Final Tweaks and Checks
Alright, your surfacing is down, and it's time for the final adjustments. Go over the entire play equipment with a fine-toothed comb. Check for any loose bolts, sharp edges, or protruding hardware. Tighten anything that needs tightening, and cover any sharp edges with protective caps. Also, make sure all the moving parts, like swings and slides, are functioning smoothly. Give them a test run yourself to make sure they're safe and enjoyable.
Pay special attention to the swing chains or ropes. Make sure they're not frayed or worn, and that they're securely attached to the frame. Replace any worn parts immediately. It's also a good idea to lubricate the moving parts with a silicone-based lubricant to keep them running smoothly. A little bit of maintenance now can prevent bigger problems down the road.
Adjustment | Why It Matters | How to Check |
|---|---|---|
Bolt Tightness | Prevents instability | Wrench check, visual inspection |
Surface Depth | Impact absorption | Measure depth, compare to fall height |
Hardware Coverage | Prevents cuts/scrapes | Visual inspection, touch test |
Maintaining Your Outdoor Play Equipment: LongTerm Care Tips
Maintaining Your Outdoor Play Equipment: LongTerm Care Tips
Regular Inspections: Your First Line of Defense
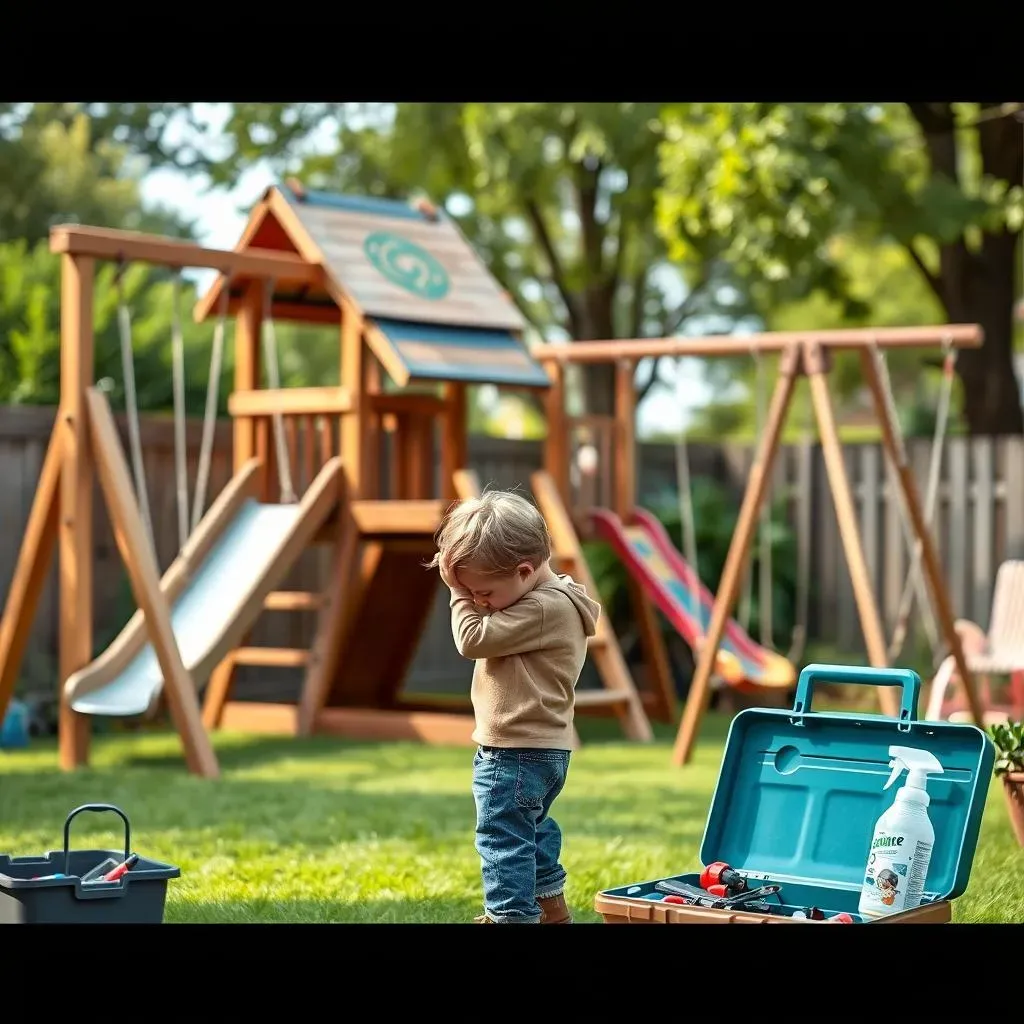
Alright, you've put in the sweat equity, the kids are loving it, but don't think you're done! Maintaining your outdoor play equipment is crucial for its longevity and, more importantly, your children's safety. Think of it like a car – you wouldn't just drive it until it breaks down, right? Regular inspections are your first line of defense. I recommend doing a quick visual check at least once a month, and a more thorough inspection every season. Look for things like rust, cracks, splinters, loose bolts, and worn-out chains or ropes. The sooner you catch these issues, the easier and cheaper they are to fix. I always keep a little repair kit handy with extra bolts, screws, and some sandpaper for smoothing out rough edges.
Cleaning and Protecting
Besides inspections, regular cleaning is essential. Dirt, grime, and mildew can accumulate over time, especially in damp climates. I usually give the play equipment a good scrub-down with soap and water a couple of times a year. For wooden structures, consider applying a sealant or stain to protect the wood from the elements. This will help prevent rot and extend the life of the equipment. For metal parts, a coat of rust-resistant paint can work wonders. I've seen some pretty creative paint jobs that not only protect the metal but also add a pop of color to the backyard. Get the kids involved – it can be a fun family project!
Surfacing Top-Ups and Replacements
Don't forget about the safety surfacing! Over time, wood chips and rubber mulch can compress or get scattered around. Regularly top up the surfacing to maintain the proper depth for impact absorption. Inspect the surfacing for any foreign objects, like glass or sharp stones, and remove them immediately. If you have poured-in-place rubber surfacing, check for cracks or damage and repair them as needed. I've seen some pretty gnarly injuries that could have been prevented with proper surfacing maintenance, so don't skimp on this step.
Maintenance Task | Frequency | Why It's Important |
|---|---|---|
Visual Inspection | Monthly | Early detection of issues |
Thorough Inspection | Seasonally | Comprehensive safety check |
Cleaning | Biannually | Removes dirt and mildew |
Surfacing Top-Up | As Needed | Maintains impact absorption |
Conclusion
Mastering outdoor play equipment installation doesn't have to be daunting. By following these steps, you're well on your way to creating a safe and enjoyable play space for your children. Remember, meticulous planning, precise assembly, and diligent maintenance are the cornerstones of a successful installation. However, if you ever feel overwhelmed or unsure, don't hesitate to seek professional help. A certified installer can ensure that your playground meets all safety standards and is built to last. Ultimately, the goal is to provide a secure environment where kids can explore, learn, and make memories that will last a lifetime. So, get out there, get building, and let the fun begin!