Table of Contents
Ready to transform your playground into an adventure zone? This guide is your ultimate resource for creating incredible outdoor playground climbing walls. We'll take you on a journey from design to construction, ensuring a safe and engaging climbing experience for kids of all ages. Forget boring playgrounds; we're talking about building exciting, custom-designed climbing walls that challenge and delight. First, we'll explore different materials and styles for your outdoor playground climbing walls, considering factors like safety and durability. Then, we'll walk you through a step-by-step building process, offering practical tips and tricks for success. Finally, we'll cover essential maintenance techniques to keep your climbing wall in top shape for years to come. Get ready to unleash your inner builder and create the ultimate climbing experience – let's build some amazing outdoor playground climbing walls!
Designing Your Dream Climbing Wall: Materials, Styles, and Safety

Designing Your Dream Climbing Wall: Materials, Styles, and Safety
Choosing the Right Materials: Strength, Durability, and Safety
Picking the right materials for your outdoor playground climbing wall is crucial. Think of it like choosing the right ingredients for a cake – you want something strong and tasty (safe and durable!). Wood is a classic choice; it's natural, relatively easy to work with, and provides a good grip. However, consider the type of wood carefully. Pressure-treated lumber is a great option as it resists rot and insects, ensuring a longer lifespan for your climbing wall. For a more modern look, you could use composite materials, which are often more weather-resistant than wood. Remember, safety is paramount! Always choose materials that meet or exceed safety standards for playground equipment. A poorly constructed wall could be dangerous, so don't cut corners.
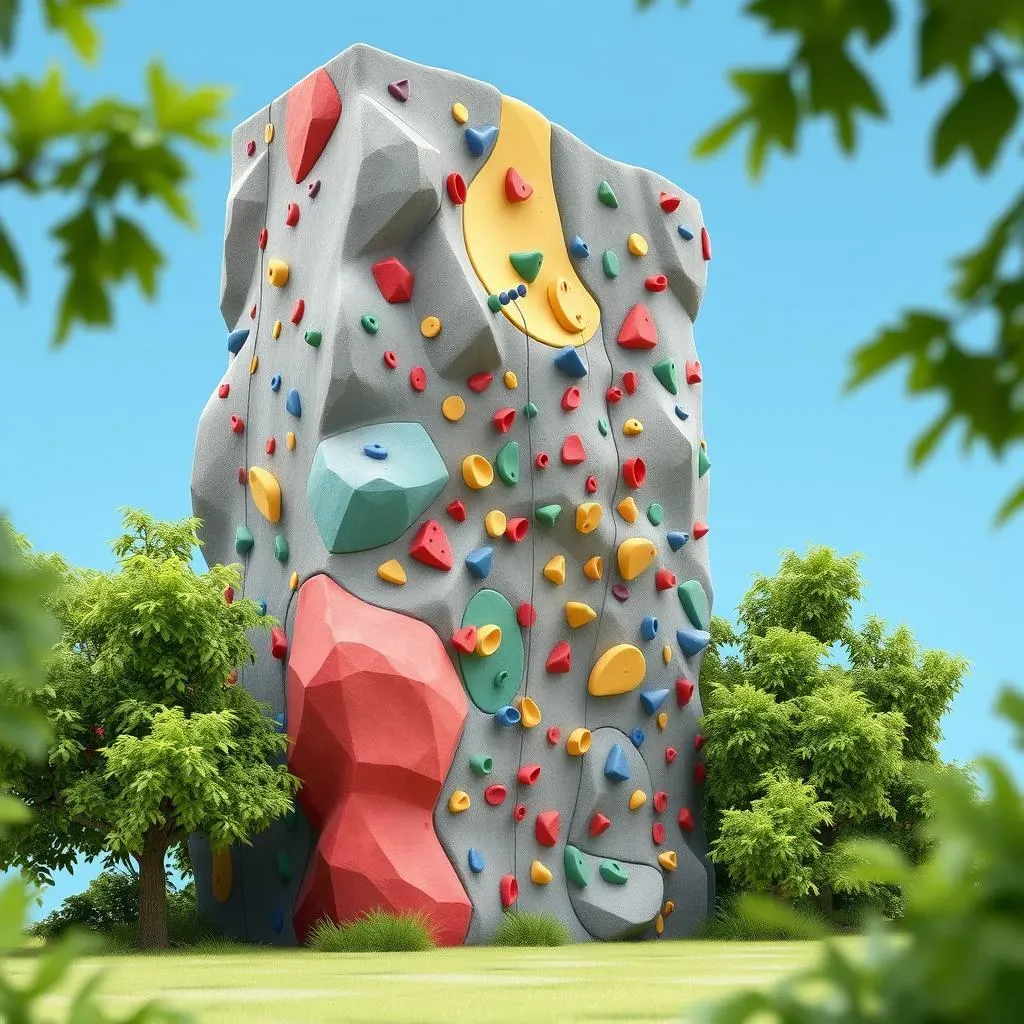
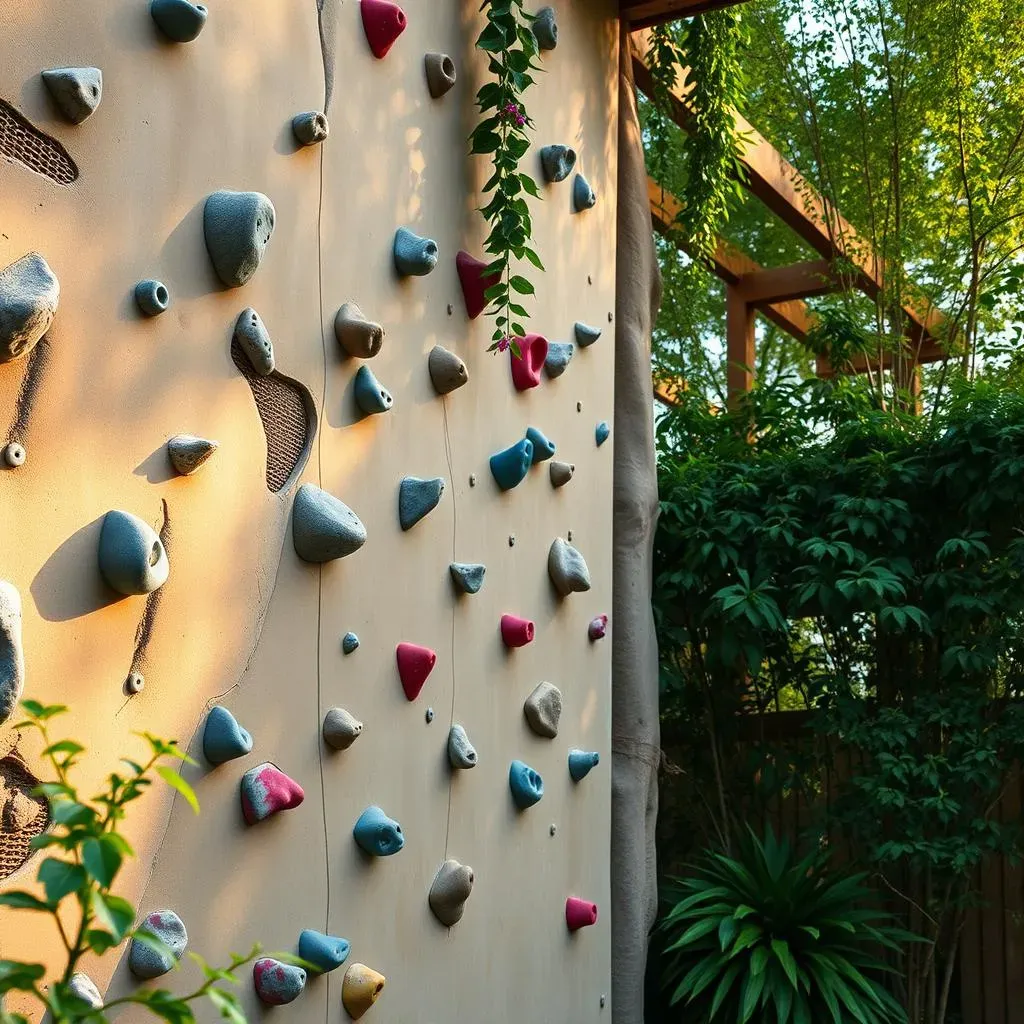
Don't forget about the holds! These are the crucial parts kids will grip onto. You can find a huge variety of climbing holds made from plastic, resin, or even wood. Consider the age range of the children who will use the wall when selecting hold sizes and shapes. Remember, you want a good mix of easy and challenging holds to keep things interesting. You can even add some fun, themed holds to make the climbing wall even more engaging! For inspiration, check out our review of the best outdoor playground equipment here!
Material | Pros | Cons |
|---|---|---|
Wood | Natural, good grip, relatively inexpensive | Requires regular maintenance, susceptible to rot and insects |
Composite | Weather-resistant, low maintenance | Can be more expensive than wood |
Metal | Durable, strong | Can get very hot in the sun, potentially sharp edges |
Designing for Style and Safety: Age-Appropriate Challenges and Aesthetic Appeal
Now for the fun part – designing the actual climbing wall! Think about the age range of the children who'll be using it. Younger kids need simpler, less challenging routes, while older kids will appreciate more complex designs. Consider incorporating different climbing styles, like vertical climbs, overhangs, and traversing sections. This adds variety and keeps things exciting. A good rule of thumb is to start with a design that’s easy to modify later. This allows you to add more difficulty as kids get older and more experienced. Maybe start with a simple vertical wall and add an overhang later.
Safety features are essential. Ensure that the climbing wall is securely anchored to the ground or a sturdy structure. Use appropriate safety hardware and make sure all connections are strong and reliable. The surface beneath the climbing wall should be soft and impact-absorbing, like wood chips or rubber mats, to help cushion falls. Regular inspections are a must; check for loose bolts, damaged holds, or any other potential hazards. A well-designed and well-maintained climbing wall provides years of safe and fun climbing adventures. Check out different designs for small backyards here!
- Start with a simple design that can be expanded.
- Use a variety of climbing holds for different skill levels.
- Ensure a soft, impact-absorbing surface beneath the wall.
- Regularly inspect the wall for safety hazards.
Building Your Climbing Wall: StepbyStep Guide and Tips for Success

Building Your Climbing Wall: StepbyStep Guide and Tips for Success
Laying the Foundation: Preparing the Surface and Anchoring the Structure
Before you even think about climbing holds, you need a solid foundation. This means preparing the ground where your climbing wall will go. Level the area and make sure it's firm and stable. You might need to add gravel or compacted soil for extra support. Then, you'll need to anchor your wall securely. This is vital for safety! Consider using heavy-duty posts driven deep into the ground or bolting the wall to a sturdy existing structure like a fence or shed. The strength of your anchors will directly impact the safety and longevity of your climbing wall. Remember, a well-anchored climbing wall is a safe climbing wall. For sturdy materials, check out our guide to wooden playground equipment here!
Once your anchors are in place, you can start building the frame. This will depend on the design and materials you chose. If you're using wood, you'll likely need to cut and assemble the frame pieces, ensuring they're square and level. Use strong screws or bolts to secure the joints. Regularly check your work for squareness and alignment, making adjustments as needed. A little extra care in this step will save you headaches later on. For those who prefer a more modern approach, metal framing offers another great option. The possibilities are as endless as your imagination!
- Level and firm the ground.
- Securely anchor the wall to the ground or a structure.
- Build a strong and stable frame.
- Regularly check for squareness and alignment.
Adding the Holds and Finishing Touches: Creating a Fun and Engaging Climbing Experience
Now comes the exciting part – adding the climbing holds! This is where you can really let your creativity shine. Remember to choose holds that are appropriate for the age and skill level of the children who will use the wall. Start by placing the easier holds lower down and gradually increase the difficulty as you move higher. Space the holds strategically, creating a variety of climbing routes and challenges. Don't be afraid to experiment with different hold placements and types to create a unique and engaging climbing experience. Having a mix of hold types will keep things interesting for the climbers!
Once the holds are in place, you might want to add some finishing touches. A coat of weather-resistant paint or sealant can help protect the wood from the elements. You could also add some colorful accents or decorations to personalize the climbing wall. Remember to always check for sharp edges or potential hazards before letting kids climb. Regular inspections are a must. Check for loose bolts, damaged holds, or any other potential hazards. And there you have it – your very own custom-built climbing wall! For more inspiration, check out our comparison of outdoor playground swings here!
Step | Description | Tip |
|---|---|---|
1 | Install easier holds lower down. | Consider the age and skill of your users. |
2 | Space holds strategically to create routes. | Experiment with placements and types. |
3 | Add a weather-resistant sealant. | Protect your climbing wall from the elements. |
Maintaining Your Climbing Wall: Cleaning, Repairing, and Extending its Life

Maintaining Your Climbing Wall: Cleaning, Repairing, and Extending its Life
Regular Cleaning: Keeping Your Climbing Wall Sparkling
Regular cleaning is key to keeping your climbing wall looking great and lasting longer. Think of it like washing your face – a little bit of care goes a long way! For wood, a simple solution of mild soap and water usually does the trick. Avoid harsh chemicals, as these can damage the wood and the climbing holds. For composite materials, a similar cleaning method works well. A soft brush or sponge will help remove dirt and grime without scratching the surface. After cleaning, allow the wall to dry completely before letting anyone climb. Regular cleaning prevents the build-up of dirt and grime, which can lead to premature wear and tear. For more cleaning tips, check out our affordable playground sets here!
Don't forget about the holds! These can get particularly grimy, especially if kids are using chalk. A damp cloth will usually suffice, but for stubborn dirt, you can use a mild detergent. Make sure to rinse the holds thoroughly and allow them to dry completely before putting them back on the wall. Regular cleaning of the climbing holds ensures a good grip and enhances the climbing experience. Remember, a clean climbing wall is a safe climbing wall!
- Use mild soap and water for cleaning.
- Avoid harsh chemicals.
- Clean holds regularly.
- Allow the wall to dry completely.
Repairing Minor Damage: Addressing Loose Holds and Structural Issues
Even with regular maintenance, minor damage can occur. A loose hold or a slightly cracked piece of wood is nothing to panic about. For loose holds, simply tighten the bolts or screws. If the hold is damaged beyond repair, replace it with a new one. For minor wood damage, like small cracks or splinters, you can use wood filler to repair the area. Once the filler is dry, sand it smooth and apply a fresh coat of sealant. Regular inspections will help you catch these minor issues early, preventing them from escalating into bigger problems. If you're looking to build your own, check out our DIY playground equipment guide here for inspiration!
Larger structural issues, however, require more attention. If you notice any significant damage to the frame or anchoring system, it's best to consult a professional. Attempting to repair major structural damage yourself could be dangerous. A professional will be able to assess the damage and recommend the appropriate repairs, ensuring the safety and longevity of your climbing wall. Remember, safety should always come first. For inspiration, browse our reviews of various playground equipment here!
Problem | Solution |
|---|---|
Loose hold | Tighten bolts or replace the hold. |
Minor wood damage | Use wood filler, sand, and reseal. |
Major structural damage | Consult a professional. |
Extending the Life of Your Climbing Wall: Protective Measures and Seasonal Care
Taking proactive steps can significantly extend the lifespan of your climbing wall. Applying a fresh coat of weather-resistant sealant every year or two will help protect the wood from the elements. This is particularly important in areas with harsh weather conditions. During the winter months, you might consider covering the climbing wall to protect it from snow and ice. This simple precaution can prevent damage and extend the life of your climbing wall. Regular inspections, even during the off-season, are crucial to catch any potential problems early. For added protection, consider using materials that resist the elements, like those found in metal playground equipment here.
Remember, a little preventative maintenance goes a long way. By regularly cleaning, inspecting, and making minor repairs, you can ensure that your climbing wall remains safe and enjoyable for years to come. Consider it an investment in fun and fitness for your kids! Investing in quality materials and construction techniques will also pay off in the long run. For more ideas, check out our guide to playground equipment for schools here.