Table of Contents
Ready to transform your backyard into a kid's dreamland? This outdoor playground equipment installation guide is your ultimate resource for creating a safe and fun play space. Building a playground can seem daunting, but with our step-by-step instructions, you'll be well-equipped to handle the process, whether you're a DIY enthusiast or prefer professional help. We'll walk you through every stage, from initial planning and site preparation to selecting the perfect equipment and mastering the installation process. Learn how to choose materials that are both durable and safe, understanding the importance of proper surfacing to prevent injuries. We'll explore the pros and cons of DIY versus professional installation, helping you make the best decision for your budget and skillset. By the end of this guide, you'll have the confidence and knowledge to build the playground of your dreams, turning your backyard into a haven of laughter and adventure. So, let's get started and create a playground that's as unique and special as your children are!
Planning Your Playground Paradise: Site Preparation and Design

Planning Your Playground Paradise: Site Preparation and Design
Choosing the Perfect Spot
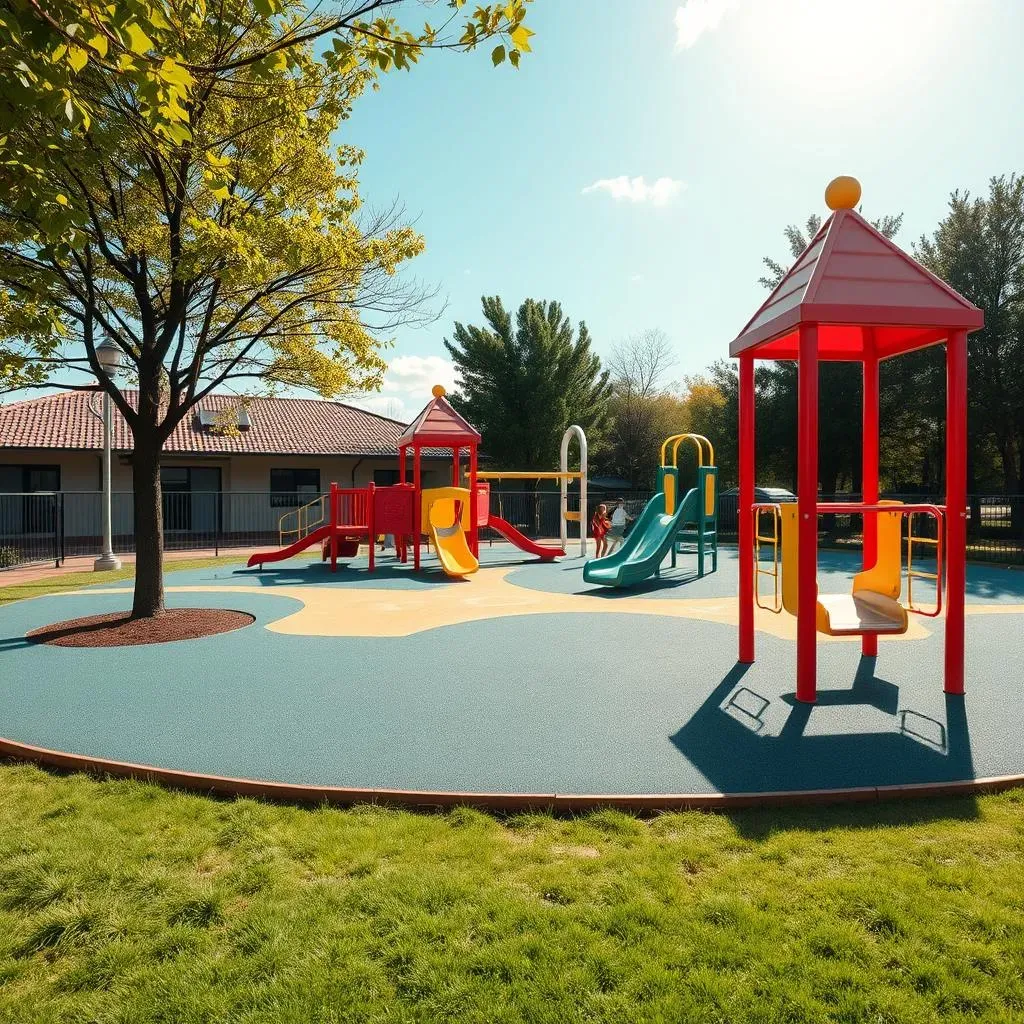
Before you even think about slides and swings, you need the ideal location. Think about sun and shade – you want some of both! Too much sun, and the playground will be scorching hot. Too much shade, and it might be damp and muddy. A slightly sloped area is great for drainage, preventing puddles after a rain shower. Make sure the area is reasonably level to avoid wobbly equipment. And of course, keep it away from any hazards like power lines or overhanging branches. Remember safety first!
Consider the surrounding area too. Is there enough space for kids to run around safely? Is it close enough to the house for supervision, but far enough away that it doesn’t interrupt indoor activities? Think about the flow of traffic – both kids and adults. You want easy access to the playground without creating tripping hazards. Check out our guide on playground safety tips for more detailed advice!
Factor | Considerations |
|---|---|
Sun/Shade | Balance is key! Avoid excessive sun or shade. |
Drainage | Slightly sloped area for water runoff. |
Levelness | Relatively flat surface for stability. |
Hazards | Avoid power lines, branches, and other risks. |
Preparing the Ground
Once you've picked your spot, it’s time to get your hands dirty (literally!). Clear the area of any debris, rocks, or weeds. This is crucial for a stable and safe installation. Level the ground – a slightly uneven surface can lead to wobbly equipment and potential hazards. You might need to add topsoil or remove some earth to achieve a level playing field. This step is super important, trust me!
Next, you'll need to consider the ground cover. This is more than just making it look pretty; it’s about safety. Appropriate surfacing – like wood chips, mulch, pea gravel, or rubber mats – cushions falls and reduces the risk of injuries. The depth and type of surfacing will depend on the height of your equipment; check the manufacturer's instructions for specific recommendations. For example, if you're installing taller climbing equipment, you'll need a deeper layer of impact-absorbing material. Thinking about equipment for toddlers? Extra padding is a must!
- Clear debris and weeds
- Level the ground
- Install appropriate ground cover
- Check manufacturer's recommendations
Choosing the Right Equipment: Materials, Safety, and Fun

Choosing the Right Equipment: Materials, Safety, and Fun
Material Matters: Building Blocks of Fun
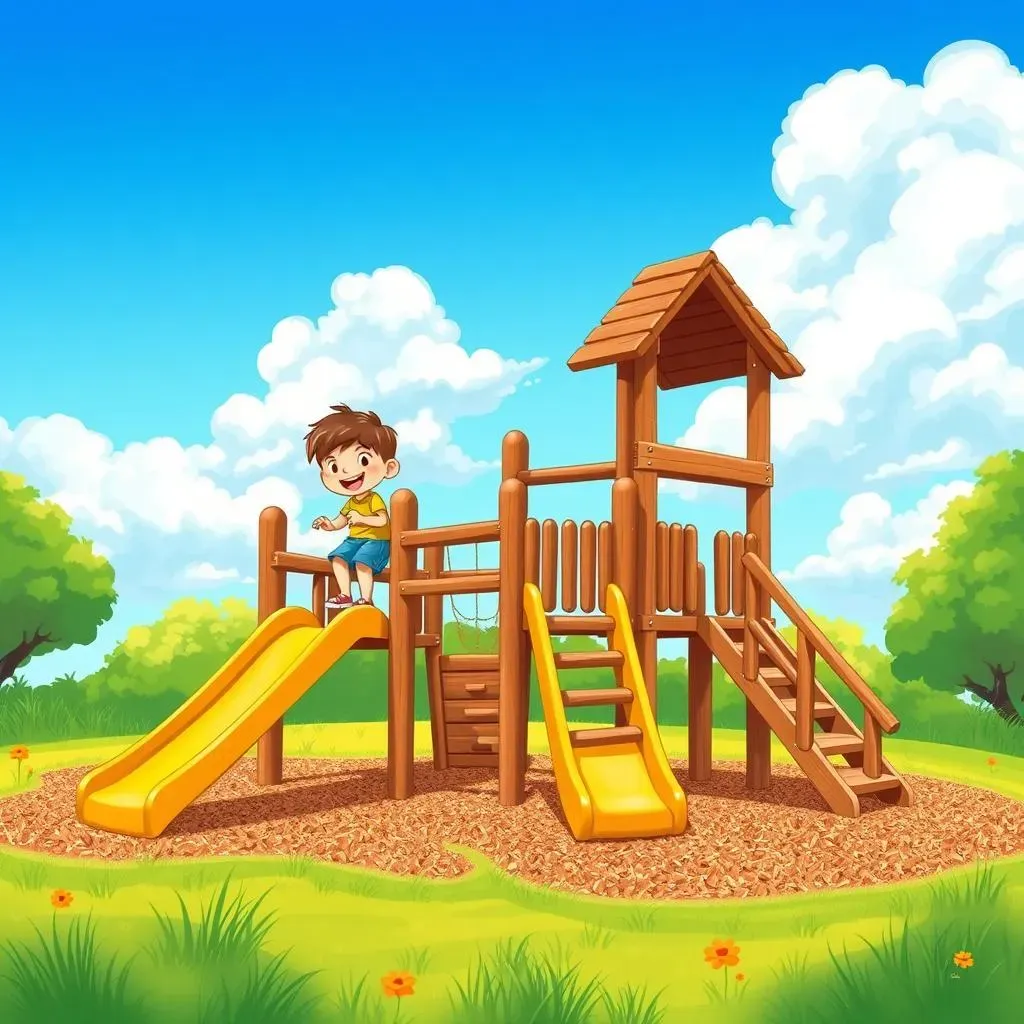
Picking the right materials is key to a long-lasting and safe playground. Wood is a classic choice, offering a natural look and feel. However, it needs regular maintenance to prevent rot and insect damage. Wooden playsets can be pricey but they can look amazing! Check out our guide on wooden playground equipment for inspiration and tips.
Plastic is another popular option, known for its durability and low maintenance. It's typically more affordable than wood, and it's easier to clean. However, plastic can fade in sunlight and might not be as visually appealing as wood. If you're on a budget, or need something super low-maintenance, plastic is a great shout. For ideas, check out our review of plastic playground equipment.
- Wood: Classic, natural look, requires maintenance
- Plastic: Durable, low maintenance, affordable
- Metal: Sturdy, long-lasting, can get hot in sun
Safety First: Ensuring a Worry-Free Playtime
Safety should always be your top priority when choosing playground equipment. Look for equipment that meets or exceeds safety standards. Check for smooth edges, sturdy construction, and appropriate spacing between components. Avoid anything with sharp points or small parts that could pose a choking hazard. Read reviews before making a purchase to see what other parents have said about the safety and durability of a certain brand. You can find reviews of various equipment on our website, see our playground equipment reviews section!
Remember to always supervise children while they’re playing. Regularly inspect the equipment for any signs of wear and tear, and replace or repair any damaged parts immediately. Safety surfacing is also crucial. A thick layer of wood chips, mulch, pea gravel, or rubber mats will help to cushion falls and minimize injuries. We've got a great guide that details the importance of safety, check out our playground safety tips article.
Feature | Safety Considerations |
|---|---|
Construction | Sturdy, no sharp edges or points |
Materials | Durable, non-toxic, weather-resistant |
Spacing | Appropriate gaps between components |
Surfacing | Impact-absorbing material (wood chips, mulch, etc.) |
DIY vs. Professional Installation: Weighing Your Options

DIY vs. Professional Installation: Weighing Your Options
The DIY Approach: A Hands-On Adventure
So, you're thinking of tackling this playground project yourself? That's awesome! DIY projects offer a fantastic sense of accomplishment, and you'll save money by doing the work yourself. Plus, it's a great way to bond with family and friends – think of it as a fun weekend project! But before you grab your tools, be realistic about your skills and time commitment. Installing a playground isn't as simple as putting together IKEA furniture; it involves some serious construction work. You need to be comfortable with using power tools and following detailed instructions. Are you up for the challenge? If you're looking for inspiration on DIY projects, check out our guide on DIY playground equipment.
Remember, safety is paramount. If you're unsure about any aspect of the installation, don't hesitate to seek professional help. A poorly installed playground can be dangerous, so it's better to err on the side of caution. Also, consider the time involved. A DIY project can easily take a whole weekend or more, depending on the size and complexity of the playground. Are you prepared to dedicate that much time and energy? If you're looking for affordable options, we have a guide on affordable playground sets.
- Save money
- Bonding experience
- Requires skills and time
- Safety is crucial
Professional Installation: A Hassle-Free Experience
Hiring professionals offers a significant advantage: peace of mind. Certified installers possess the expertise and experience to ensure a safe and efficient installation. They'll handle everything from site preparation to final assembly, leaving you with a worry-free playground ready for your kids to enjoy. Plus, they'll have the right tools and equipment for the job, making the installation quicker and easier. They'll also be familiar with local safety regulations and building codes, ensuring your playground meets all the necessary standards. For inspiration, check out our selection of the best outdoor playground equipment.
Of course, professional installation comes at a cost. It's a significant investment, but it's an investment in safety and peace of mind. If you're not confident in your DIY skills or you simply don't have the time, hiring professionals is the best option. They'll ensure your playground is built to last and is safe for years to come. When choosing a professional installer, always check their credentials and ask for references. Make sure they're insured and have a proven track record of successful installations. For example, if you're near a major city, you might find installers specializing in playground equipment in Houston or other locations.
Factor | DIY | Professional |
|---|---|---|
Cost | Lower | Higher |
Time | Longer | Shorter |
Expertise | Requires skills | Expert knowledge |
Safety | Dependent on skills | Guaranteed safety |
Installation Steps: A Detailed Guide from Start to Finish

Installation Steps: A Detailed Guide from Start to Finish
Assembling the Equipment: A Step-by-Step Guide
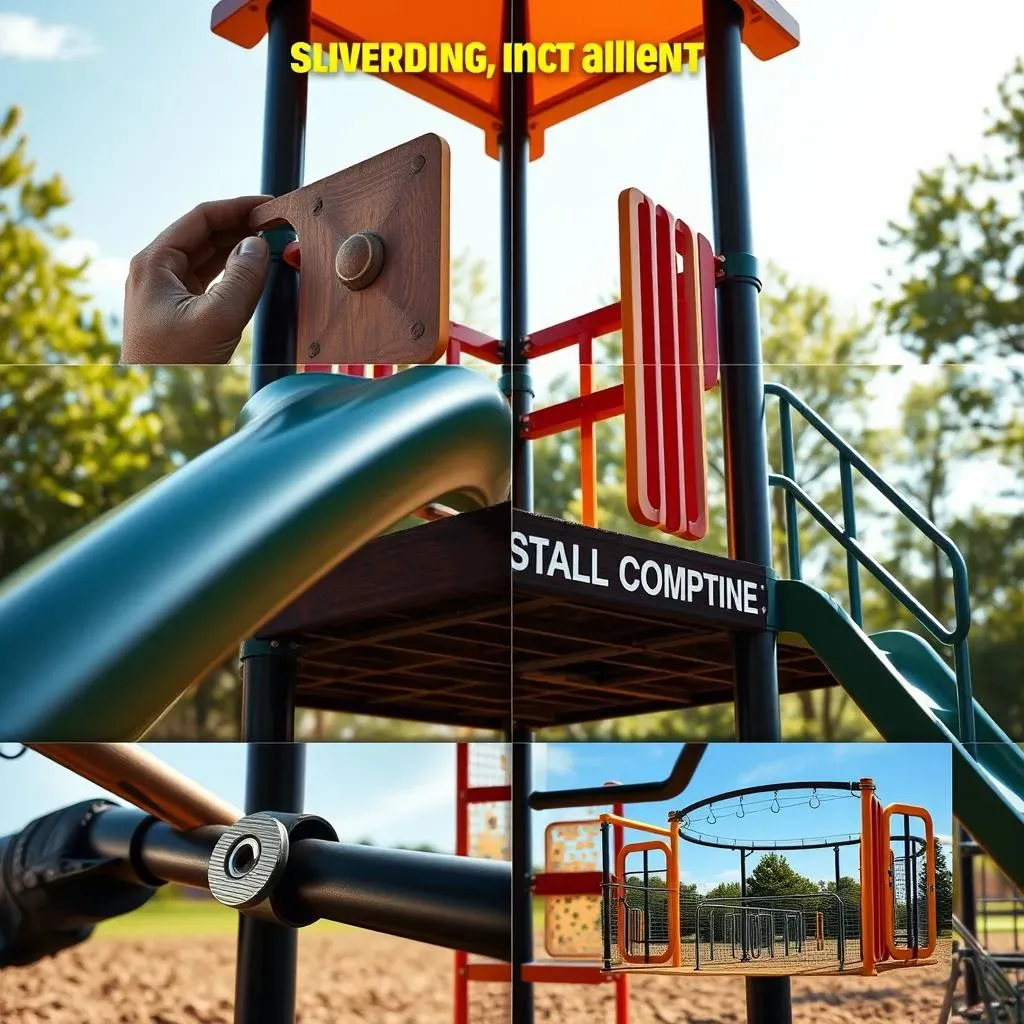
With your site prepared and equipment chosen, it's time for the main event: assembly! Carefully read the manufacturer's instructions. These aren't suggestions; they're your roadmap to a safe and sturdy playground. Take your time, don't rush, and double-check each step. If you're working with a friend or family member, assign roles to keep things organized and efficient. One person can read the instructions while the other gathers tools and parts. This is teamwork at its finest!
Start with the base or main structure, ensuring it's level and secure before adding other components. Use the right tools for the job – a poorly tightened bolt is a recipe for disaster. If you’re using wood, consider pre-drilling holes to prevent splitting. For metal, make sure you have the correct size wrenches and sockets. And remember, if you're unsure about anything, it's always better to seek professional help. Safety is paramount. If you're using metal equipment, be mindful that it can get very hot in the sun; check out our guide on metal playground equipment for more tips.
- Read instructions carefully
- Work systematically
- Use appropriate tools
- Seek help when needed
Securing the Structure: Stability and Safety
Once the main components are assembled, it's time to focus on stability. Proper anchoring is critical for preventing the playground from shifting or tipping over. Follow the manufacturer's instructions for anchoring methods. This might involve using ground anchors, concrete footings, or other specialized hardware. Don't skimp on this step; a wobbly playground is a dangerous playground. Make sure all bolts and screws are securely tightened. Regularly check these connections, especially after heavy rain or wind. You might want to consider adding extra support beams or bracing, especially for larger or taller structures.
Remember, safety is never an afterthought. Regularly inspect the playground for any signs of looseness or damage. Tighten any loose bolts or screws immediately and replace any damaged parts. Consider investing in safety surfacing, such as wood chips or rubber mats, to cushion falls and minimize the risk of injuries. You'll find more information about this in our comprehensive guide on playground safety tips.
Step | Action | Safety Check |
|---|---|---|
1 | Assemble base | Level and secure |
2 | Attach components | Tighten bolts and screws |
3 | Anchor structure | Check for stability |
Final Touches and Safety Checks: The Finishing Line
With the main construction complete, it's time for the final touches. Double-check all connections and make sure everything is securely fastened. Inspect the surfacing to ensure it’s level and deep enough. Add any extra safety features, like padding around sharp edges or protective covers for moving parts. Take a step back and admire your handiwork—you’ve almost finished! Now, for the most important step: a thorough safety check.
Walk around the playground, pretending you're a child. Check for any potential hazards – sharp edges, protruding bolts, tripping hazards, or anything that could cause injury. Make sure there's adequate space between components to prevent pinching or trapping. Ask a friend or family member to do a safety check too – a fresh pair of eyes can often spot things you’ve missed. Remember, a safe playground is a happy playground. Consider investing in eco-friendly materials; our guide on eco-friendly playground equipment can help you with that.
- Double-check all connections
- Inspect surfacing
- Add safety features
- Thorough safety check