Table of Contents
Ever looked at a faded, peeling playground and thought, "This needs some love?" You're not alone! Painting commercial playground equipment isn't just about making things look pretty. A fresh coat of paint can actually make a playground safer and last longer. Think of it like this: paint is like sunscreen for metal and wood, protecting it from the sun and rain. Plus, bright, cheerful colors make kids want to play, and that's what playgrounds are all about, right? In this guide, I'll walk you through the whole process, from picking the right paint to those final, satisfying brushstrokes. We'll cover why painting is important, how to prep the equipment like a pro, and the best painting techniques to use. So, grab your brushes, and let's get ready to transform that playground from drab to fab!
Why Painting Commercial Playground Equipment Matters
Why Painting Commercial Playground Equipment Matters
Let's be real, a playground's gotta look inviting! A fresh coat of paint does way more than just make things look good, though. It's like giving the equipment a shield against the elements. Think about it: sun, rain, snow – it all beats down on that metal and wood day after day. Paint acts as a barrier, preventing rust on metal and rot on wood. This keeps the playground safer for kids, preventing nasty splinters or dangerous collapses. Plus, a well-maintained playground shows that you care about the community and the kids who use it.
Prepping and Priming Playground Equipment for Painting
Prepping and Priming Playground Equipment for Painting
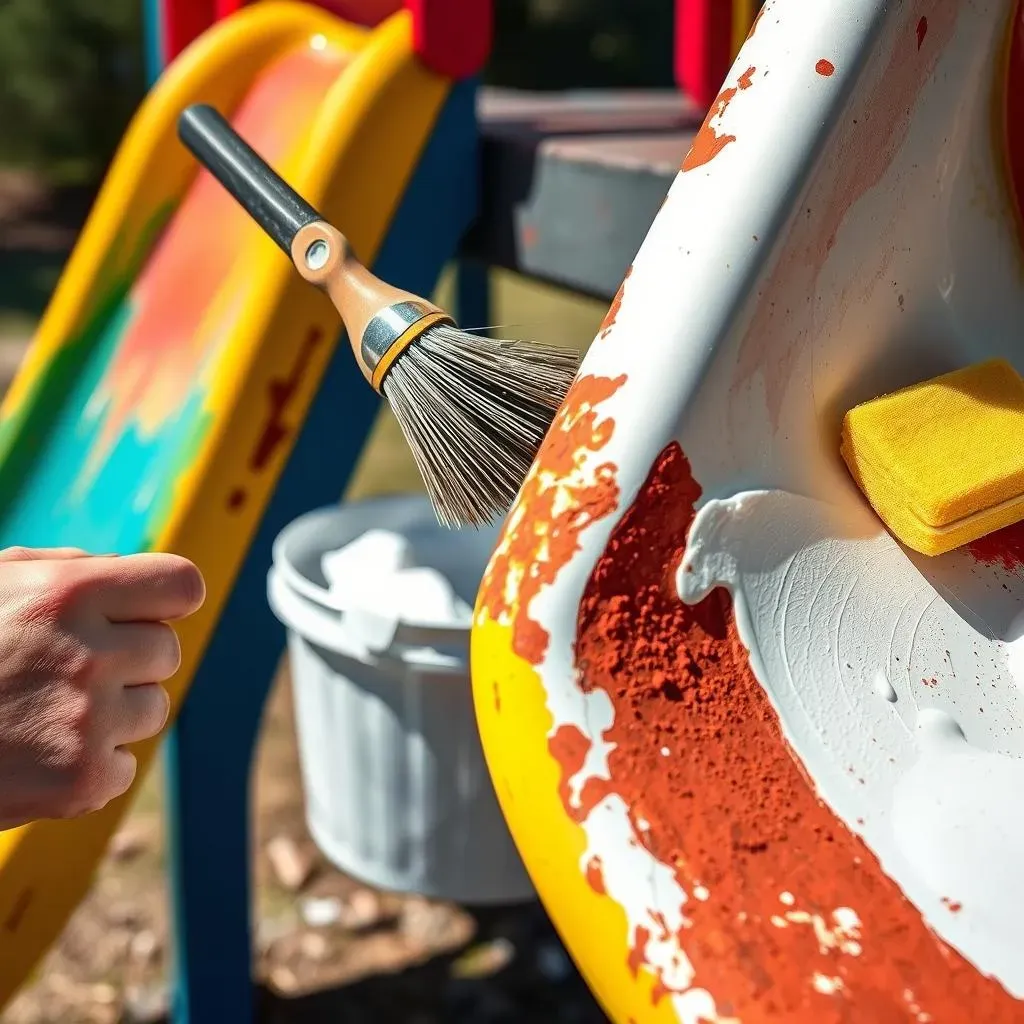
Alright, so you're ready to slap some paint on that playground, huh? Hold up! Prepping is where the magic really happens. Think of it like this: you wouldn't build a house on a shaky foundation, right? Same goes for paint. If you skip the prep work, your beautiful paint job will peel and chip faster than you can say "tag, you're it!" First things first, grab a wire brush and get ready to scrub. You gotta get rid of any loose paint, rust, or dirt. Then, give everything a good wash with soap and water. Seriously, elbow grease is your friend here. Once it's dry, inspect for any damage like cracks or splinters. Fix those up before moving on. Finally, slap on a coat of primer. Primer helps the paint stick better and covers up any stains. Trust me, this step is worth it!
Prep Step | Why It Matters |
|---|---|
Scrubbing with Wire Brush | Removes loose paint and rust for better adhesion. |
Washing with Soap & Water | Cleans dirt and grime, ensuring a clean surface. |
Repairing Damage | Fixes cracks and splinters for safety and a smooth finish. |
Applying Primer | Helps paint adhere and covers stains for a uniform look. |
Painting Commercial Playground Equipment: StepbyStep
Painting Commercial Playground Equipment: StepbyStep
Choosing the Right Paint
Picking your paint isn't as easy as grabbing the prettiest color! You gotta think about what the equipment is made of. For metal, you want a rust-inhibiting paint. This stuff is like armor against the elements. For wood, an oil-based paint is your best bet. It soaks into the wood and protects it from rot. Also, make sure the paint is non-toxic and safe for kids. You don't want any little ones licking lead paint, yikes! And don't skimp on quality. Cheap paint might save you a few bucks now, but it'll peel and fade faster, meaning you'll be back out there painting again before you know it.
Applying the Paint
Time to get painting! But hold on, patience is key here. Don't just glop on a thick layer of paint. That's a recipe for drips and uneven coverage. Instead, apply thin, even coats. Let each coat dry completely before adding another. This might take longer, but the results will be worth it. Use a brush for tight spots and a roller for larger areas. And don't forget masking tape! It's your best friend for creating clean lines and distinct color sections. If you're using multiple colors, let each section dry completely before taping off and painting the next.
Finishing Touches and Cleanup
Almost there! Once the paint is completely dry, peel off the masking tape carefully. Inspect for any drips or missed spots and touch them up. Now, the not-so-fun part: cleanup. Clean your brushes and rollers thoroughly with the appropriate solvent. Dispose of any leftover paint properly. And that's it! Stand back and admire your handiwork. You've just given that playground a new lease on life. Now, go grab a cold drink, you've earned it!
Conclusion: A Fresh Coat for Years of Fun
So, you've made it to the finish line! Painting commercial playground equipment might seem like a lot of work, but the payoff is huge. You've not only boosted the playground's visual appeal but also extended its lifespan and made it a safer place for kids to play. Remember those steps: prep, prime, paint, and patience. By following this guide, you've ensured a vibrant, durable finish that will withstand the test of time and countless adventures. Now, step back, admire your handiwork, and get ready for the smiles and laughter that a freshly painted playground brings. You've made a real difference in your community, one colorful brushstroke at a time!