Table of Contents
So, you've got a playset. Awesome! But before your kids start swinging, sliding, and conquering the backyard, there's a crucial question to tackle: what to put under outdoor playset? It's not just about aesthetics; it's about safety, durability, and maybe even saving yourself some future headaches (and scraped knees). Choosing the right ground cover can transform your playset area from a potential hazard zone into a worry-free haven. This guide is your roadmap to navigating the world of playground surfaces. We'll break down the best materials – from wood mulch and rubber mats to sand and engineered wood fiber – weighing the pros and cons of each. We will look at installation tips to save you time and money. Plus, get the lowdown on long-term maintenance to keep your playset area safe and looking great for years to come. Ready to create the ultimate backyard playground? Let's dig in!
Why Choosing the Right Surface Under Your Playset Matters
Why Choosing the Right Surface Under Your Playset Matters
Safety First, Always
Let's be real, kids are basically tiny, adorable daredevils. Falls happen. It's not a matter of "if," but "when." That's where the right surface comes in as your first line of defense against bumps, bruises, and worse. Imagine the difference between landing on soft, shock-absorbent rubber versus unforgiving concrete. I know which one I'd prefer my kid to experience! A proper surface can significantly reduce the impact of a fall, minimizing the risk of serious injury. It's about creating a safe zone where kids can be kids, without the constant fear of a trip to the ER.
Think of it like this: you wouldn't send your kid out to play football without a helmet, right? The surface under your playset is like that helmet – essential safety gear.
Beyond the Ouch Factor: Long-Term Health
It's not just about immediate ouchies. Repeated falls on hard surfaces can lead to long-term joint problems and other health issues. Choosing a cushioned surface is an investment in your child's future well-being. It's about protecting their growing bodies and ensuring they can continue to enjoy active play for years to come. Plus, a softer surface encourages kids to be more adventurous and try new things, knowing they have a safety net beneath them.
Ever wonder why playgrounds have those squishy surfaces? It's not just for fun; it's for keeps!
Creating a Fun and Functional Space
Beyond safety, the right surface can actually enhance the overall play experience. Imagine a playset surrounded by soft, inviting wood mulch that looks great and feels good underfoot. Or a colorful rubber surface that adds a pop of fun to your backyard. The surface can define the space, making it more appealing and encouraging kids to spend more time outdoors. A well-chosen surface also helps with drainage, preventing muddy messes and making cleanup a breeze. Ultimately, it's about creating a space that's not only safe but also inviting and enjoyable for the whole family.
I remember when we upgraded our playset surface – it was like giving the backyard a whole new lease on life! The kids spent hours out there, and I felt so much better knowing they were playing on a safe and comfortable surface.
Benefit | Description |
|---|---|
Injury Prevention | Reduces the risk of falls and related injuries. |
Long-Term Health | Protects joints and promotes healthy development. |
Enhanced Play | Creates a more inviting and functional play space. |
Aesthetics | Improves the overall look of your backyard. |
Top Materials to Put Under Outdoor Playsets: Pros & Cons
Top Materials to Put Under Outdoor Playsets: Pros & Cons
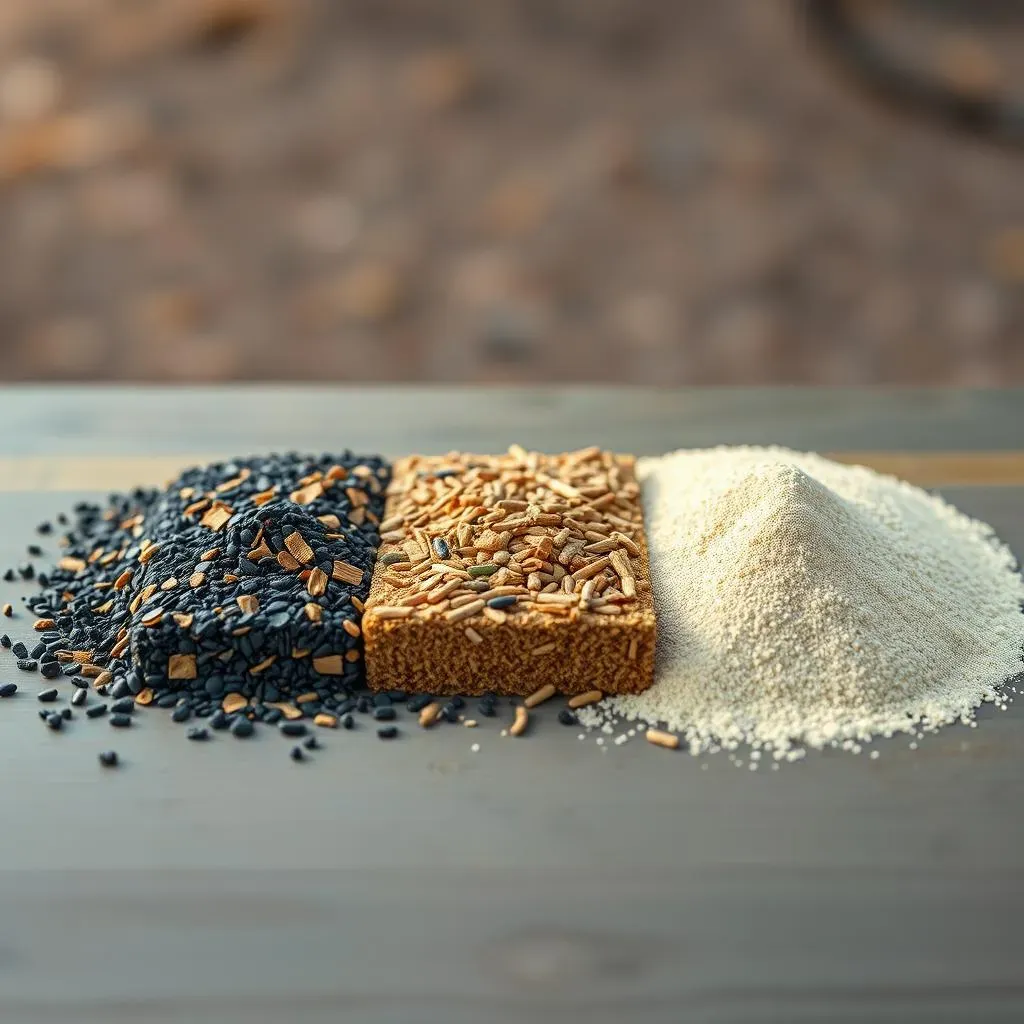
Wood Mulch: Classic, Affordable, but Messy?
Wood mulch is often the first thing people think of, and for good reason. It's relatively inexpensive and readily available. Plus, it gives a natural, woodsy look to your backyard. The downside? It can get messy, especially after a rainstorm. Think muddy footprints tracking into the house. It also decomposes over time, so you'll need to replenish it every year or two. And, let's be honest, it's not the most accessible option for kids with mobility issues. But for a budget-friendly, natural-looking option, wood mulch is a solid contender.
I've used wood mulch in the past, and while I loved the look, I was constantly sweeping up stray pieces from the patio. It's a trade-off!
Rubber Mulch: Bouncy, Durable, but Pricey?
Rubber mulch is the superhero of playground surfaces. It's incredibly durable, shock-absorbent, and low-maintenance. It doesn't decompose like wood mulch, and it's less likely to attract insects. Plus, it comes in a variety of colors, so you can get creative with your playground design. The catch? It's significantly more expensive than wood mulch. And, some people don't like the smell of rubber, especially on hot days. But if you're looking for a long-lasting, safe, and low-maintenance option, rubber mulch is worth considering.
My neighbor swore by rubber mulch. She said it was the best investment she ever made for her kids' playground. No splinters, no mud, just bouncy fun!
Sand: Beach Vibes, Budget-Friendly, but High-Maintenance?
Sand brings a beachy vibe to your backyard, and kids love playing in it. It's also one of the most affordable options. However, sand requires a lot of maintenance. It can get tracked into the house, it can become a litter box for neighborhood cats, and it doesn't provide as much shock absorption as other materials. Plus, it can get really hot in the sun. If you choose sand, be prepared for regular cleaning and raking. And, consider a sandbox-style enclosure to help contain the mess.
I remember building epic sandcastles as a kid, but my mom always hated the sand in the house! It's a classic, but definitely requires some extra effort.
Material | Pros | Cons |
|---|---|---|
Wood Mulch | Affordable, natural look | Messy, decomposes, requires replenishment |
Rubber Mulch | Durable, shock-absorbent, low-maintenance | Expensive, can have a rubbery smell |
Sand | Affordable, fun for kids | High-maintenance, can be messy, attracts animals |
DIY Installation Tips for Playset Ground Cover
DIY Installation Tips for Playset Ground Cover
Measure Twice, Dig Once: Preparing the Area
Alright, so you've picked your surface material – awesome! Now comes the fun part (okay, maybe "necessary" part) – prepping the area. First things first, measure the space where your playset will sit, adding a few extra feet on all sides. This is your "fall zone," and it needs to be adequately covered. Once you've marked out the area, it's time to get digging. You'll want to remove any grass, weeds, or other debris. Aim for a depth of at least 6 inches, but more is better, especially if you're using a loose-fill material like wood mulch or sand. This creates a nice, even base for your chosen surface and helps with drainage. Pro tip: Renting a sod cutter can make quick work of removing grass – trust me, your back will thank you!
I learned the "measure twice, dig once" lesson the hard way. Let's just say my playset area ended up looking like a lopsided trapezoid. Save yourself the trouble and take your time with the measurements!
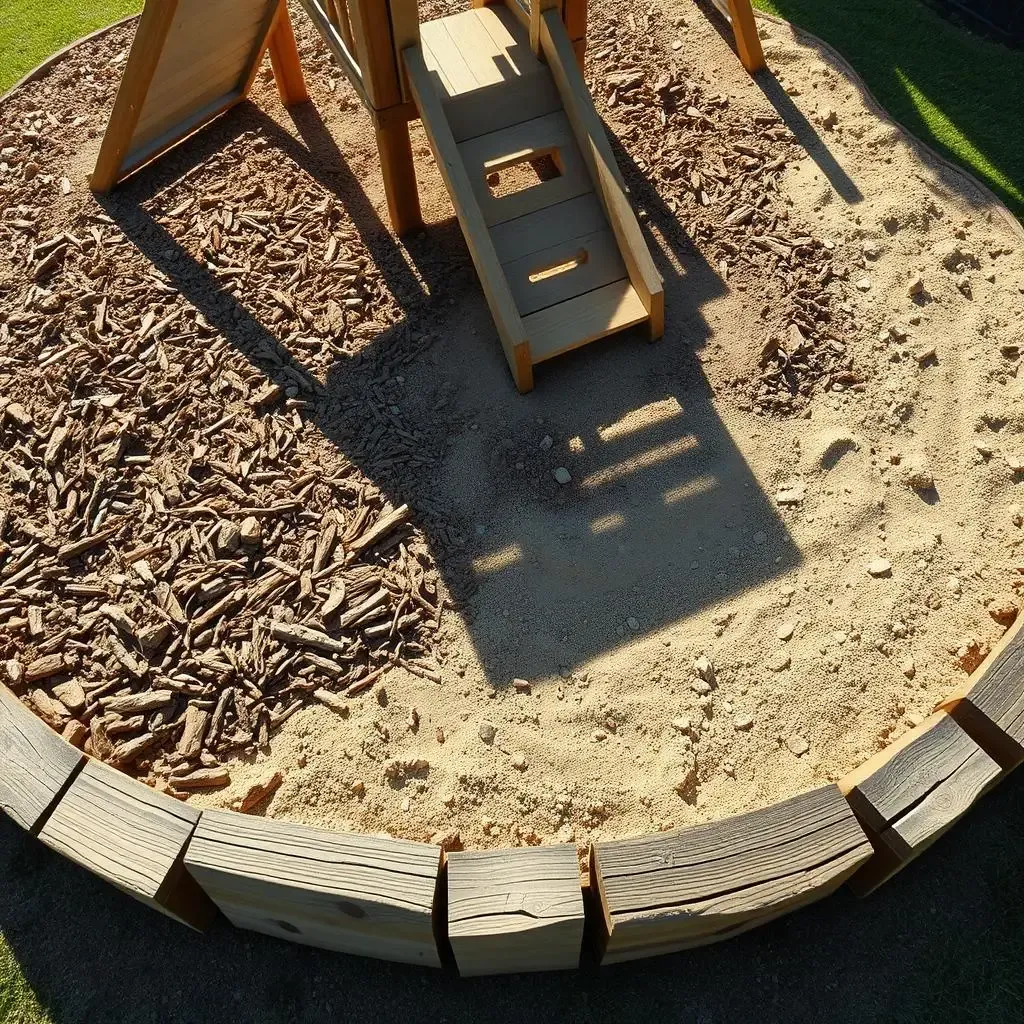
Containment is Key: Building a Border
Nobody wants their wood mulch or sand migrating into the lawn (or the neighbor's yard!). That's where a border comes in. You can use a variety of materials, from landscape timbers to plastic edging to even repurposed tires. The key is to create a solid barrier that will contain your chosen surface material and prevent it from spreading. When installing your border, make sure it's level with the surrounding ground to avoid tripping hazards. And, if you're using timbers, be sure to secure them with stakes or screws to prevent them from shifting over time. A well-defined border not only keeps your playground surface in place but also gives your backyard a clean, finished look.
I used reclaimed wood from an old fence to create a rustic border around my playset area. It was a budget-friendly and eco-conscious way to keep the mulch contained. Plus, it added a unique touch to the backyard!
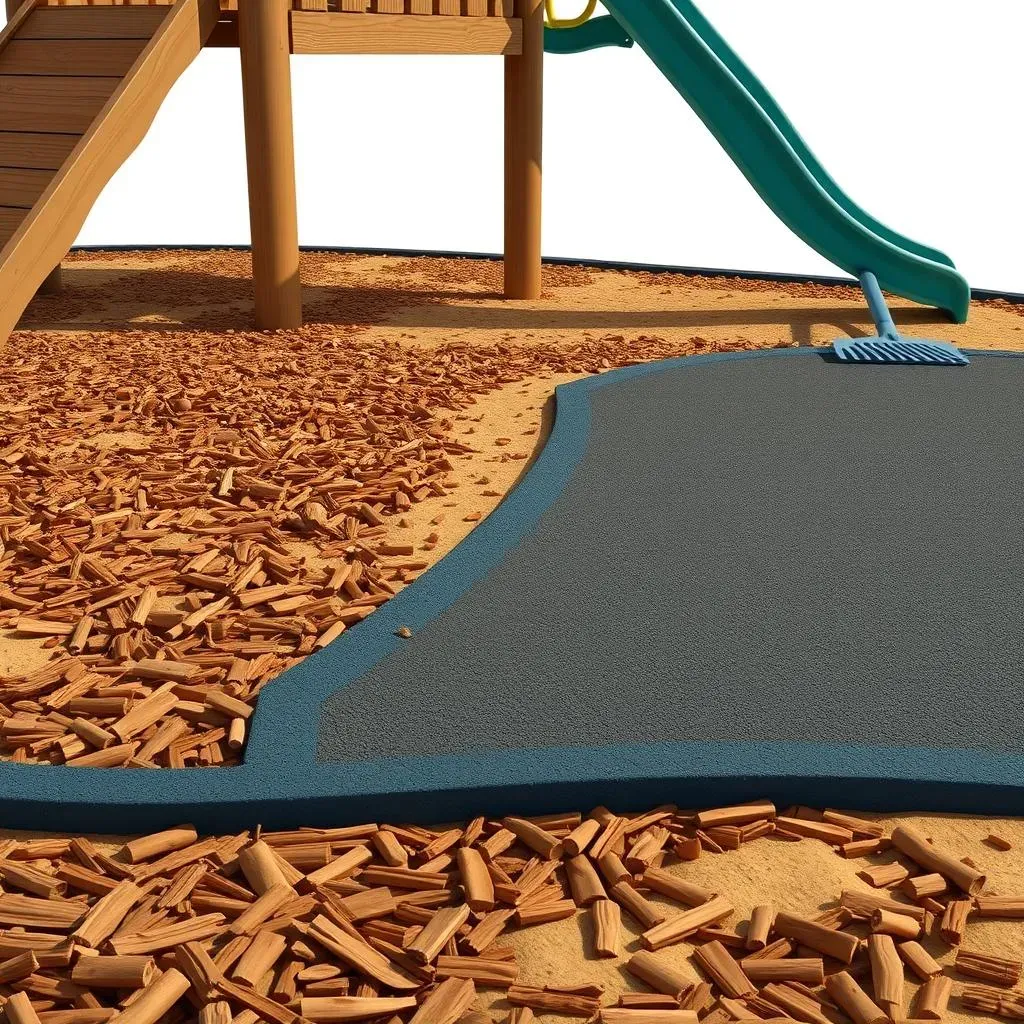
Spreading the Love: Installing Your Chosen Surface
Now for the grand finale: spreading your chosen surface material. Whether it's wood mulch, rubber mulch, sand, or engineered wood fiber, the process is pretty much the same. Start by dumping the material in the center of the prepared area and then use a rake or shovel to spread it evenly. Aim for a depth of at least 6 inches, but more is always better for shock absorption. As you're spreading, be sure to compact the material slightly to prevent it from shifting or settling over time. And, don't forget to smooth out any bumps or uneven spots. Once you're finished, give the area a good watering to help settle the material and reduce dust. Then, stand back and admire your handiwork – you've just created a safe and fun play space for your kids!
Remember to wear gloves and a dust mask when spreading your chosen surface material, especially if you're working with wood mulch or sand. Nobody wants itchy skin or a face full of dust!
Step | Description |
|---|---|
1. Measure & Dig | Measure the area, adding extra for the fall zone, and dig down at least 6 inches. |
2. Build a Border | Install a border using timbers, edging, or repurposed materials to contain the surface. |
3. Spread the Material | Dump the chosen material in the center and spread evenly to a depth of at least 6 inches. |
4. Compact & Water | Compact the material slightly and water to settle it and reduce dust. |
Maintaining Your Playset Surface: LongTerm Safety & Cost
Maintaining Your Playset Surface: LongTerm Safety & Cost
Regular Inspections: Spotting Problems Early
you've got your playset surface installed, and it looks great. But the job's not over! Regular inspections are crucial for maintaining long-term safety and minimizing costs. Set aside some time each month to walk around the playset area and look for potential problems. Check for things like displaced mulch, compacted sand, or damaged rubber mats. Pay close attention to areas around the base of the playset and under swings, as these tend to get the most wear and tear. Addressing small issues early can prevent them from becoming bigger (and more expensive) problems down the road. Think of it like a regular check-up for your car – a little preventative maintenance can save you a lot of money in the long run.
I make it a habit to do a quick inspection of our playset area every time I mow the lawn. It only takes a few minutes, and it gives me peace of mind knowing that everything is safe and sound.
Here's a quick checklist for your regular inspections:
- Check for displaced or compacted material.
- Look for sharp objects or debris.
- Inspect for signs of wear and tear (tears, cracks, etc.).
- Ensure proper drainage.
- Check the borders for stability.
Replenishing and Replacing: Keeping it Fresh
No matter how durable your chosen surface material is, it will eventually need to be replenished or replaced. Wood mulch decomposes over time, sand gets scattered, and rubber mats can crack or tear. The frequency of replenishment or replacement will depend on the type of material you're using and how heavily the playset is used. As a general rule, you should plan to replenish wood mulch every year or two, sand every few months, and replace rubber mats as needed. When replenishing or replacing material, be sure to use the same type of material that was originally installed. Mixing different materials can compromise the safety and effectiveness of the surface. And, don't forget to dispose of old materials properly – some materials, like rubber mulch, can be recycled.
I learned the hard way that mixing different types of mulch is a bad idea. The colors didn't match, and the textures were all wrong. It looked like a toddler had designed the playground!
Material | Replenishment/Replacement Frequency | Cost Considerations |
|---|---|---|
Wood Mulch | Every 1-2 years | Relatively inexpensive, but requires frequent replenishment. |
Rubber Mulch | As needed (spot replacement) | More expensive upfront, but lasts longer and requires less maintenance. |
Sand | Every few months (top off), complete replacement every few years | Affordable, but requires frequent topping off and occasional complete replacement. |
Creating a Safe and Fun Playset Area
Choosing the right surface for your playset is an investment in your children's safety and enjoyment. By carefully considering the pros and cons of each material, understanding installation best practices, and committing to regular maintenance, you can create a backyard playground that's both fun and safe for years to come. Ultimately, the best choice depends on your budget, aesthetic preferences, and the specific needs of your family. So, do your research, weigh your options, and get ready to watch your kids play with confidence!